Add team members
Invite colleagues to your organisation on VERA. Each team member gets their own account under your organisation and can act on its behalf.
Invite from Settings
Open organisation settings
Click the Settings icon at the bottom-left of the sidebar while viewing your organisation workspace.
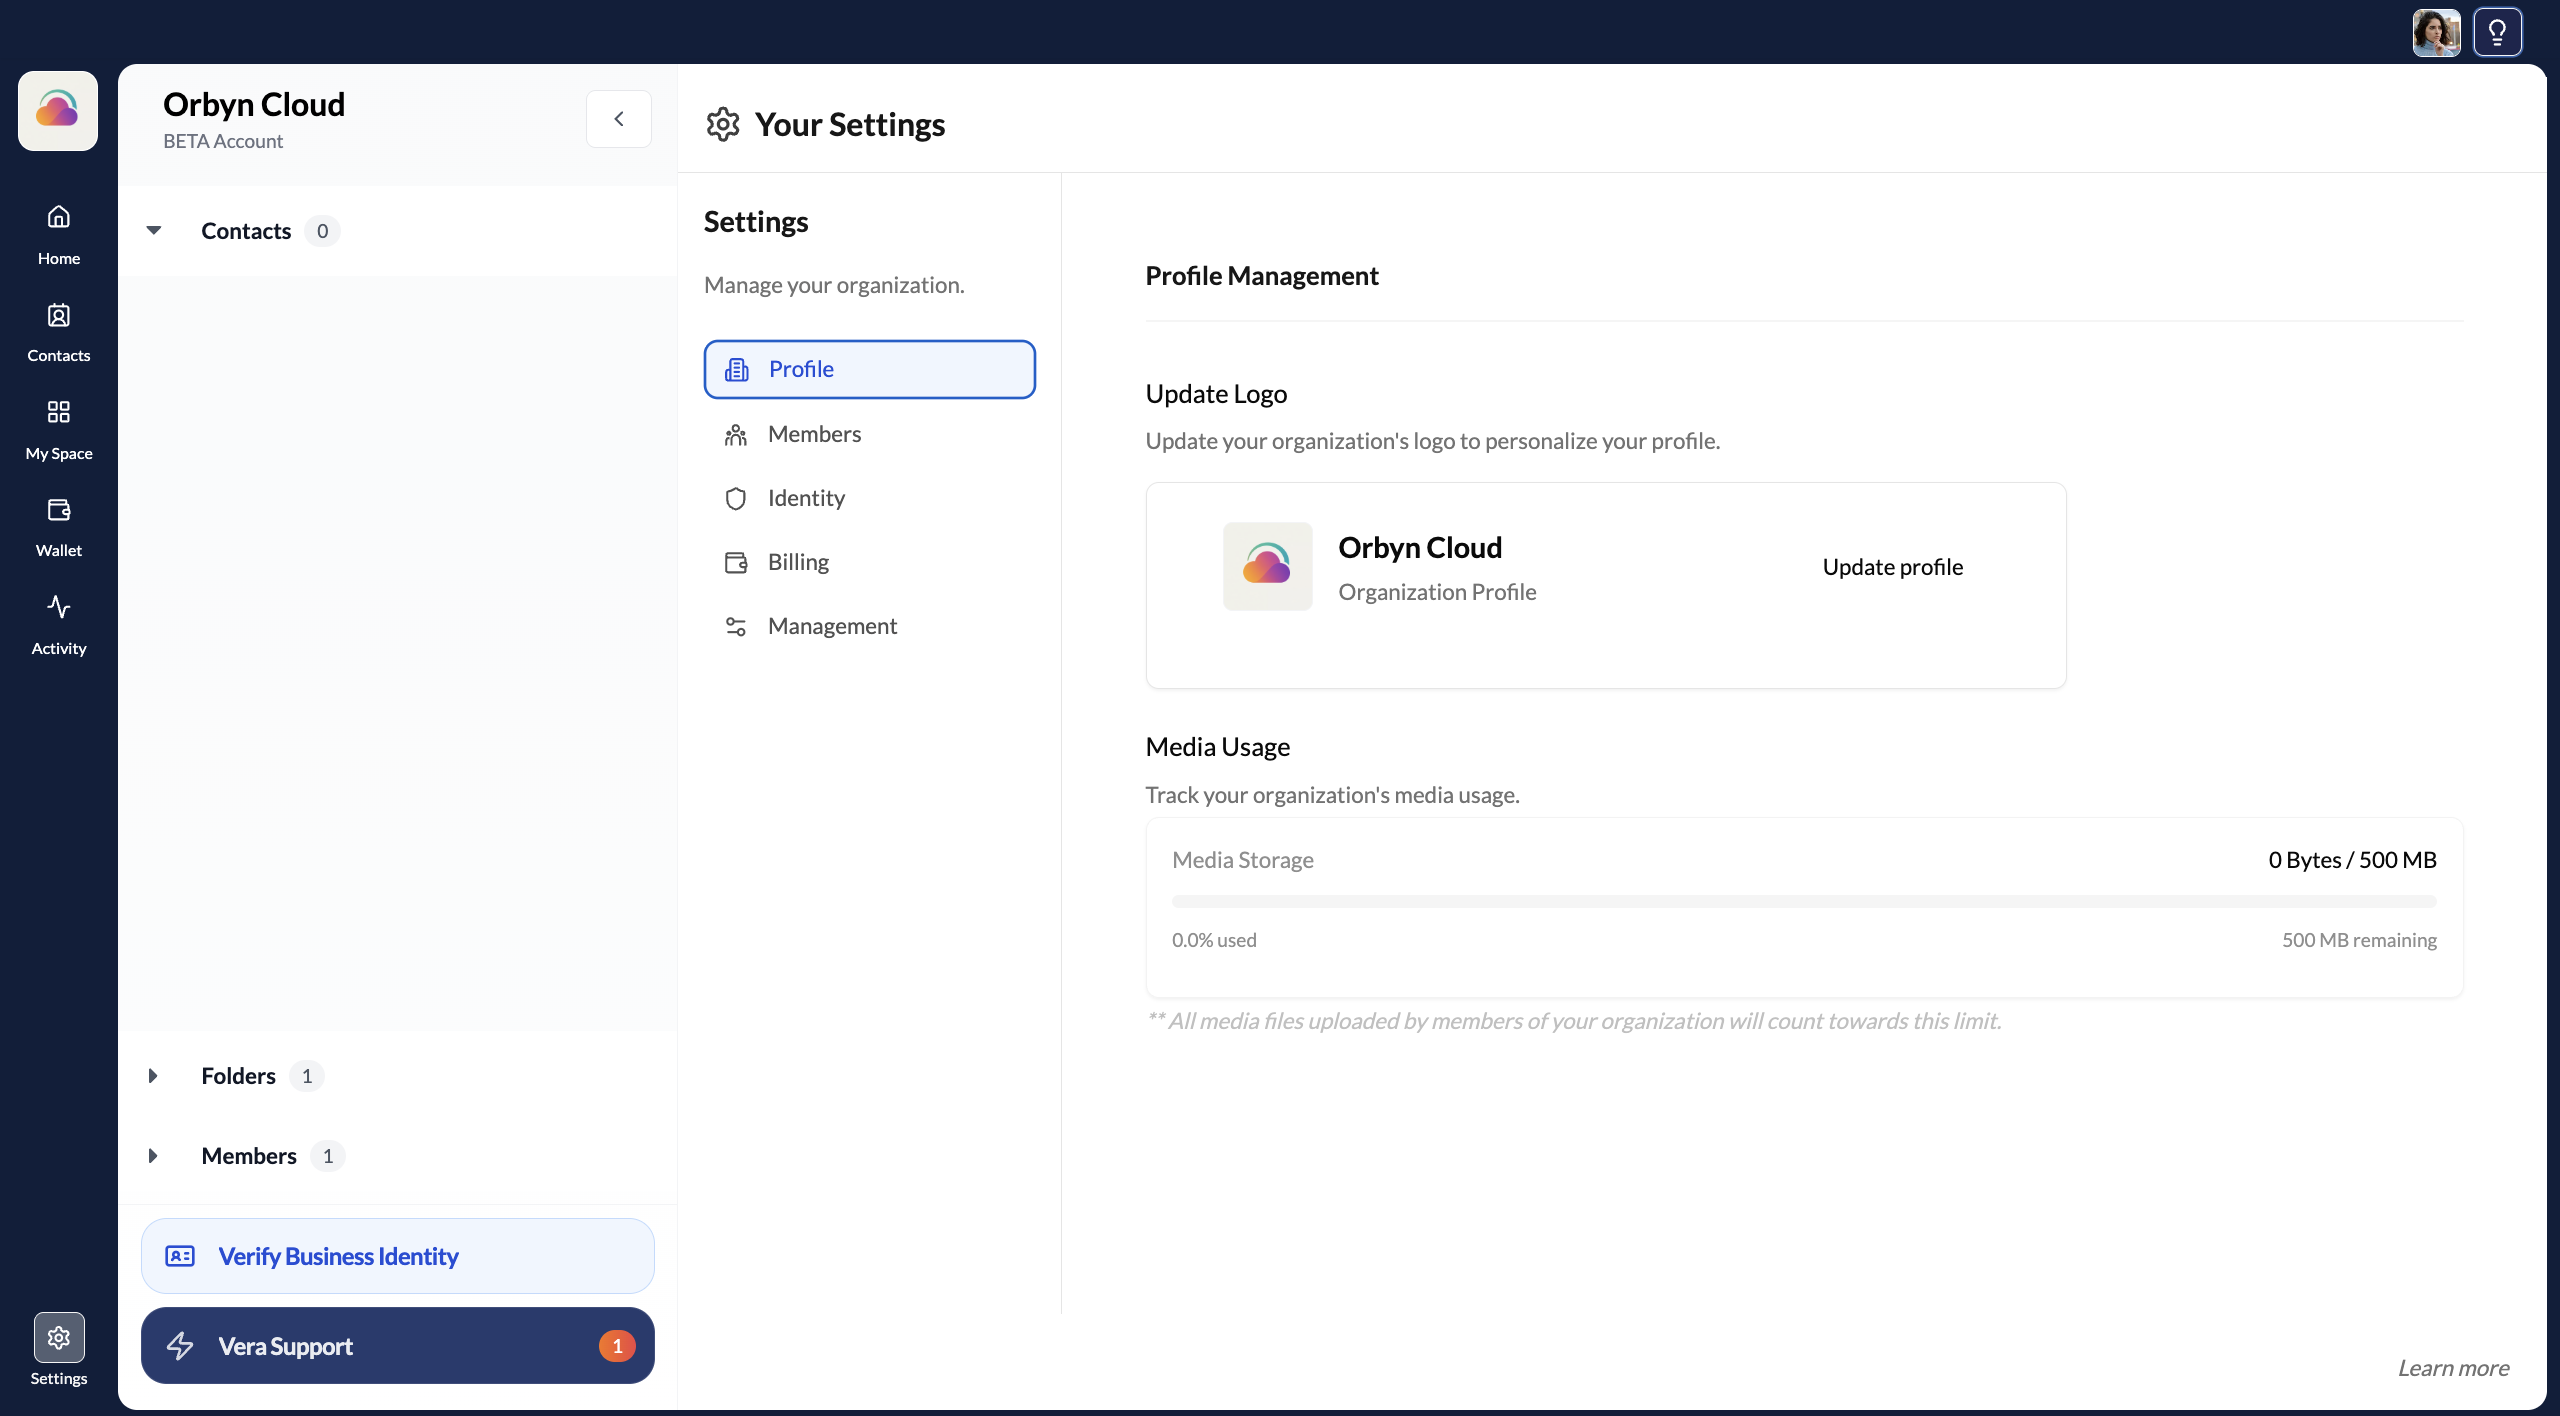
Go to Members
In Settings, click Members in the navigation. You'll see a list of current team members and an Invite button.
Enter email addresses
Type one or more email addresses. You can enter multiple addresses separated by commas, or paste a list.
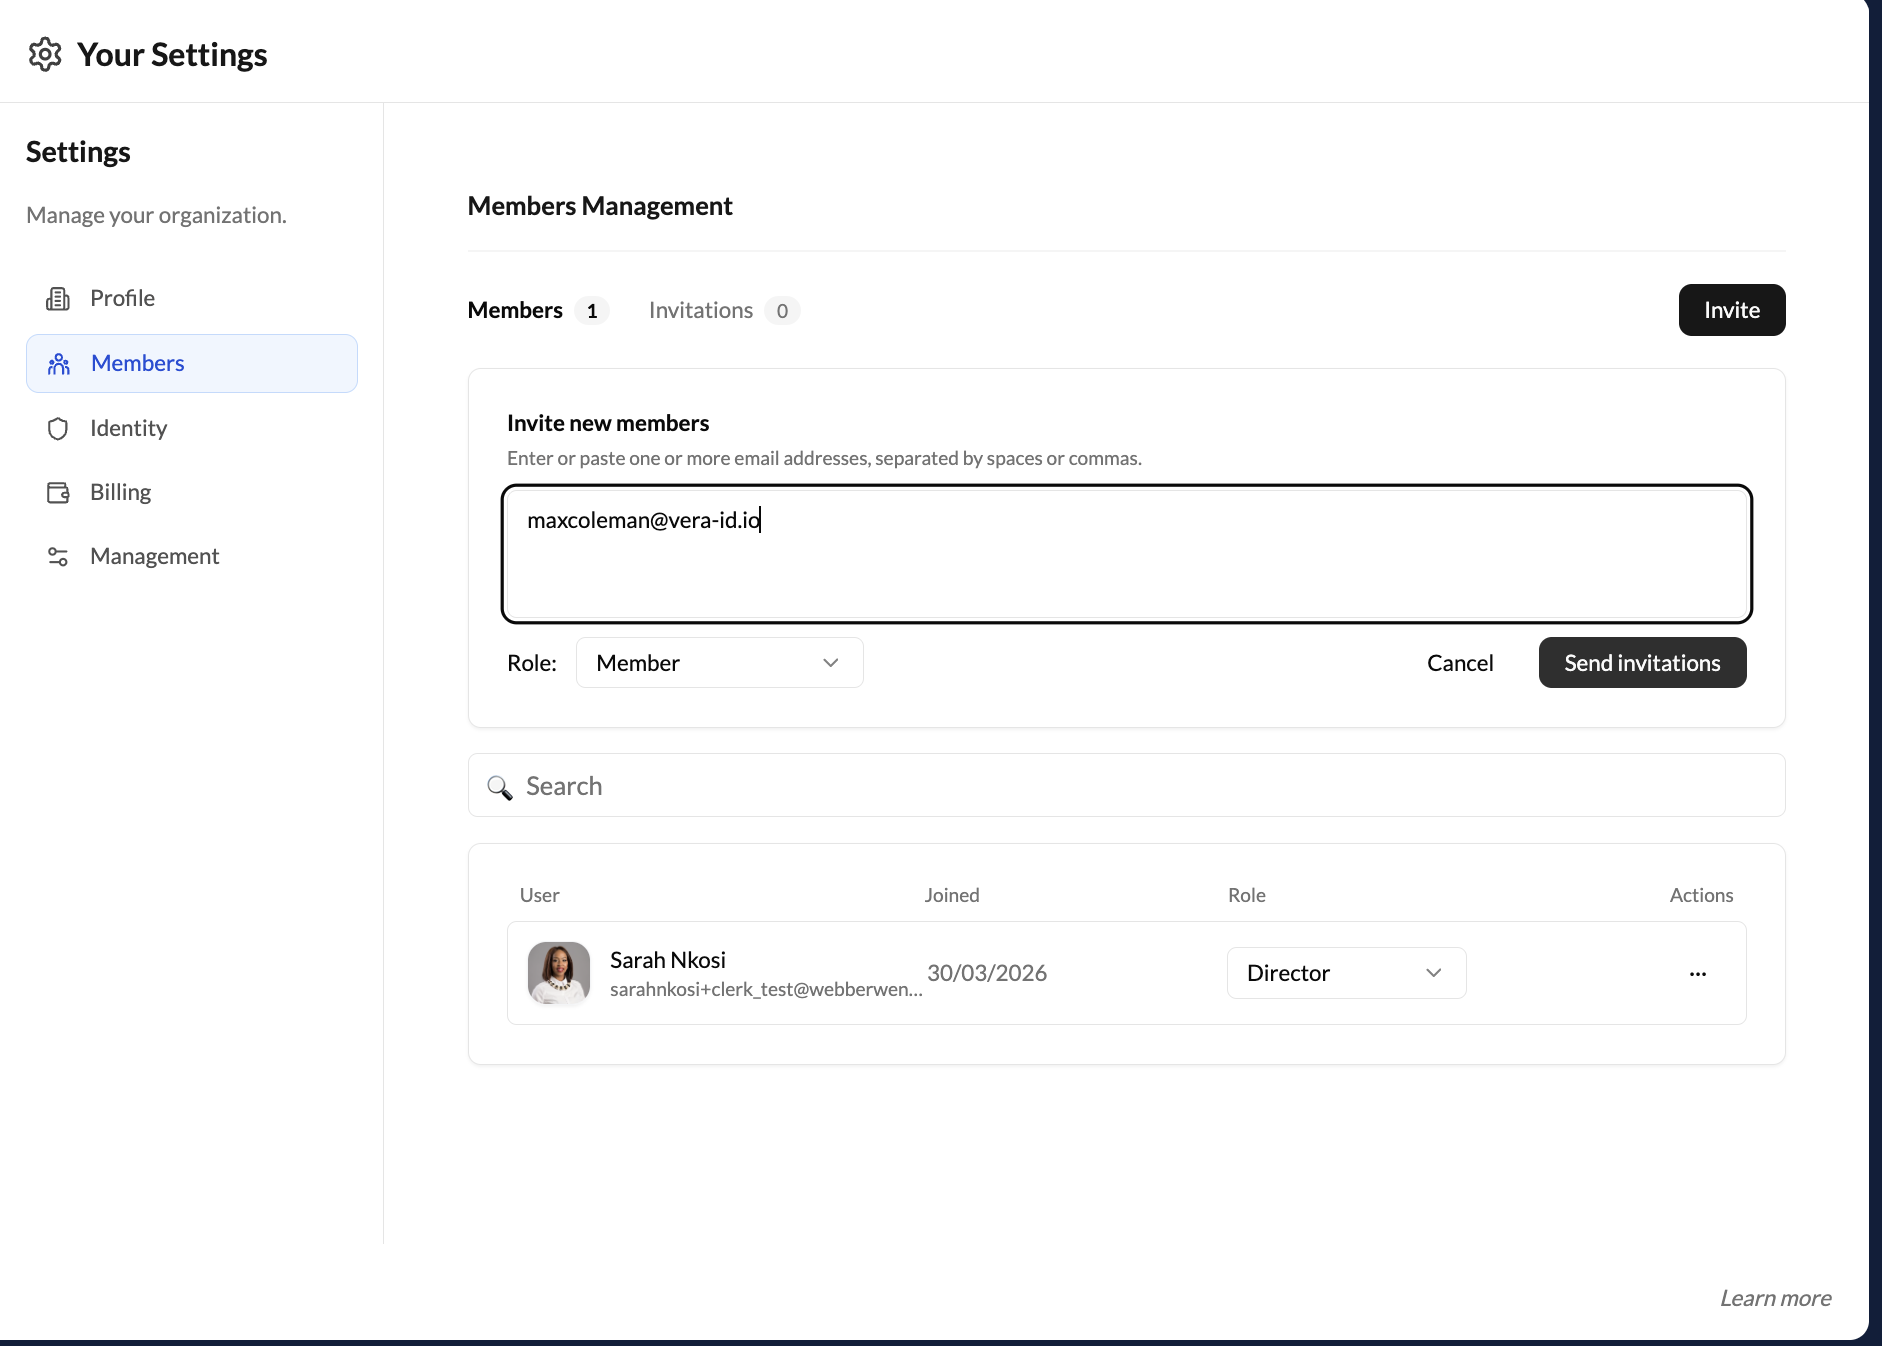
Choose a role
Assign a role to the invitees:
- Director — only legal directors of the organisation should be added here. Provides full access to organisation settings, credentials, and member management
- Admin — full access to organisation settings and member management
- Member — access to contacts, channels, and documents; cannot change organisation settings, manage credentials, or invite others
Choose the lowest privilege level appropriate for each person.
Send invitations
Click Send Invitations. Each invitee receives an email with a link to create their VERA account (if they don't have one) or join your organisation (if they do).
Team members join under their own VERA account. They have their own vault, personal credentials, and personal contacts. When acting in the organisation context, they're linked to your organisation. Their personal and organisational identities remain separate. If a member has already completed personal identity verification in another workspace (their personal account or another organisation), their "Verified" status carries across automatically — they won't need to verify again.
Managing existing members
From the Members page you can:
- View all current members and their roles
- Change a member's role — click the role dropdown next to their name
- Remove a member — click the overflow menu and select Remove
Removing a member revokes their access to the organisation workspace immediately.
Identity verification status
As a Director or Admin, you can see the identity verification status of every team member from Settings → Identity. This page shows:
An Overview section at the top with your organisation's verification status: Organisation status (Verified/Unverified), Business Identity Credential (Issued/Not issued), and Business Bank Account Credential (Issued/Not issued).
An All members table below showing each member with their Role, Identity status (Verified or Unverified), and Authority status (Verified director or Unverified director for Directors, or the equivalent for Members). The table also shows a count of how many members have been verified (e.g. "3 of 3 members verified").
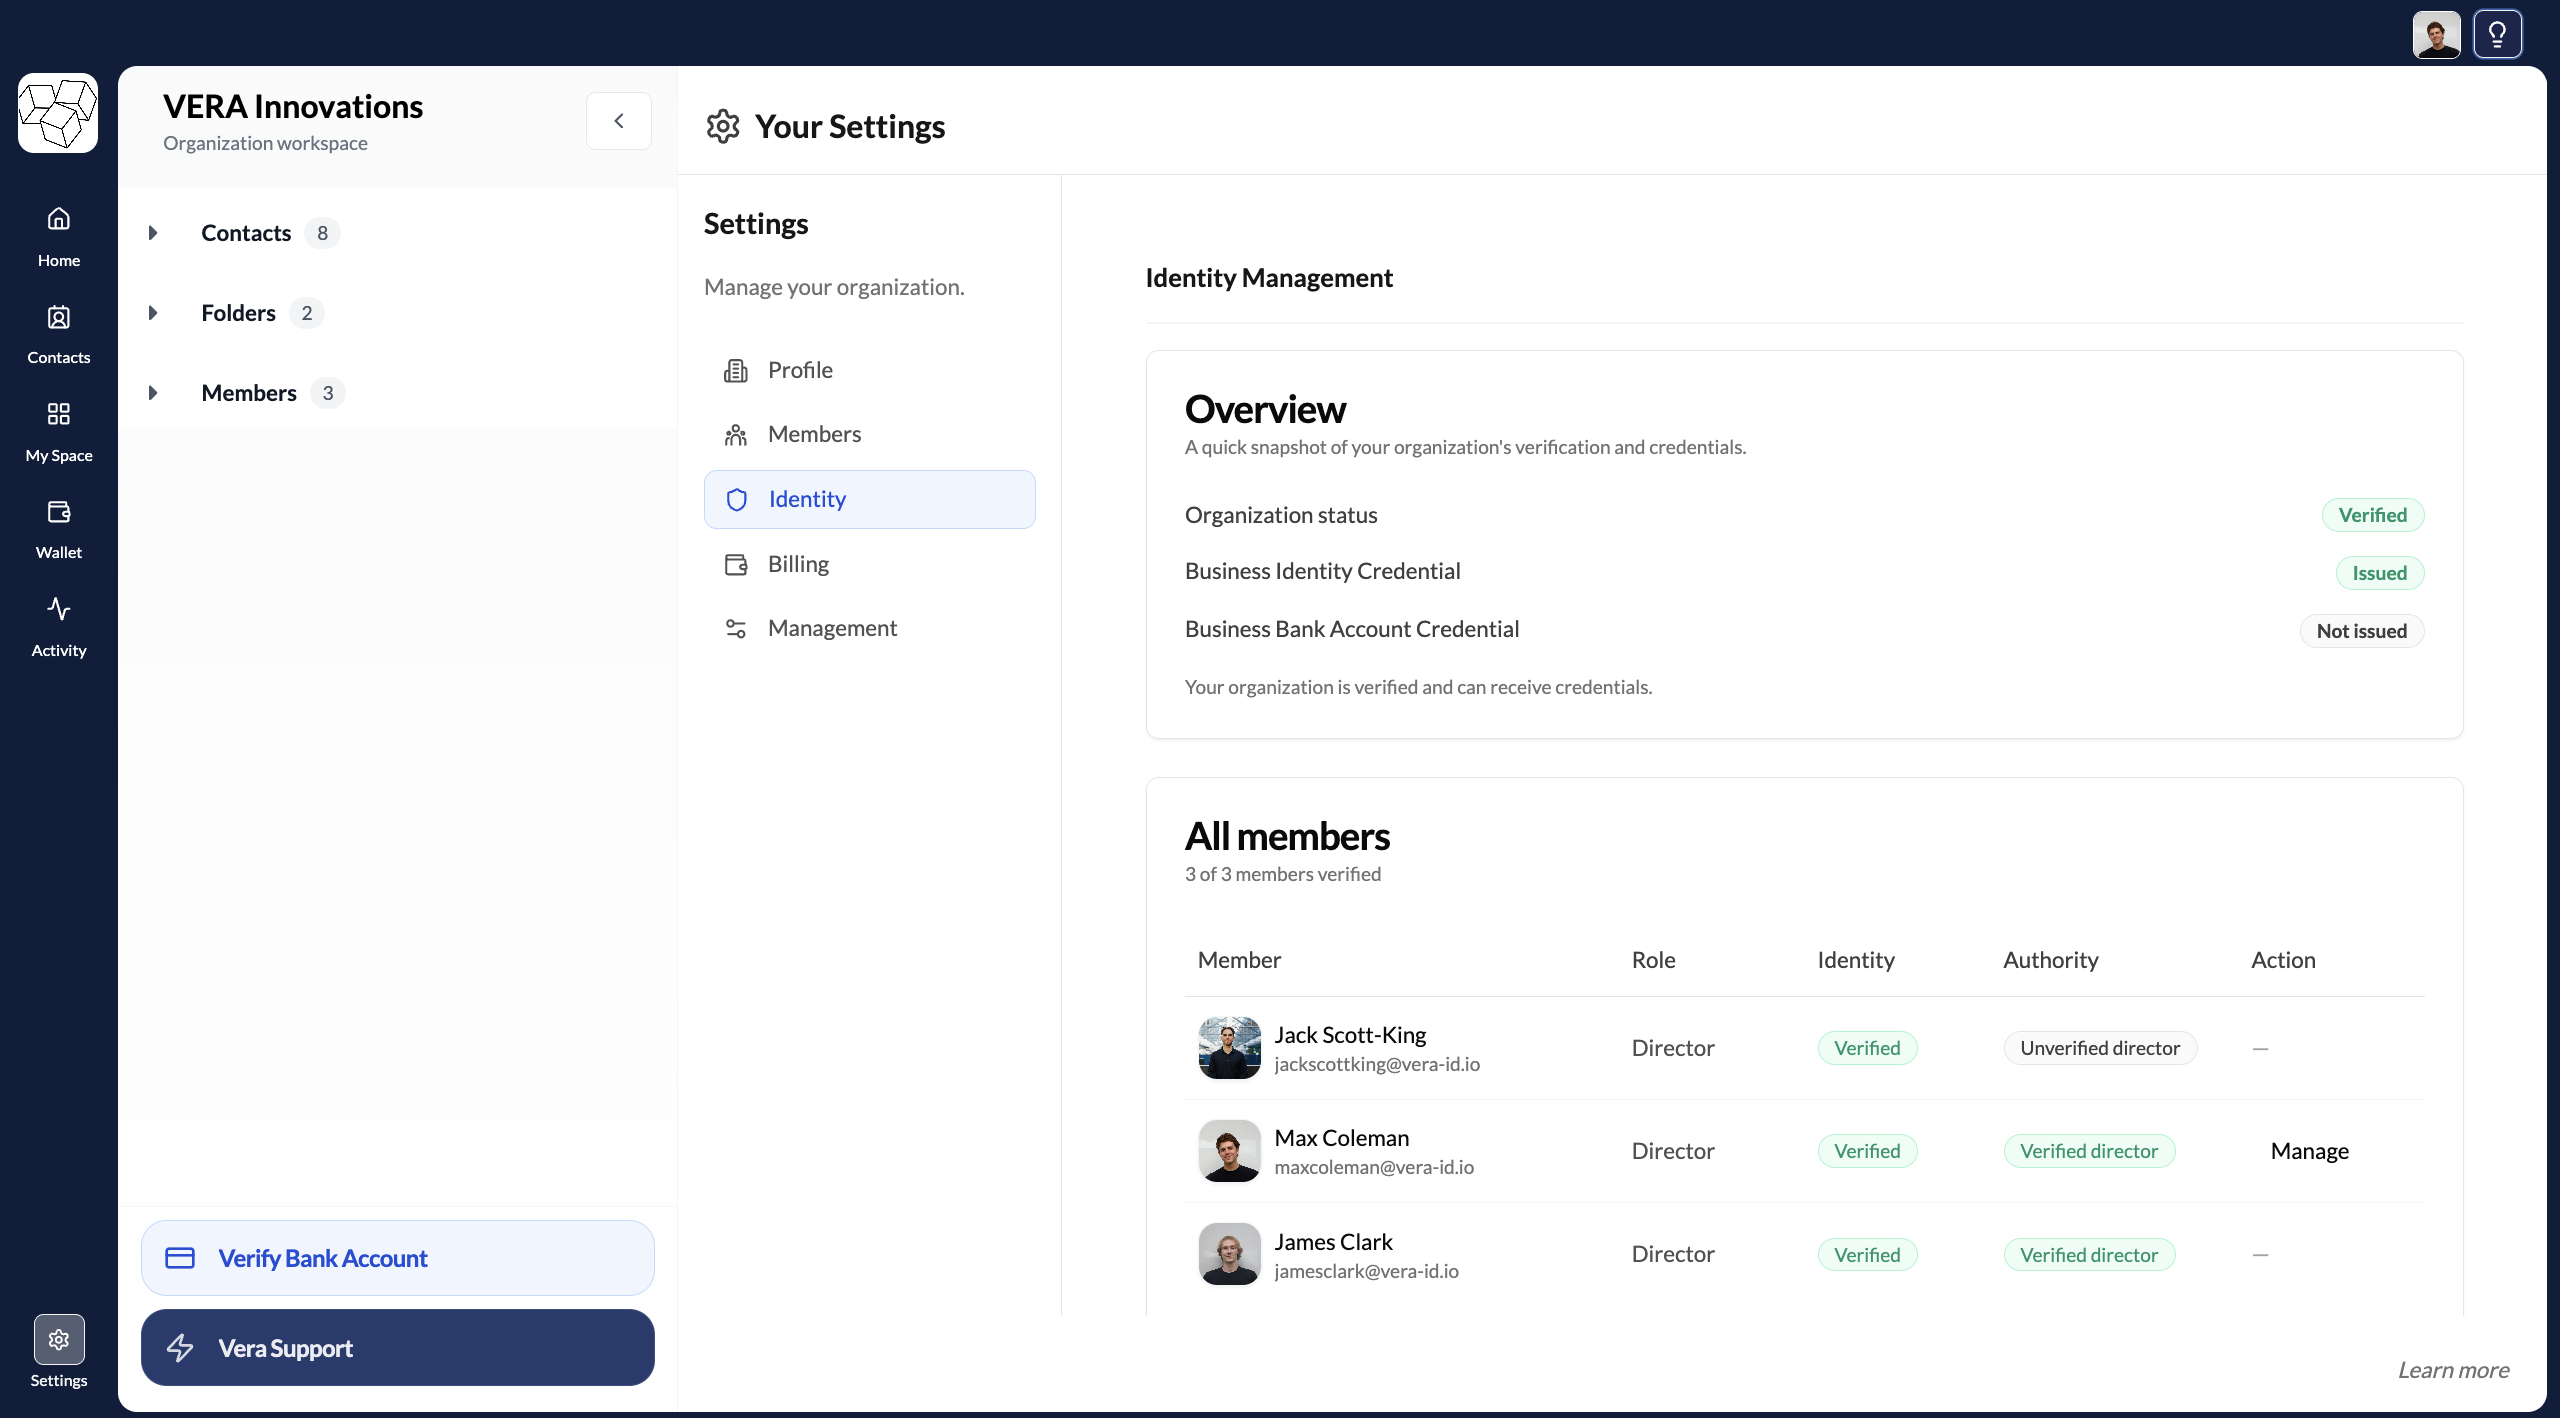
This view is useful for tracking onboarding progress across your team. If a member shows as "Unverified" in the Identity column, they haven't completed personal identity verification yet. If a Director shows "Unverified director" in the Authority column, they've verified their identity but haven't completed the business verification flow that confirms their directorship against CIPC.
Team members can use the platform — chat, view contacts, access documents — without completing identity verification. However, sharing and managing verified credentials (like Business ID or Bank Account credentials) requires the relevant verification to be completed. Encourage team members to verify early.
When a team member receives their invitation and joins your organisation, they go through a specific flow. See Join an organisation for what that experience looks like from their side.