Set up your organisation
After choosing Organisation during signup, you'll create your organisation workspace, upload your logo, add your profile photo, and land on the onboarding dashboard. Your personal workspace is created automatically at the same time.
Create your organisation
You're prompted to create your first organisation
After choosing Organisation on the workspace selection screen, VERA takes you to the organisation creation prompt. This is where your business identity begins on VERA — your personal workspace is being set up in the background at the same time.

Upload your logo and enter your organisation name
Upload your company logo and type your registered business name.
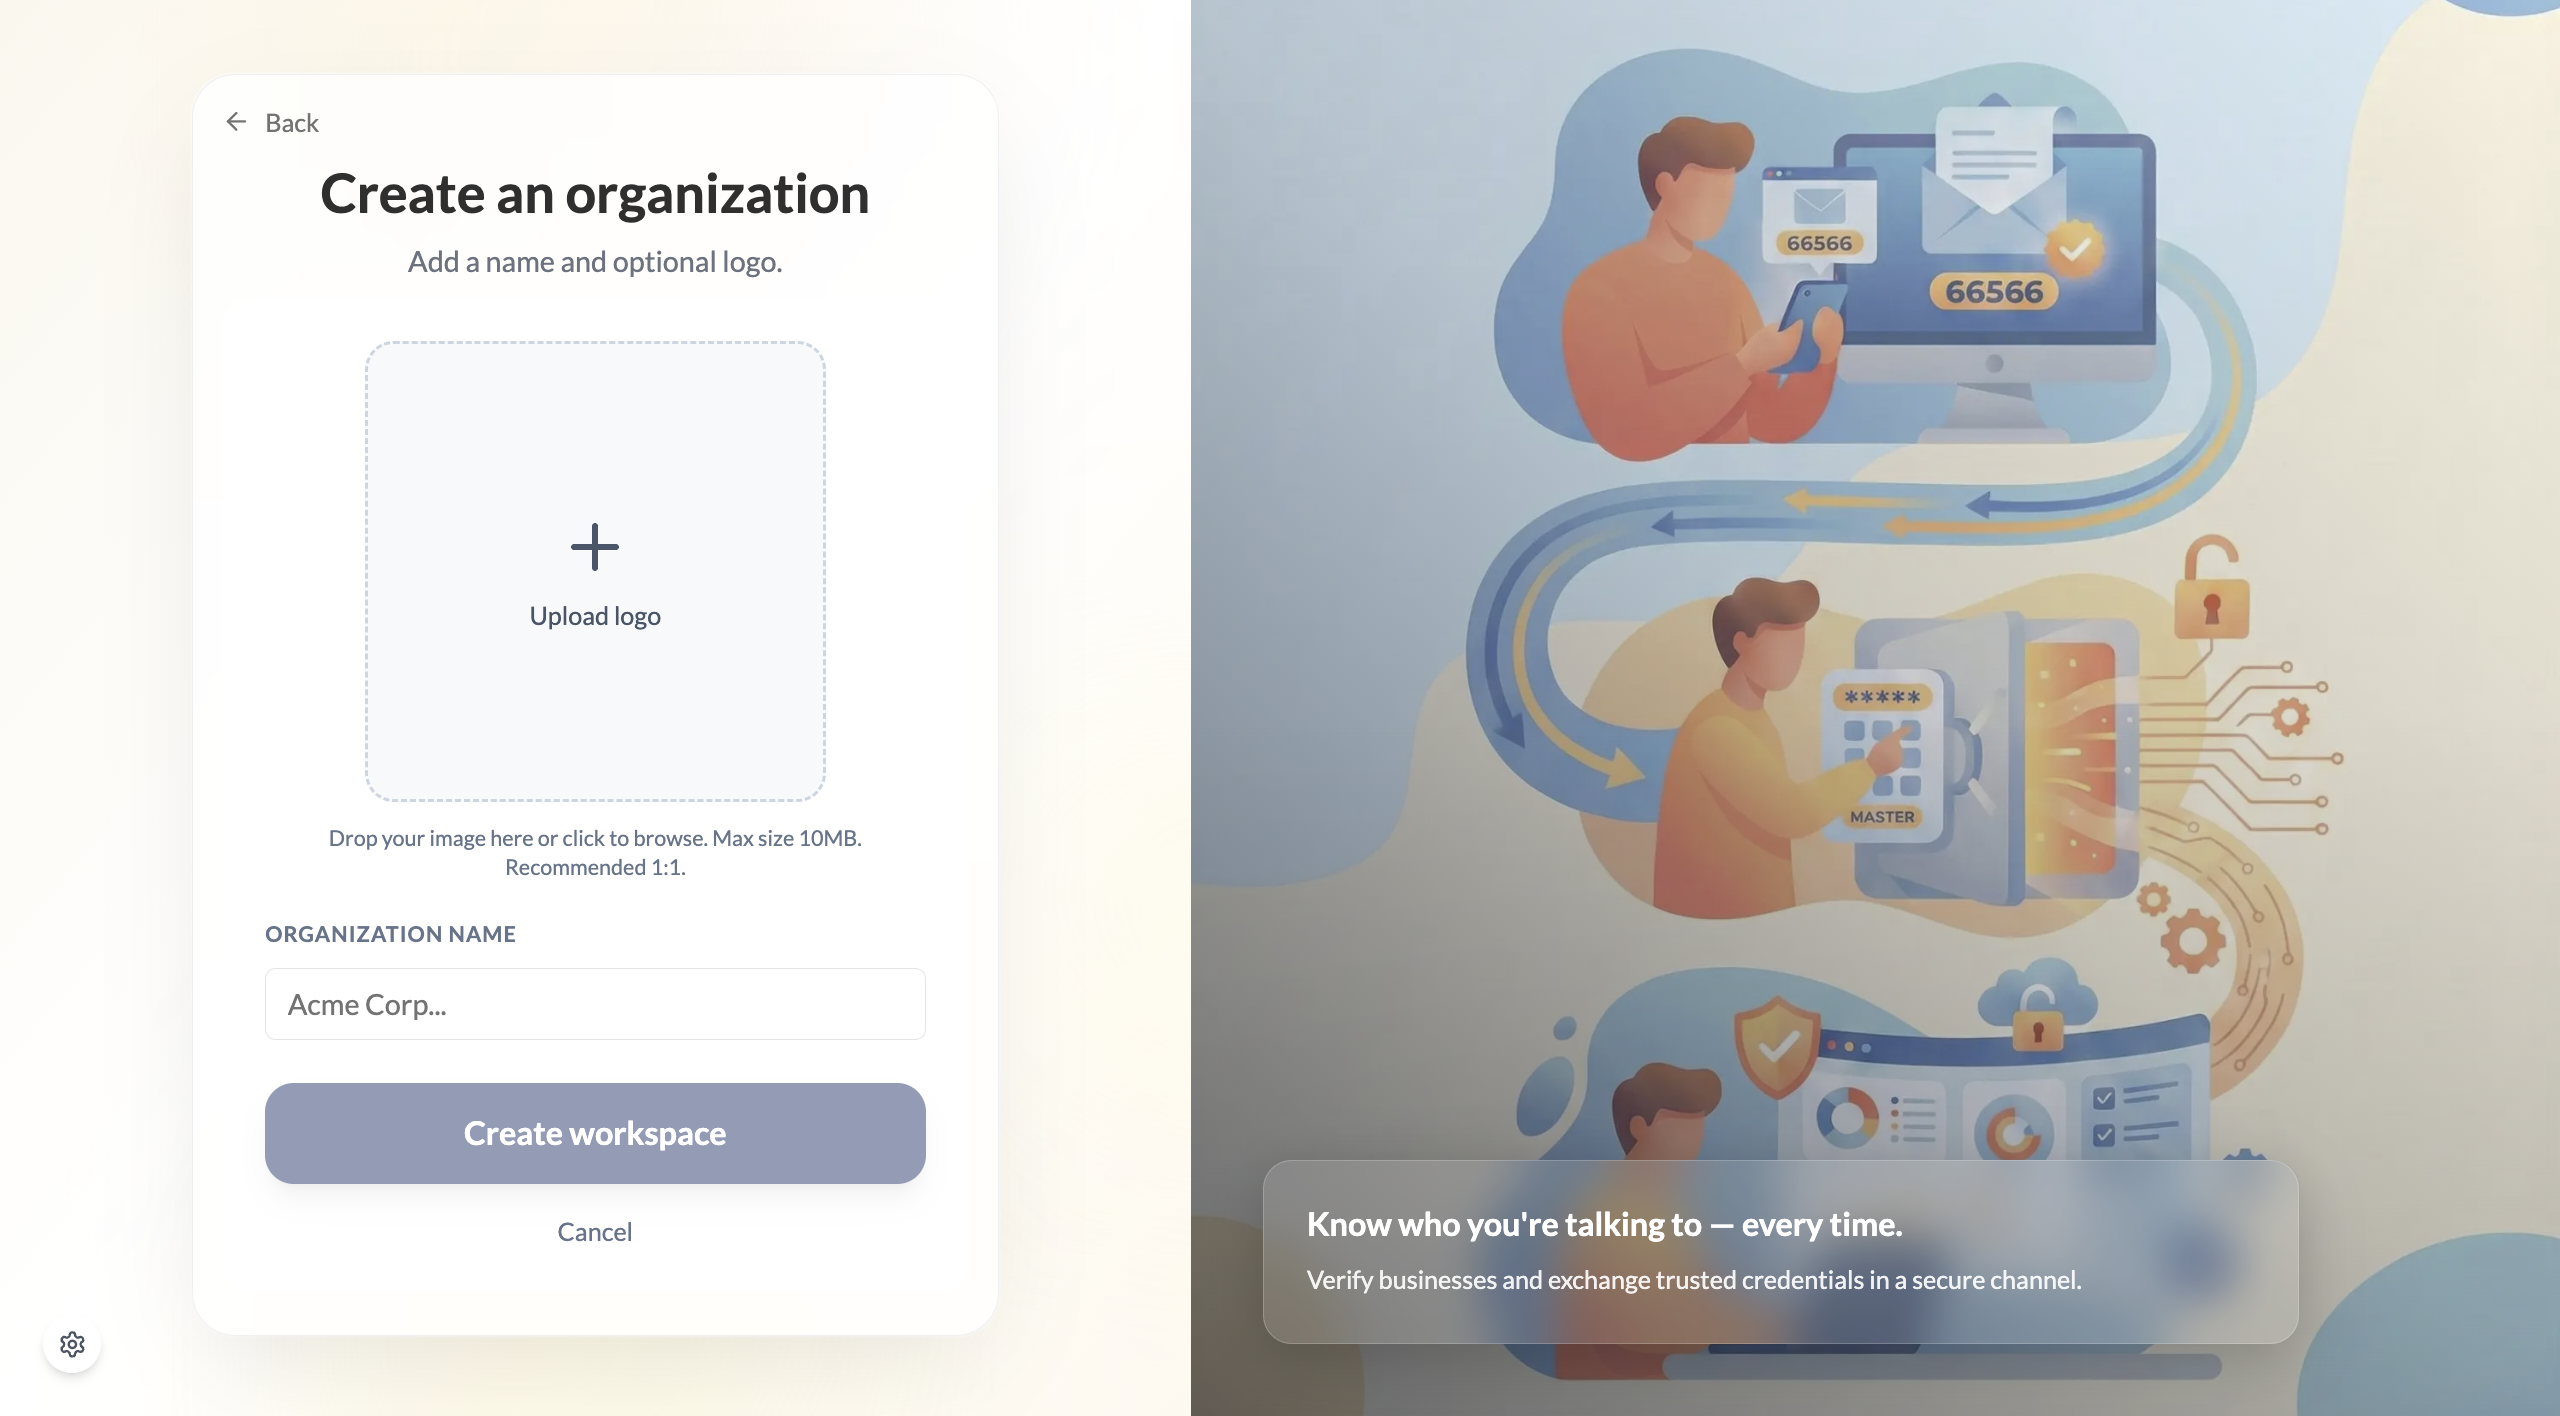
You can skip the logo now and add it later from Settings — but adding it here means contacts see your branding from day one.
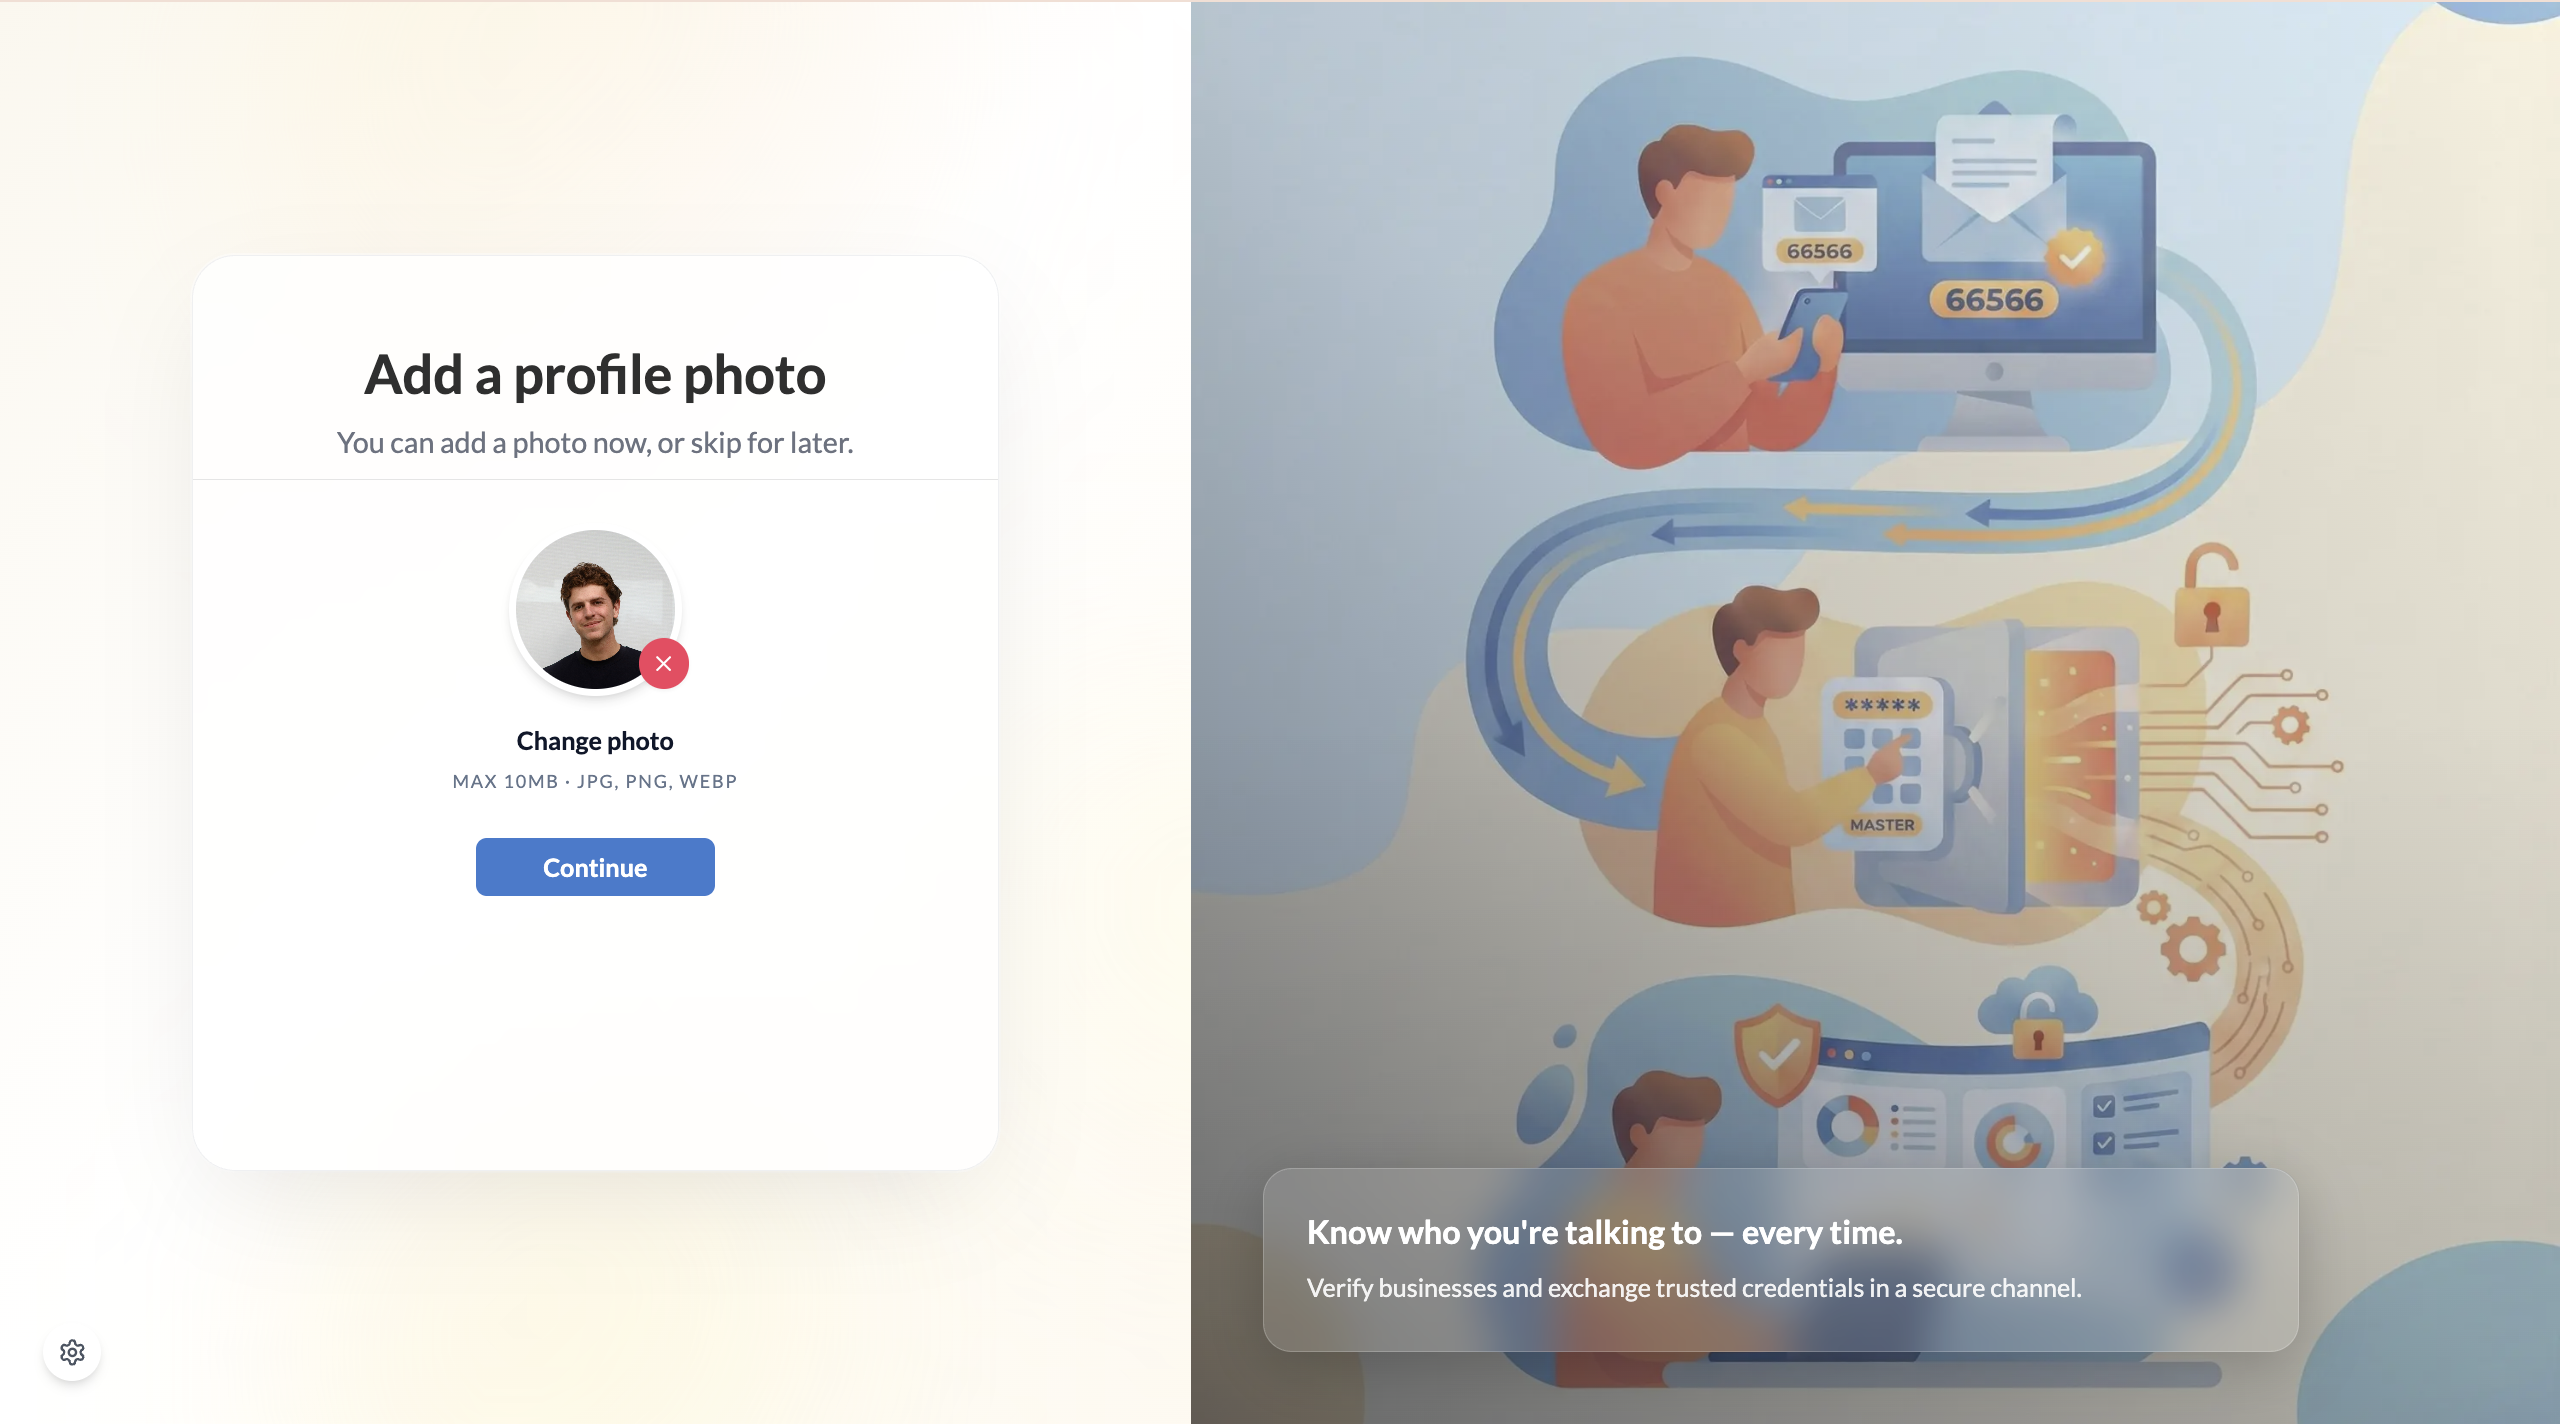
Add your personal profile photo (or skip for now)
VERA then asks you to add a personal profile photo. This is separate from your organisation logo — it's the photo that appears on your personal workspace.
You're on the organisation dashboard
Once setup is complete, you land on the organisation dashboard. A welcome modal shows your five onboarding tasks — everything you need to get fully up and running.

The five setup tasks
The welcome modal outlines what to do next:
- Verify your business — complete KYB to get your Business ID credential
- Invite a contact — connect with your first business contact
- Invite a team member — bring a colleague onto your organisation
- Complete your profile — add a description and contact details
- Learn more — links to this guide
You don't have to complete these in order, and you can dismiss the modal at any time. The tasks remain accessible from your dashboard.
Verifying your business first unlocks your Business ID credential. Without it, your organisation profile shows as unverified to contacts — which limits trust. Aim to complete this early. See Verify your business identity.