Join an organisation
When someone invites you to join their organisation on VERA, here's what the process looks like — from the email invitation through to your first login in the new workspace.
Receiving the invitation
Check your email
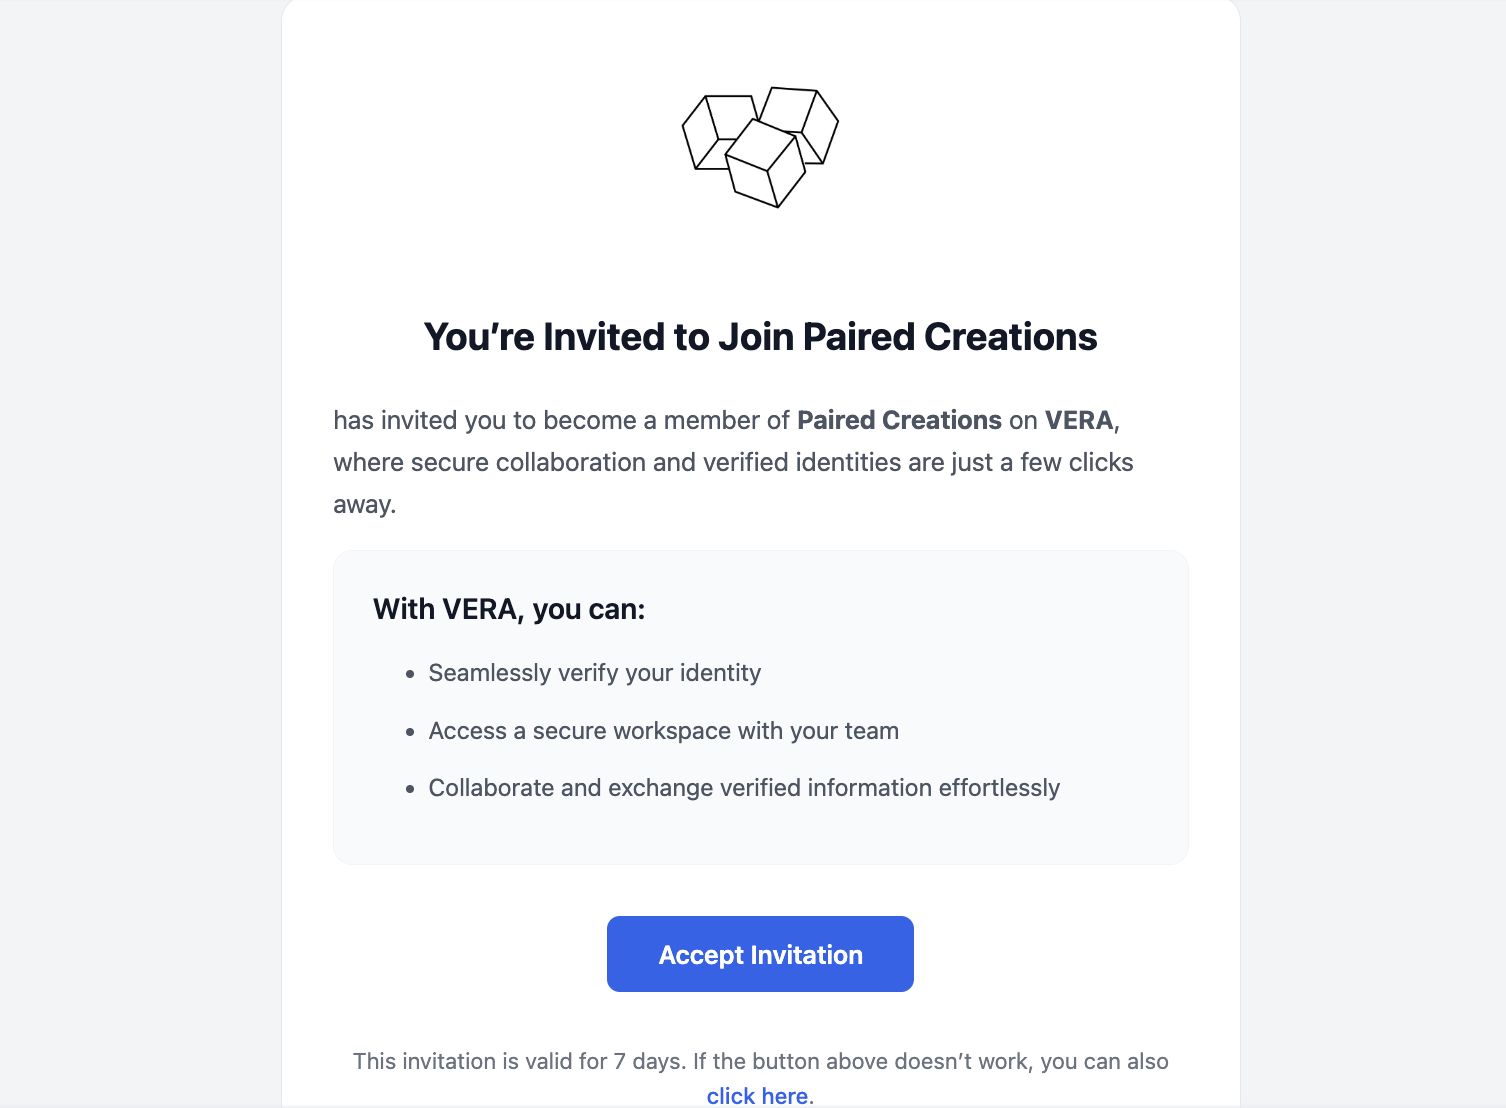
You'll receive an email with the subject "You're Invited to Join [Organisation Name]". The email explains that you've been invited to become a member of the organisation on VERA. It includes an Accept Invitation button. The invitation is valid for 7 days.
If you don't have a VERA account yet, clicking Accept Invitation will take you through the account creation flow first (creating your vault password, saving your recovery key, etc.), then automatically link you to the organisation. See Create your account for that full walkthrough.
Sign in and see the notification
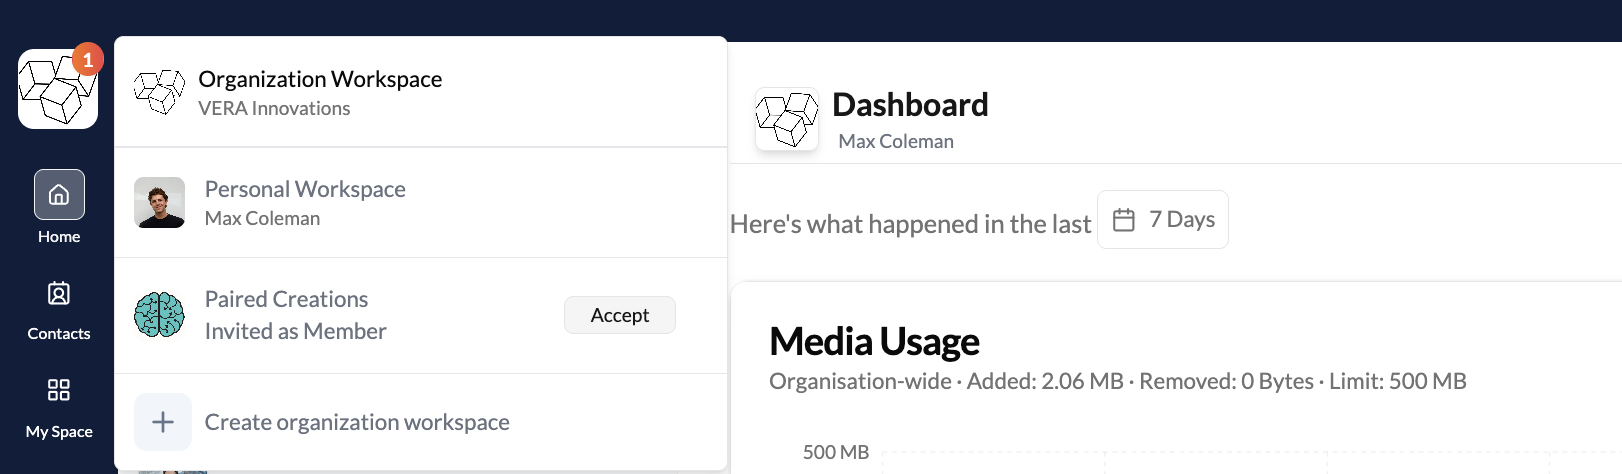
If you're already signed into VERA, you'll see a notification badge on the workspace switcher (the icon in the top-left corner). Click it to open the workspace menu. The new organisation appears with an Accept button next to it, showing "Invited as Member" below the organisation name.
Accept the invitation
Click Accept next to the organisation name.
Your new workspace
Land in the new organisation
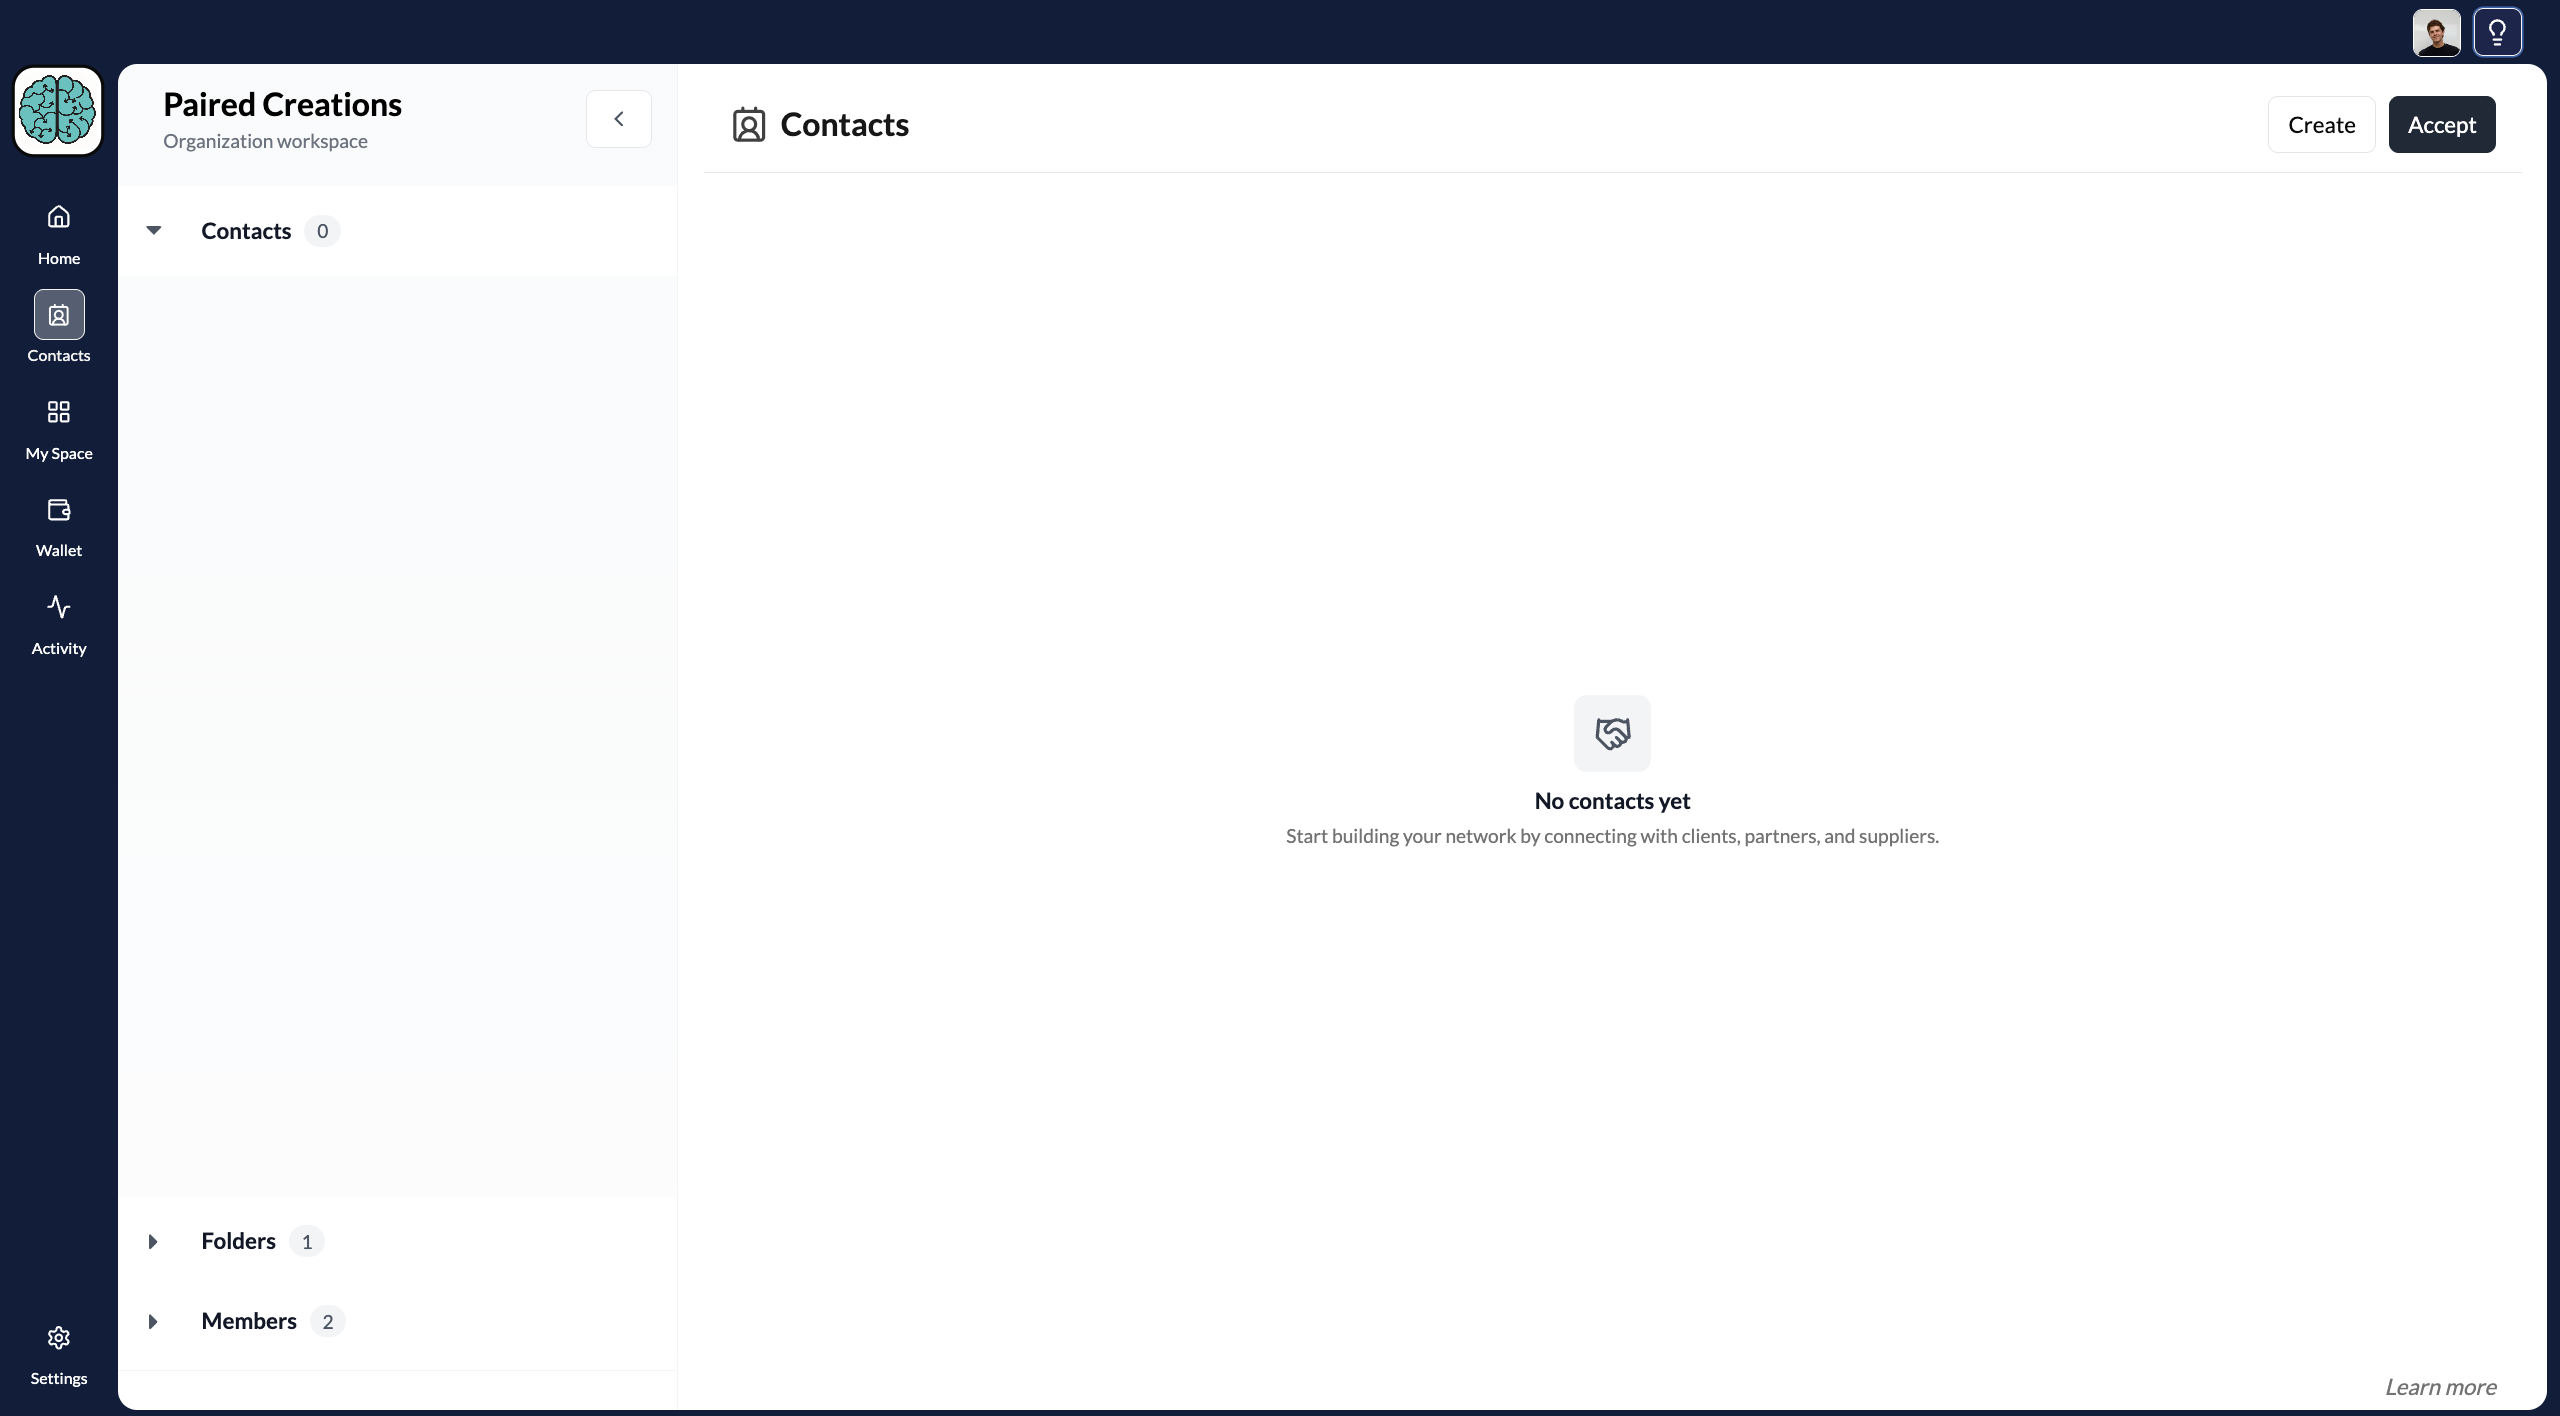
Once accepted, you're switched into the new organisation workspace. You'll see the organisation name in the top-left, an empty contacts list (since you're new to this workspace), and the Folders and Members sections in the sidebar.
Verifying your identity
When you join an organisation, you can start using it immediately — chatting with contacts, viewing shared documents, and accessing the workspace. However, you'll notice a prompt at the bottom of the left sidebar: Verify Your Identity. This prompt appears if you haven't completed personal identity verification yet.
If you've already completed personal identity verification in another workspace (your personal account or a different organisation), your verified status carries over automatically. The organisation's Identity page will show you as "Verified" from the moment you join. You don't need to verify again.
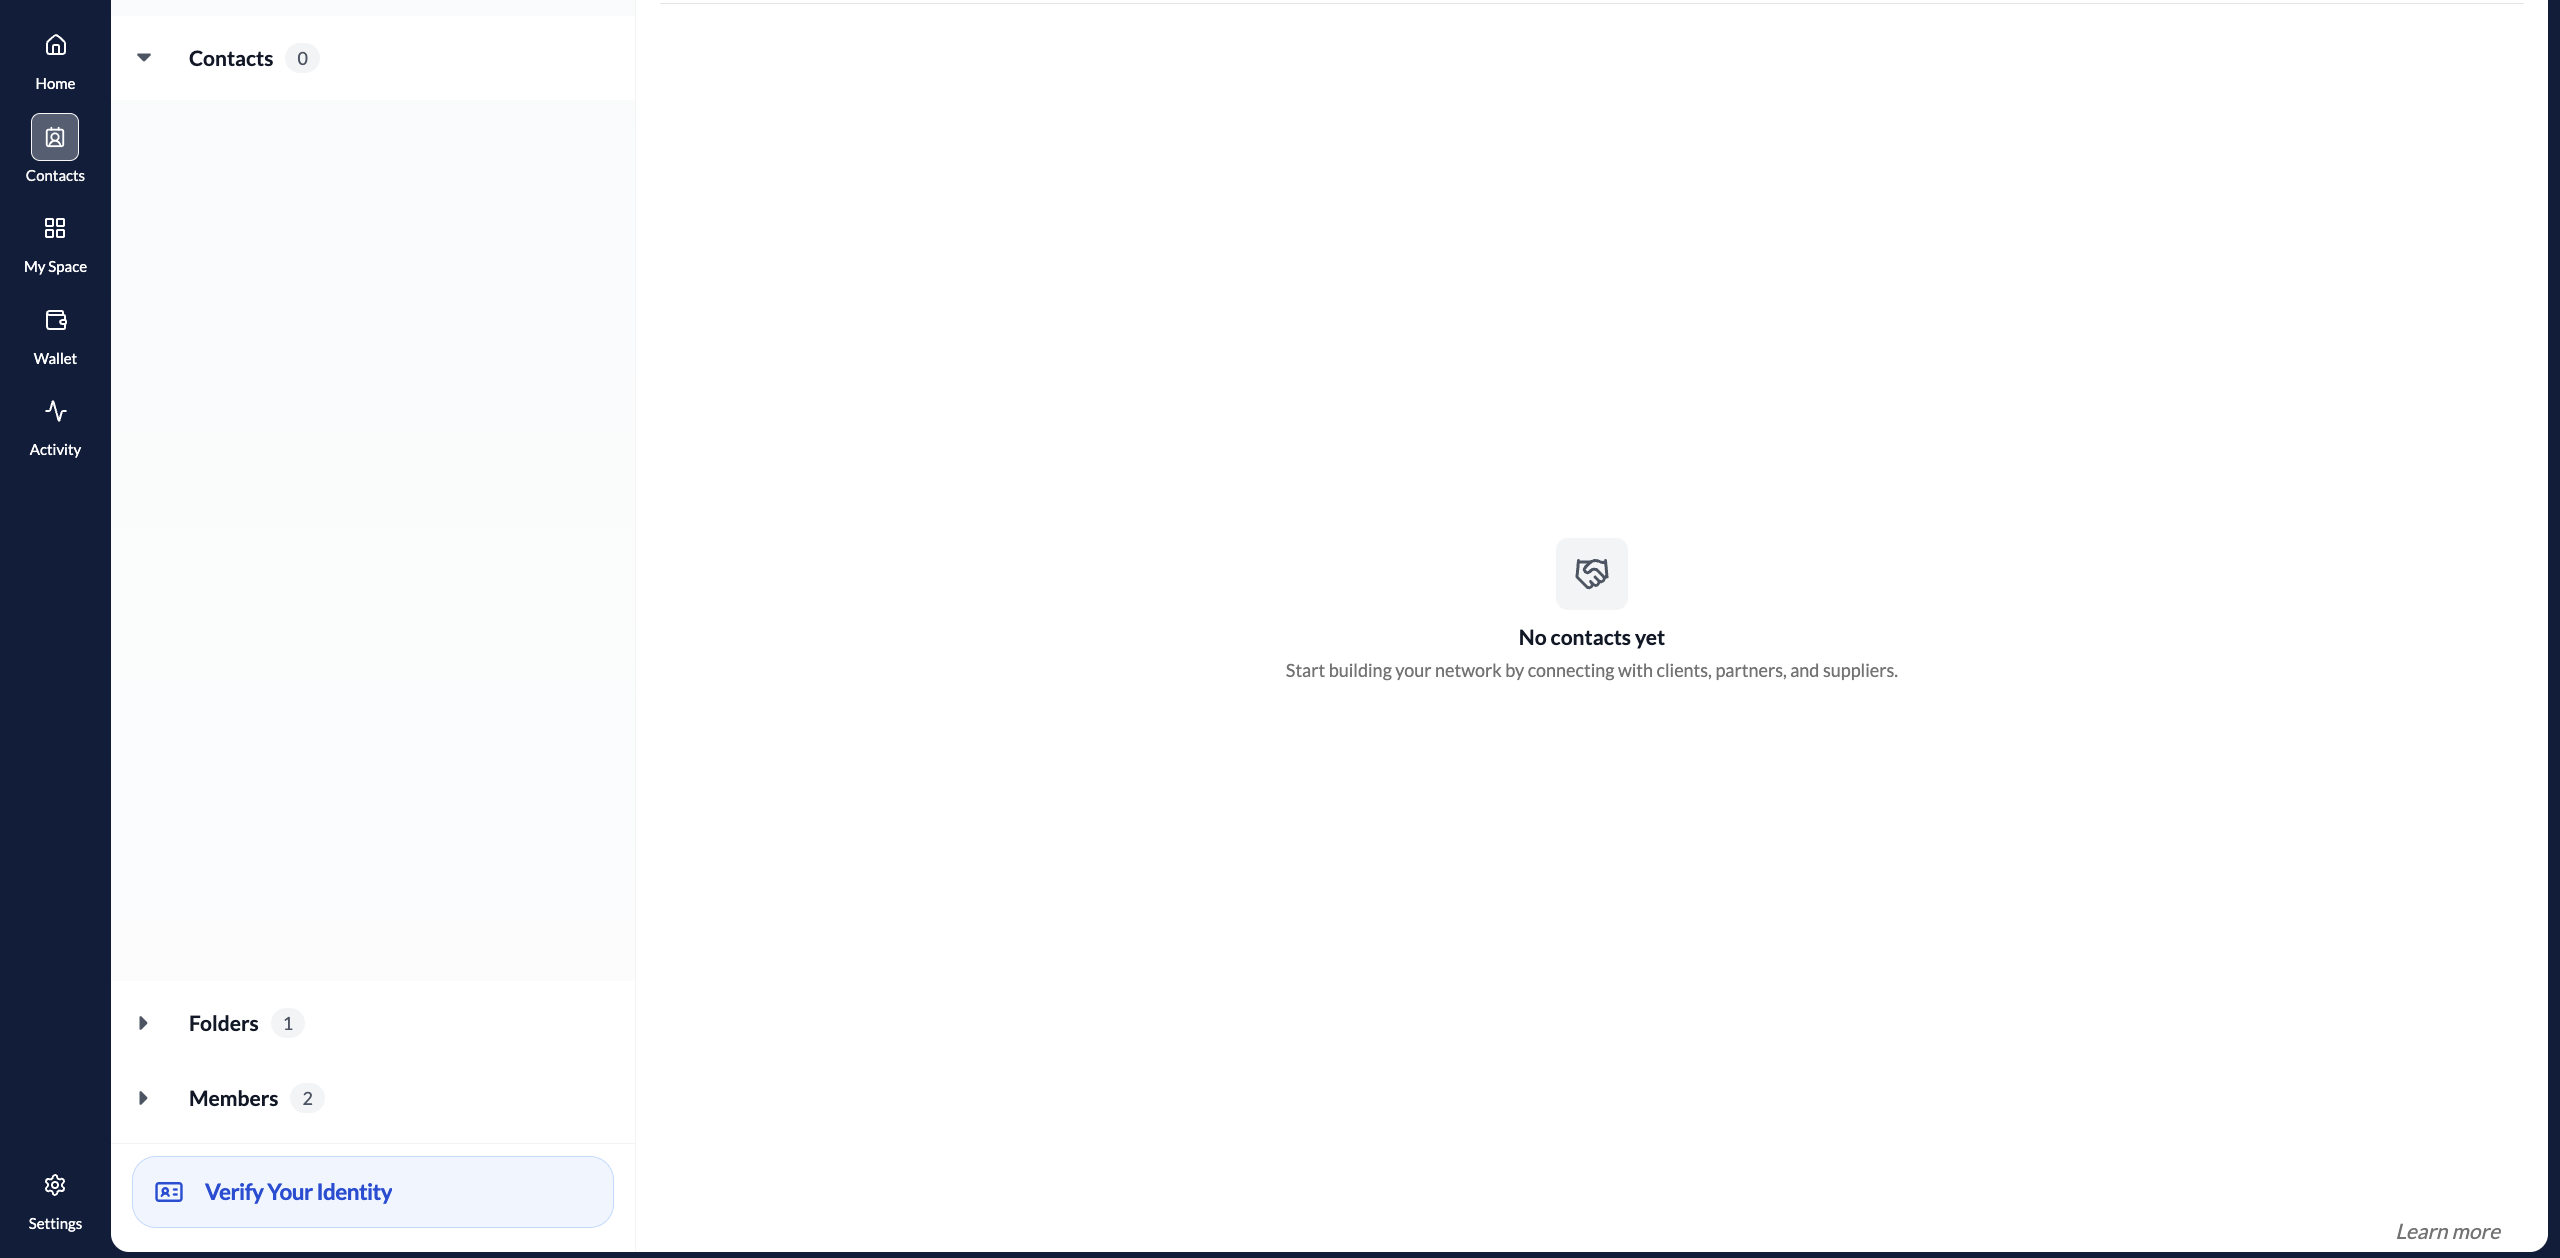
If you haven't verified yet, clicking the prompt takes you to the Person Identity Verification flow.
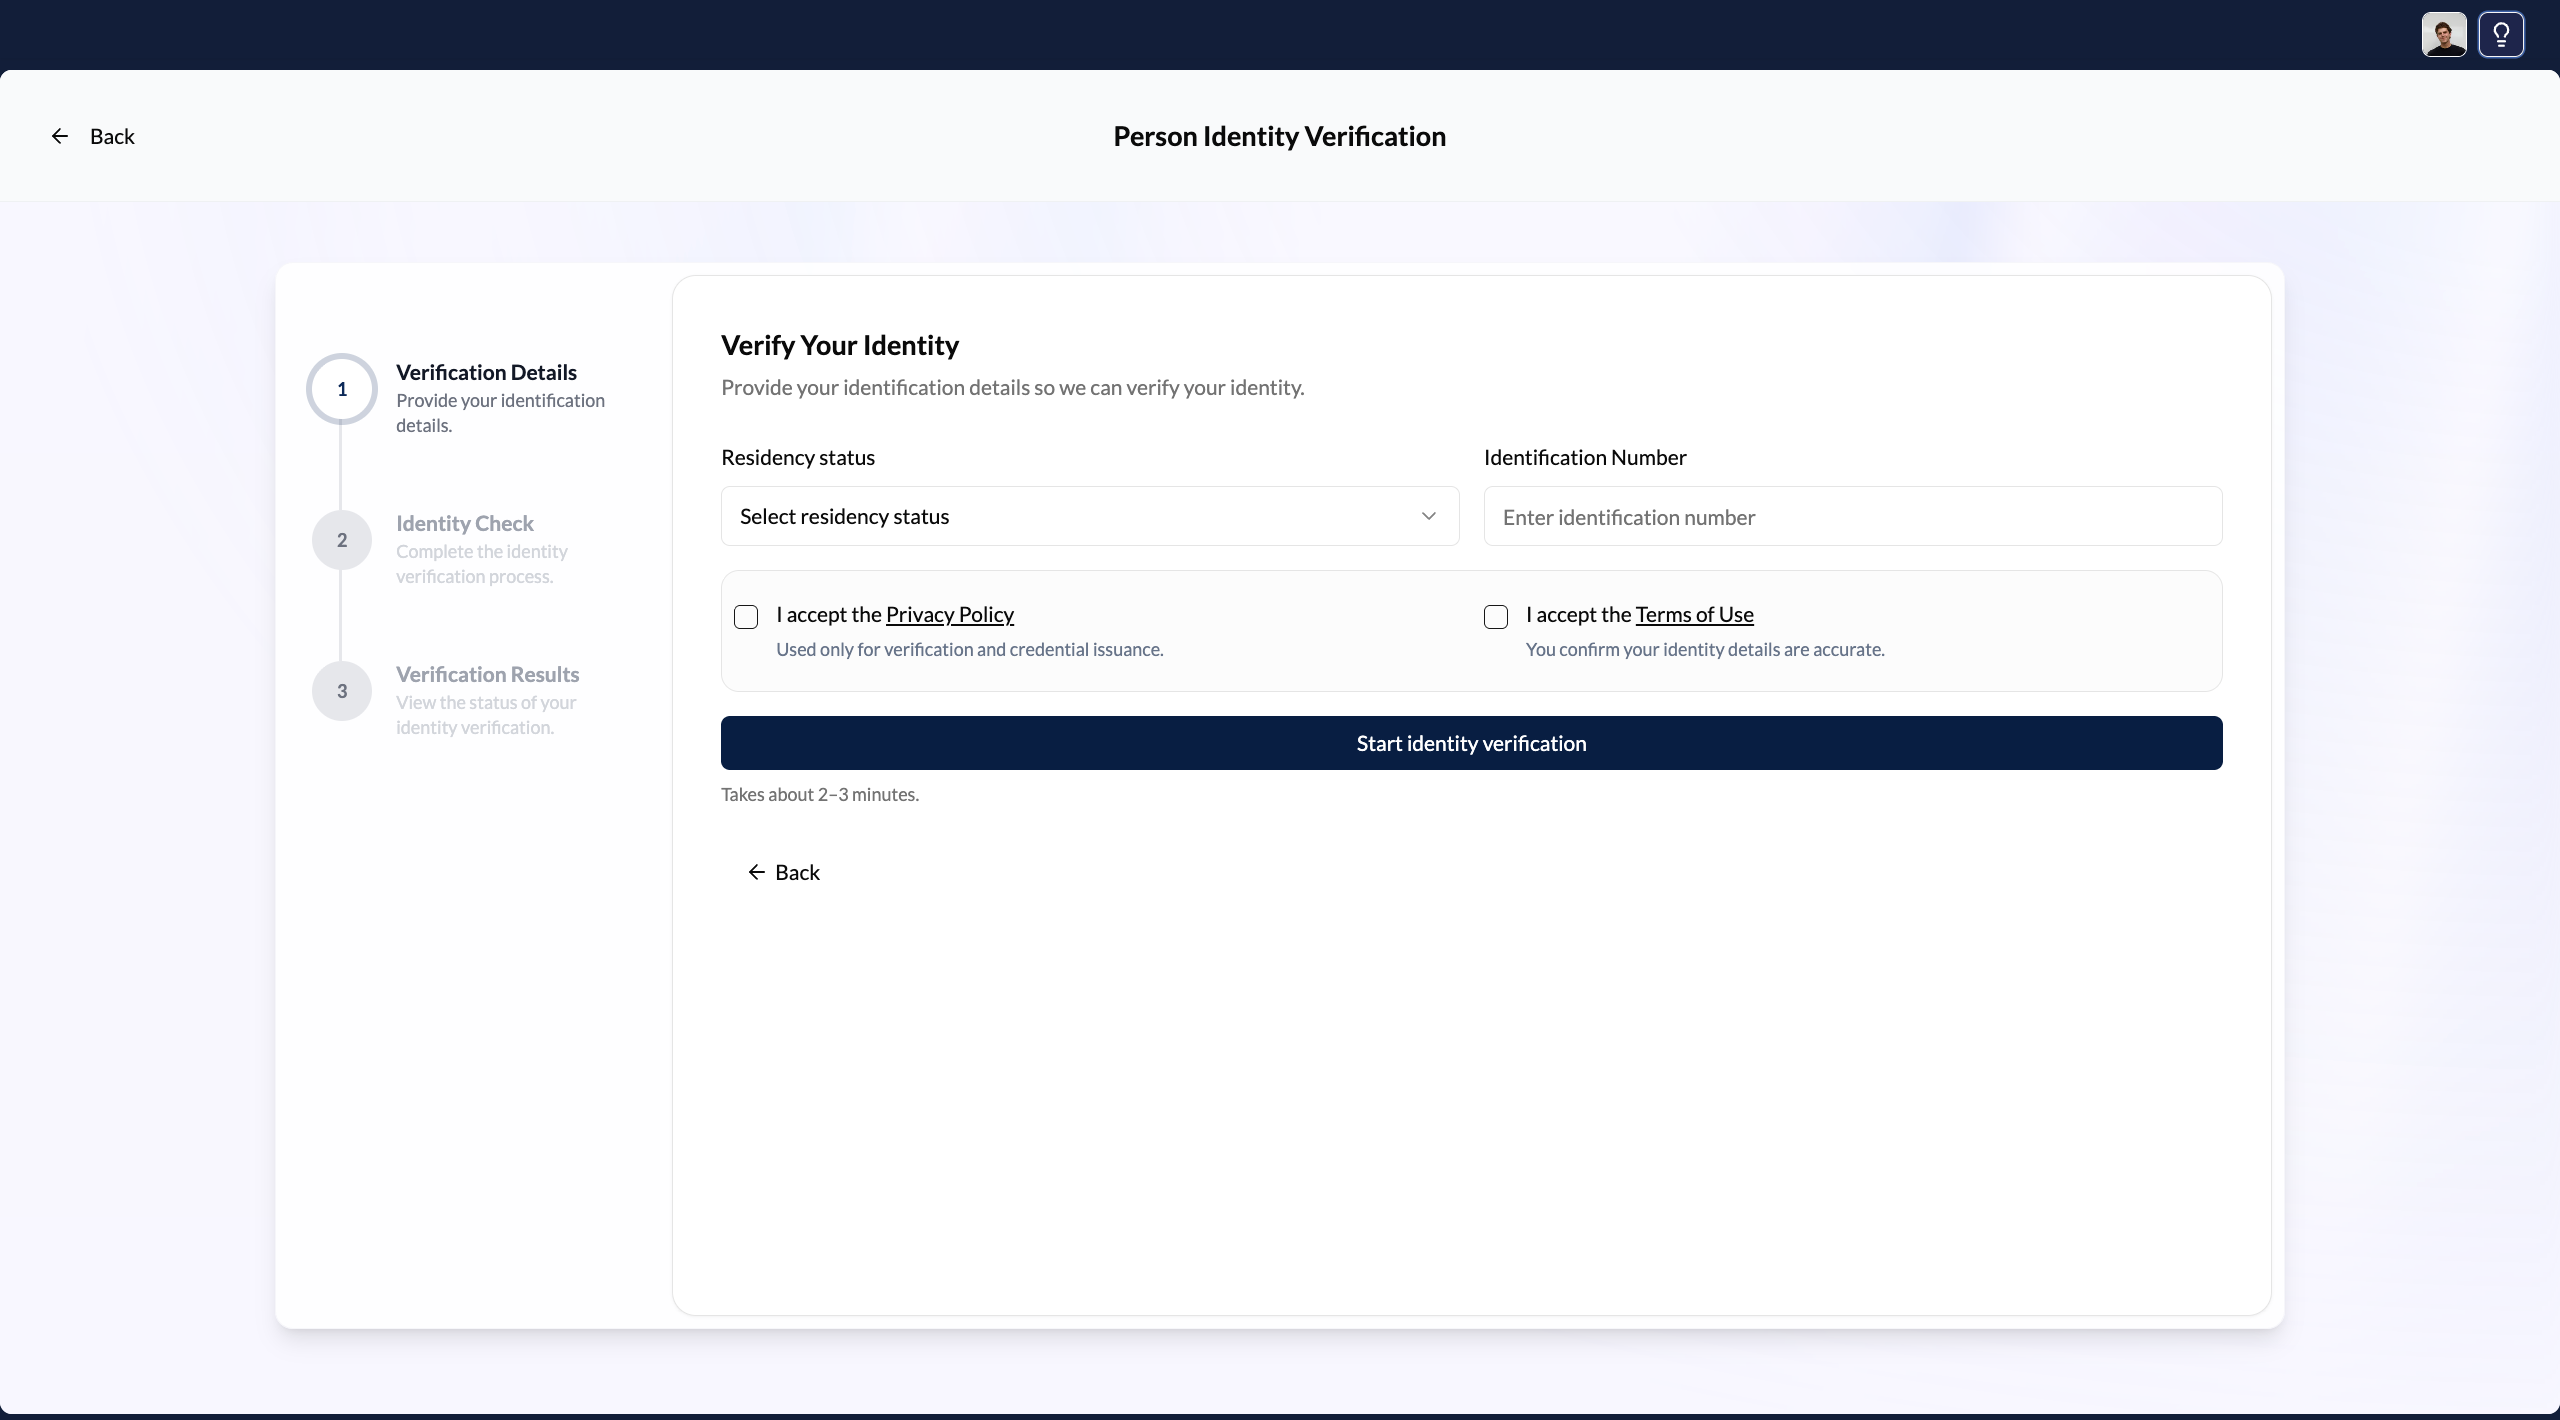
While verification isn't required to use the workspace, completing it lets the organisation confirm your identity in their Settings → Identity page, and allows you to participate in credential sharing. It takes 2–3 minutes. See Verify your personal identity for the full walkthrough.
What you can do as a member
Chat with contacts. You can message any of the organisation's connections through their secure channels. Messages you send appear under your name as a representative of the organisation.
Access shared documents. Files and documents shared in the organisation's channels are accessible to all members with the appropriate role.
Complete onboarding checklists. If the organisation has active checklists from contacts, you can help complete them.
What you can't do. As a Member (not Director or Admin), you can't change organisation settings, manage verified credentials, invite new team members, or modify other members' roles. These actions require Director or Admin access.