Send an onboarding checklist
There are two ways to send an onboarding checklist to a contact — attach one when you first invite them, or send one to an existing connection. Here's how both work.
What onboarding checklists are for
When you need to collect documents, credentials, or information from a contact — company registration documents, proof of address, tax evidence, beneficial ownership details — you can send them a structured onboarding checklist through VERA. The contact receives the checklist inside their encrypted channel and completes each item at their own pace. Everything stays end-to-end encrypted.
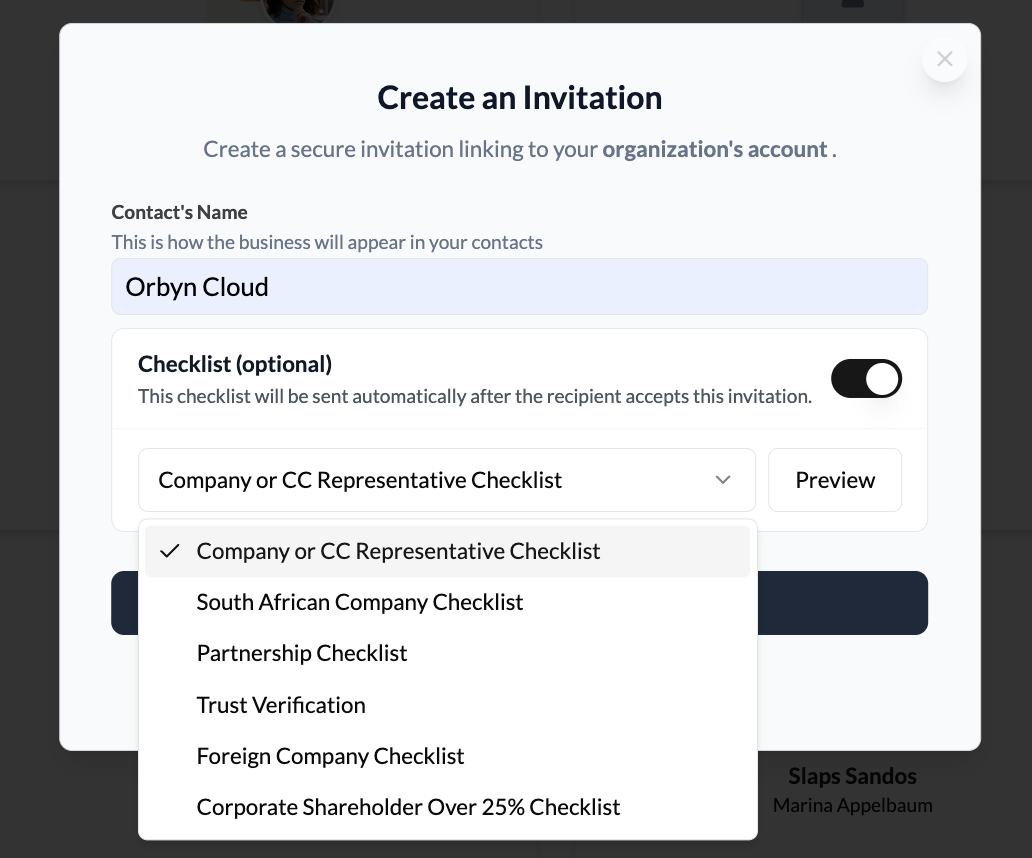
VERA provides pre-built checklist templates for common scenarios. The available templates depend on whether you're onboarding a business or an individual. For business contacts, templates include: Company or CC Representative Checklist, South African Company Checklist, Partnership Checklist, Trust Verification, Foreign Company Checklist, and Corporate Shareholder Over 25% Checklist.
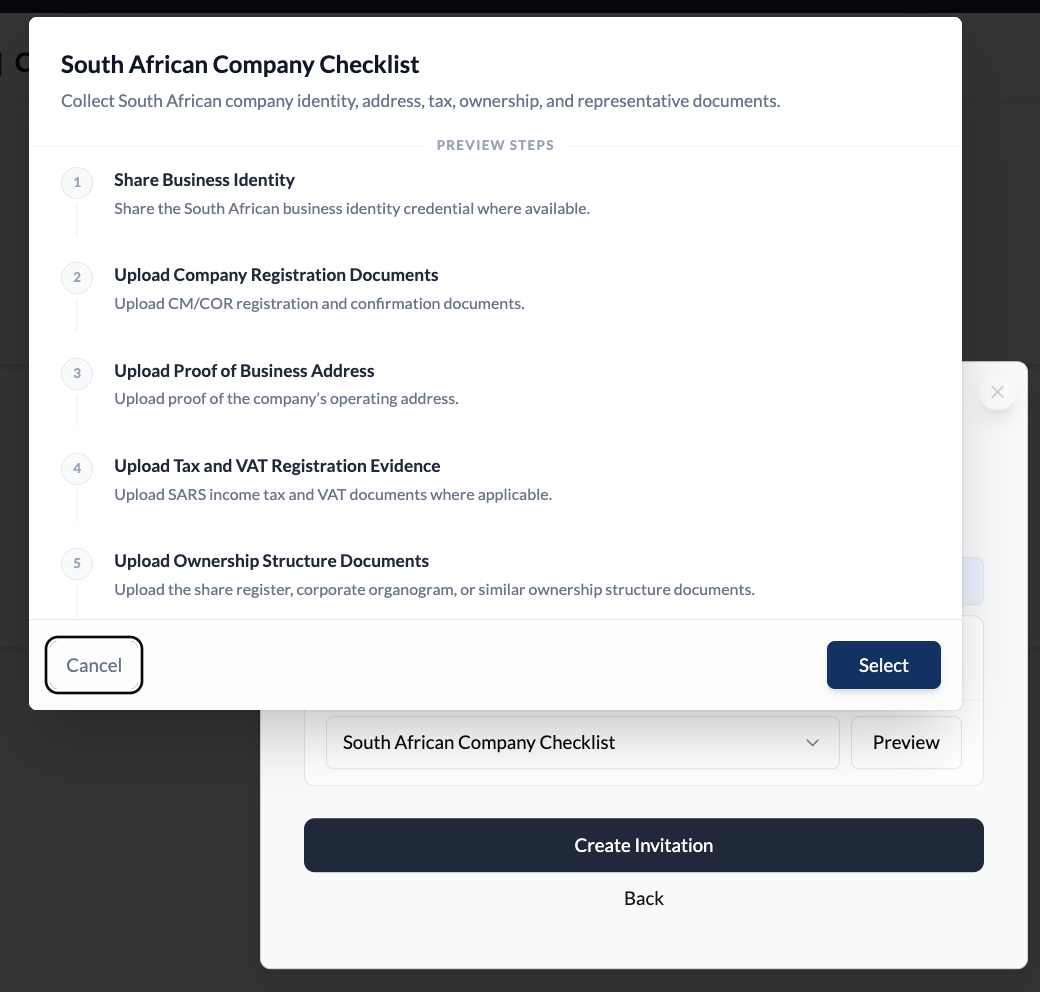
Each template contains a set of steps — things like sharing a business identity credential, uploading registration documents, proof of address, tax registration evidence, and ownership structure documents. You can preview the steps before sending.
Option 1 — Attach a checklist when inviting a contact
This is the most efficient approach. When you create an invitation to connect with someone, you can attach a checklist that gets sent automatically as soon as they accept. No extra steps needed after they connect.
Create the invitation as normal
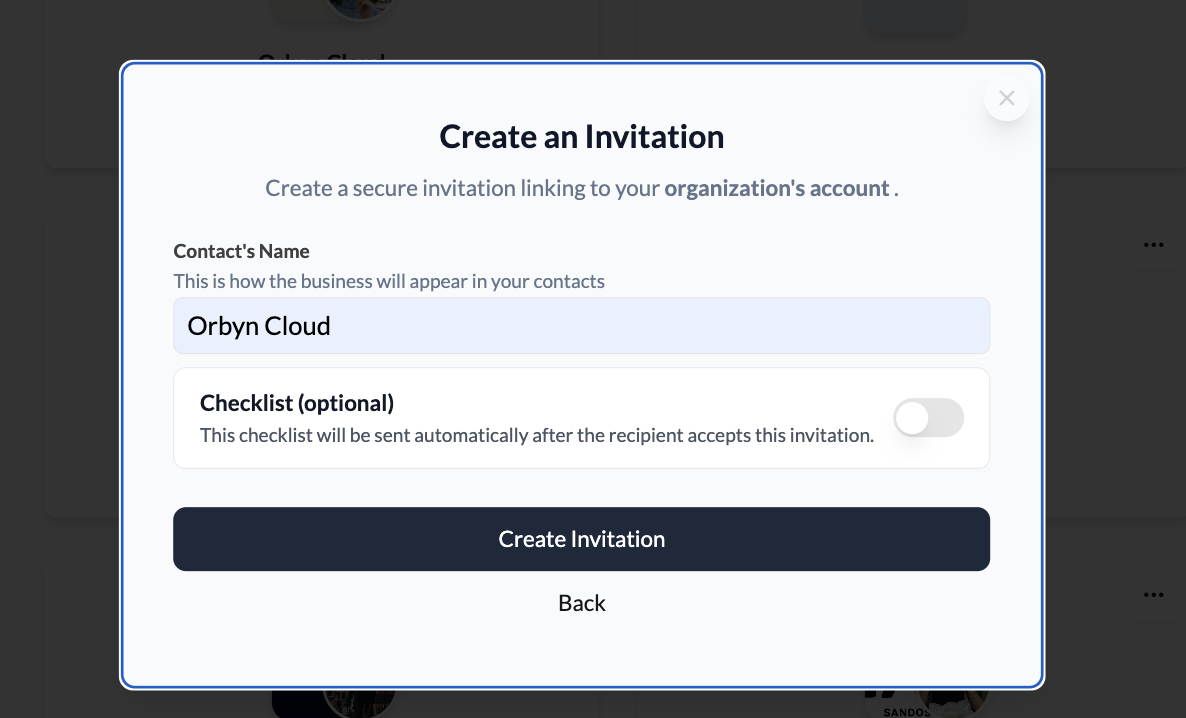
Go to Contacts → Create and enter the contact's name. Before clicking "Create Invitation", you'll see a Checklist (optional) toggle below the name field. By default this is off.
Toggle the checklist on
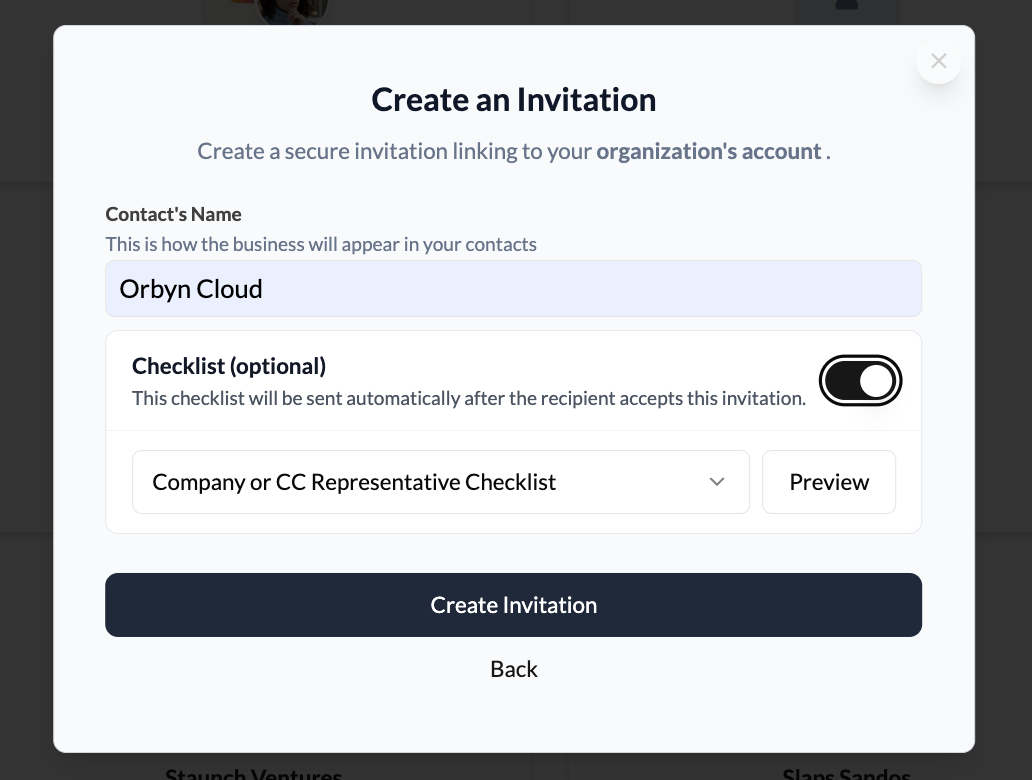
Switch the Checklist toggle to on. A dropdown appears letting you select which checklist template to attach. The default is "Company or CC Representative Checklist".
Choose the right template
Click the dropdown to see all available templates. Select the one that matches what you need from this contact.
Preview before sending (optional)
Click Preview next to the dropdown to see exactly what the checklist will ask your contact to do. Each template lists its steps with descriptions — so you know what you're asking for before the invitation goes out.
Create the invitation
Click Create Invitation. The invitation is generated with the checklist attached. Share the invite link or send it via email as normal. When your contact accepts the invitation, the checklist is delivered to them automatically.
Attaching a checklist at invitation time means your contact receives it the moment they connect. There's no delay and no extra step for you to remember. This is the recommended approach when you know upfront what you'll need from them.
Option 2 — Send a checklist to an existing contact
If you've already connected with someone and need to send them a checklist after the fact, you can do this from the Onboarding tab in the conversation.
Navigate to the Onboarding tab
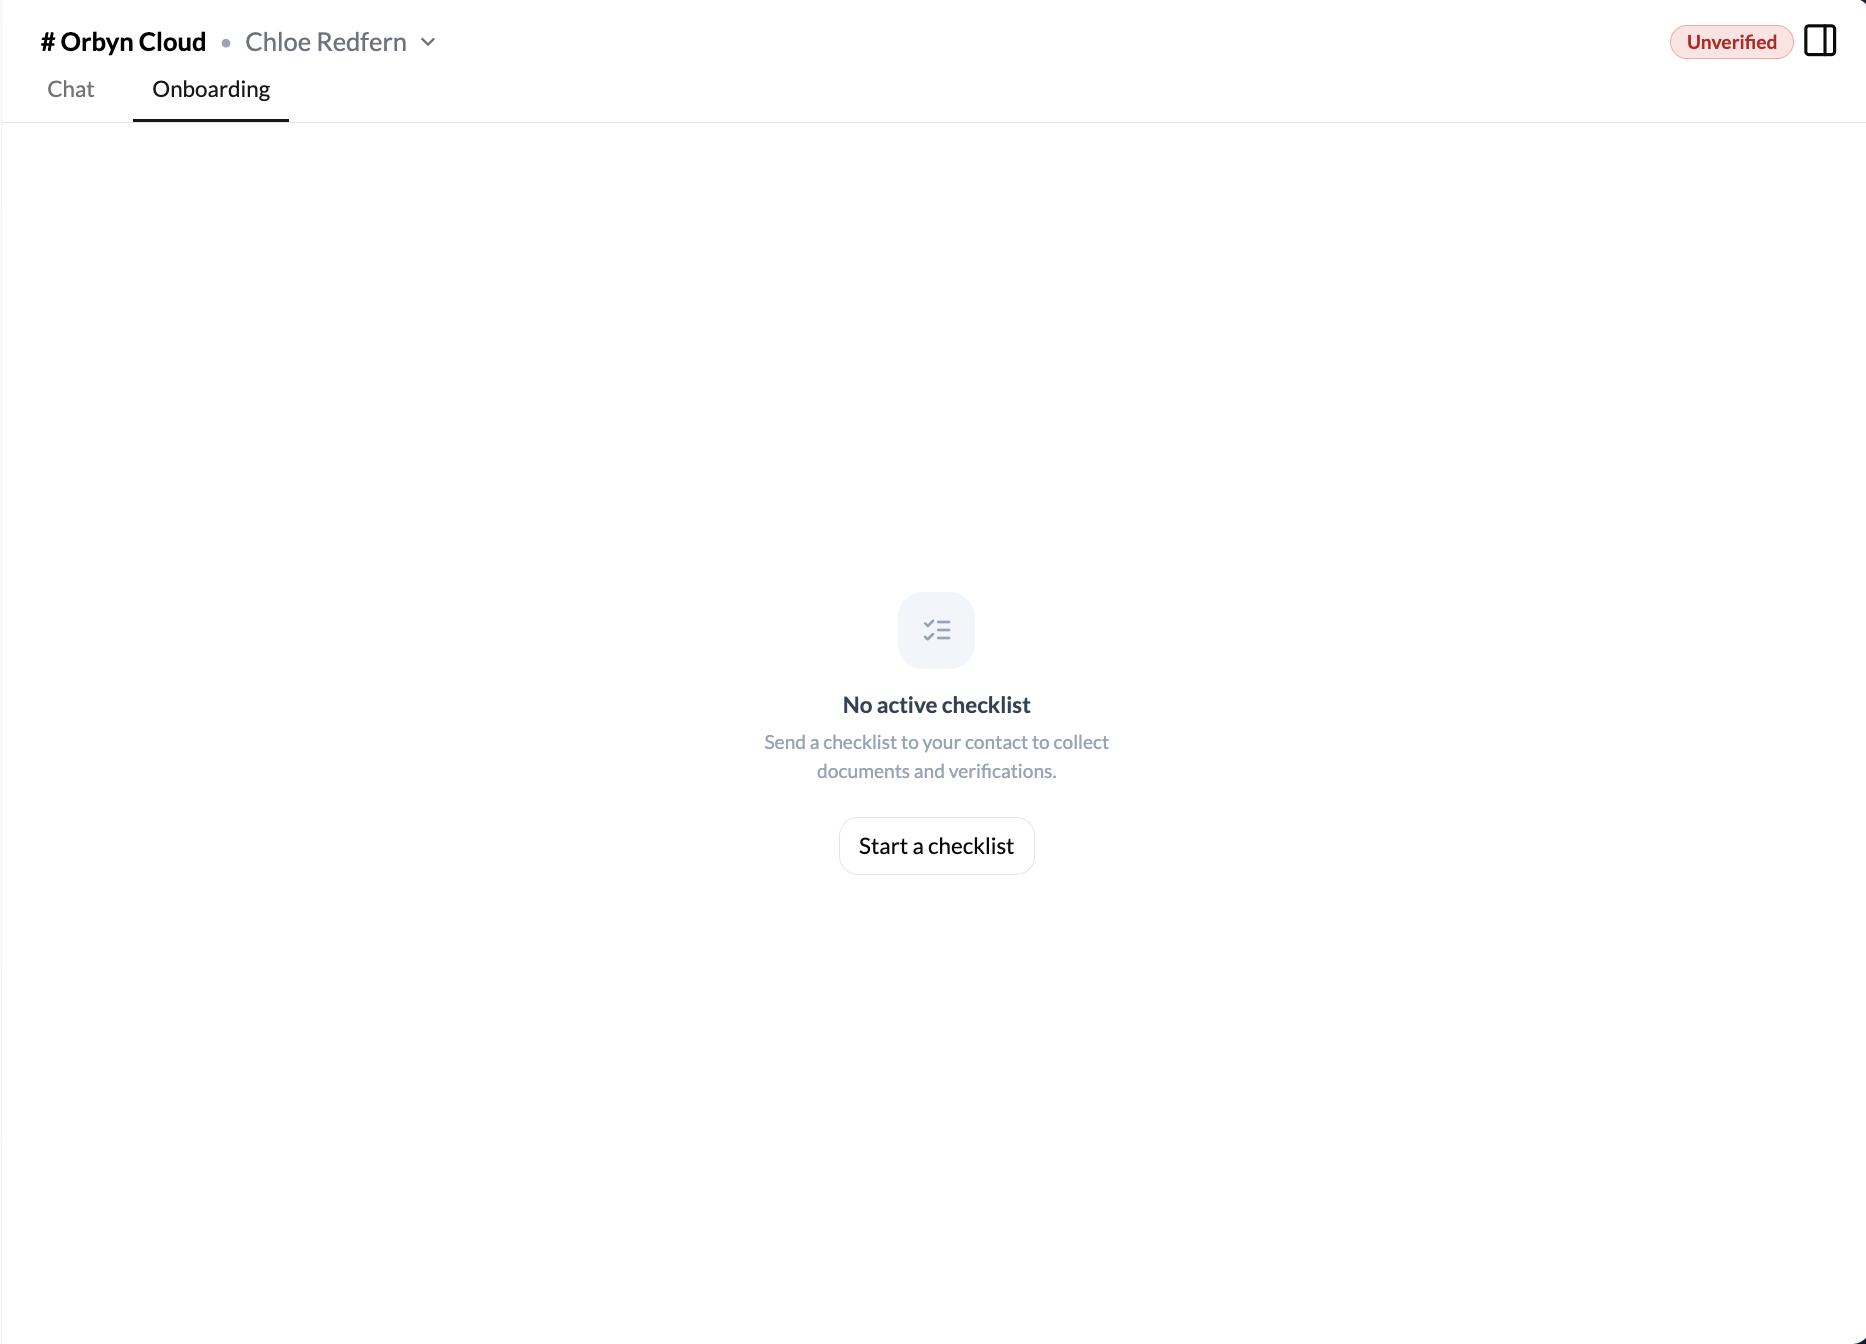
Open the conversation with the contact. At the top of the chat, switch from the Chat tab to the Onboarding tab. If no checklist has been sent yet, you'll see an empty state with a "Start a checklist" button.
Select a checklist template
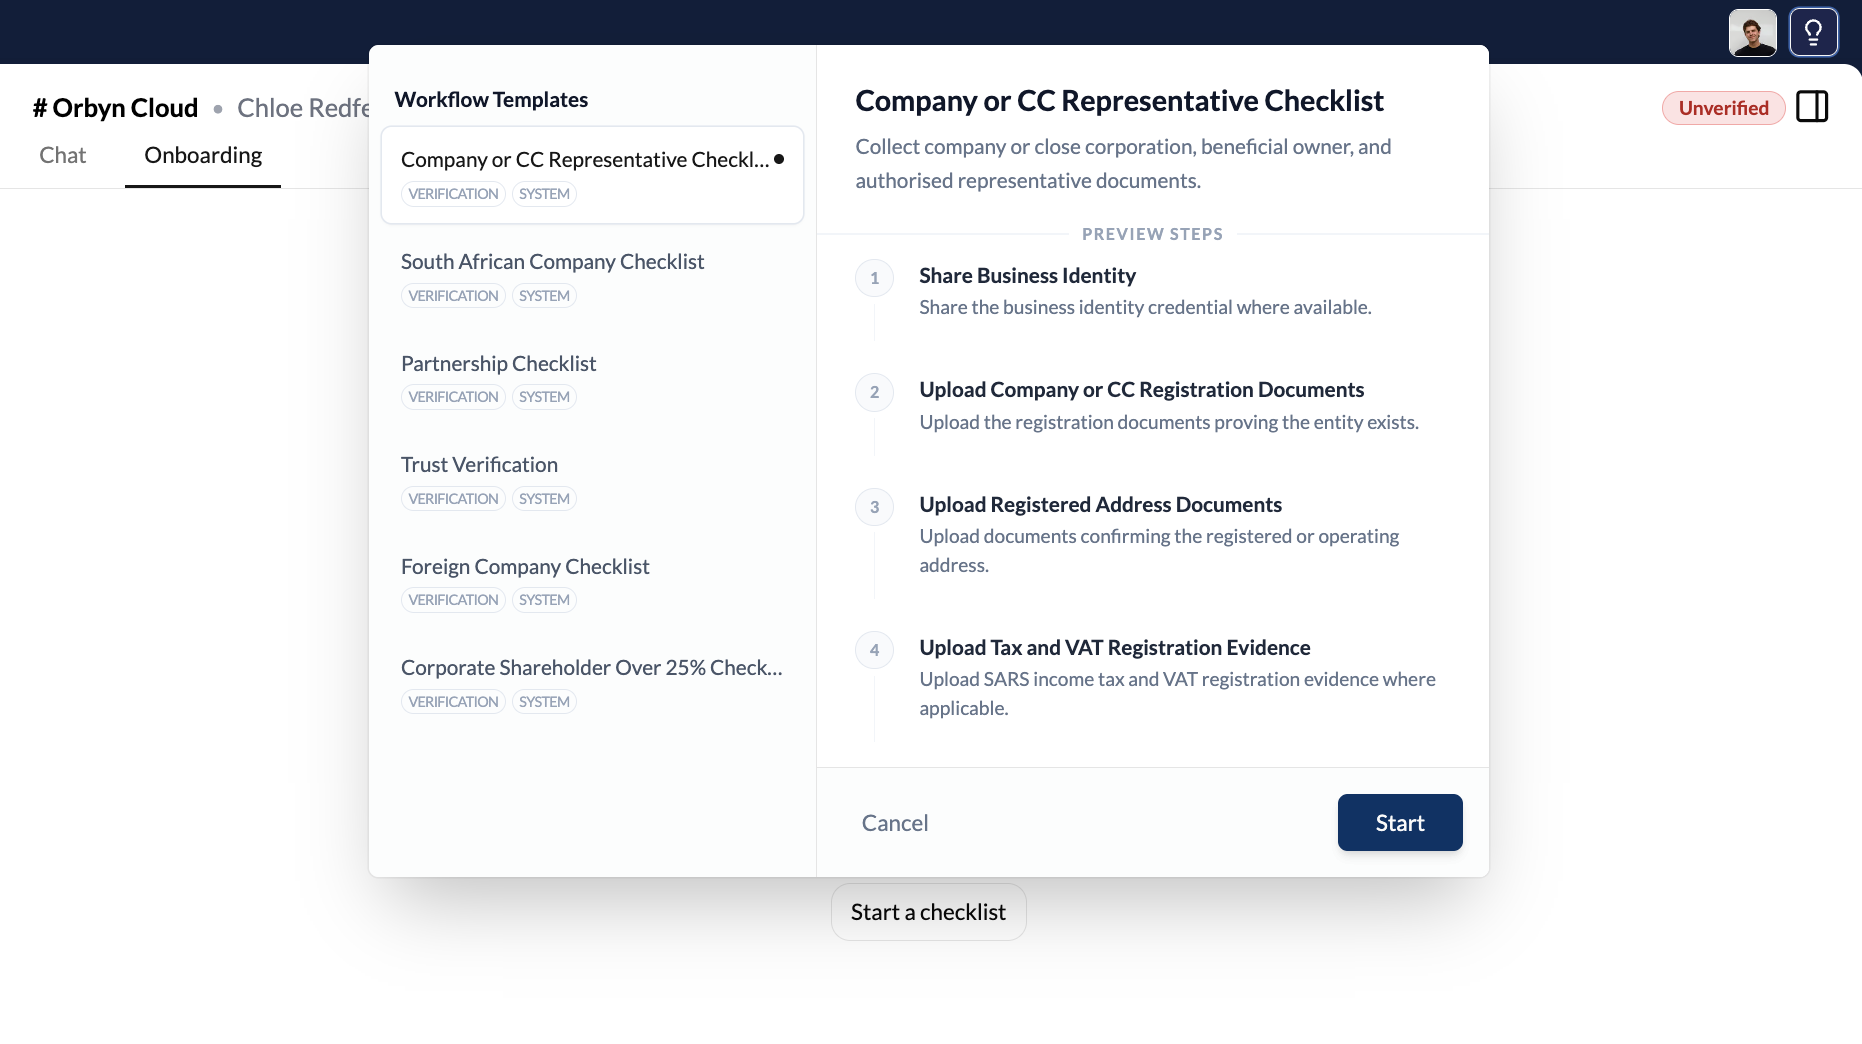
Click "Start a checklist". A modal opens showing all available Workflow Templates on the left — each tagged as VERIFICATION | SYSTEM. Click any template to preview its steps on the right side of the modal.
Send the checklist
Once you've selected the right template, click Start. The checklist is sent to your contact immediately. You'll see a "Workflow sent!" confirmation and the Onboarding tab updates to show the active checklist with all items listed, their completion status, and a "Waiting" badge.
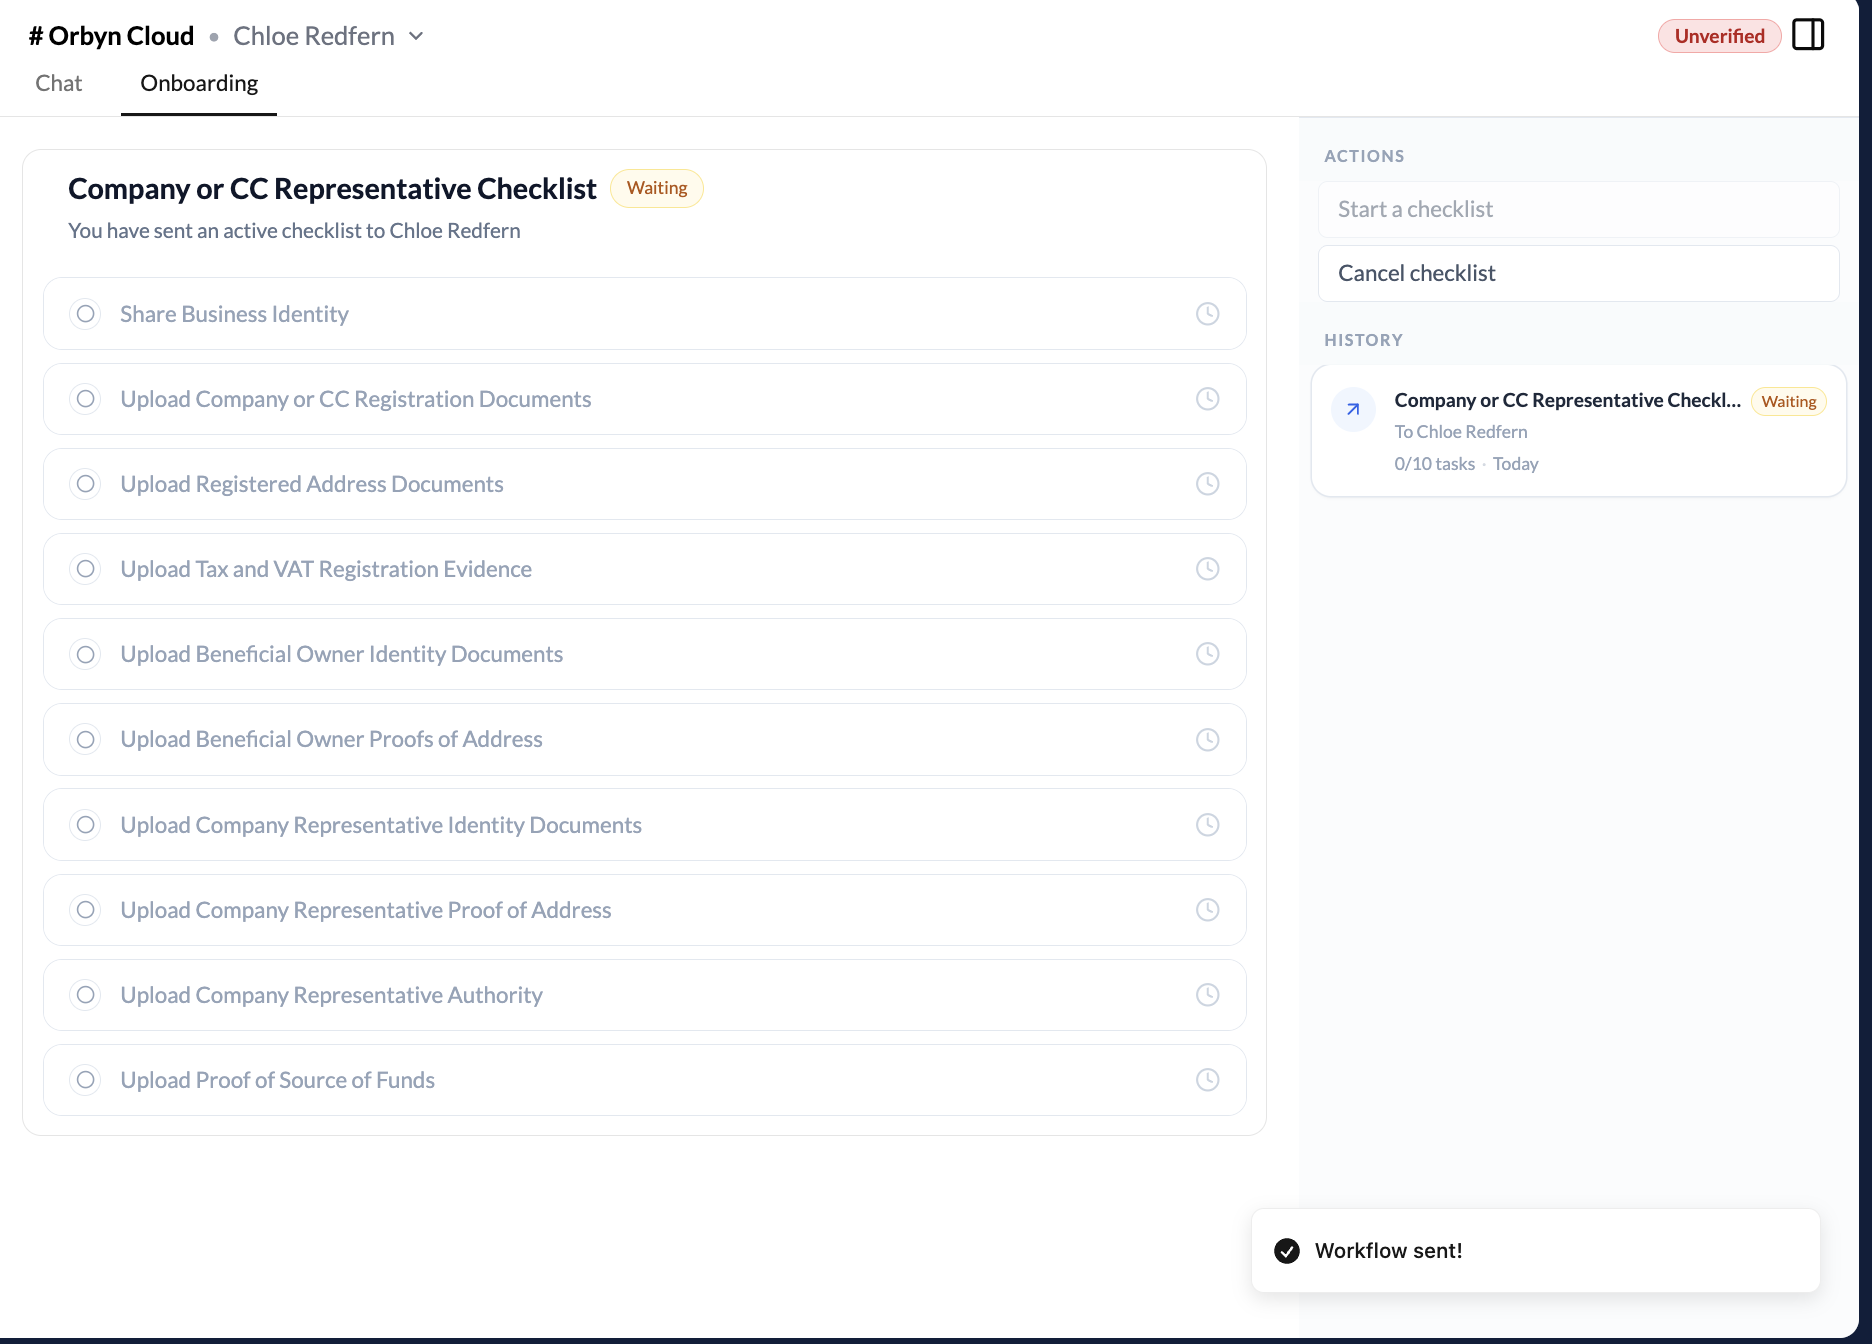
The right-side panel shows Actions (where you can start another checklist or cancel the current one) and History (showing all checklists sent to this contact with their status).
What happens next
After you send a checklist, your contact receives a notification and can see it in their conversation with you. They work through each item — uploading documents, sharing credentials, entering information — and submit it when they're done. You'll be notified when they submit.
For a walkthrough of the contact's side, see Completing an onboarding checklist.
The available templates are designed for different entity types — companies, close corporations, partnerships, trusts, foreign companies, and shareholders. Choose the template that matches what your contact actually is, not what you think will collect the most information.
Key things to know
Checklists differ by contact type. The templates available depend on the type of entity you're onboarding. A company gets different requirements than a trust or a partnership. Select accordingly.
You can preview any template before sending. Both routes — invitation-time and the Onboarding tab — let you preview the full list of steps before committing. Use it.
You can cancel a checklist. If you sent the wrong template, go to the Onboarding tab and click "Cancel checklist" in the Actions panel. Then start a new one.
Partial progress is saved but hidden. Your contact can work on the checklist across multiple sessions. You won't see partial progress — you're only notified when they click Submit.