Create your account
Getting onto VERA takes about two minutes. You'll set up your login, create a vault password to protect your encrypted data, and save a recovery key.
Sign up and enter your details
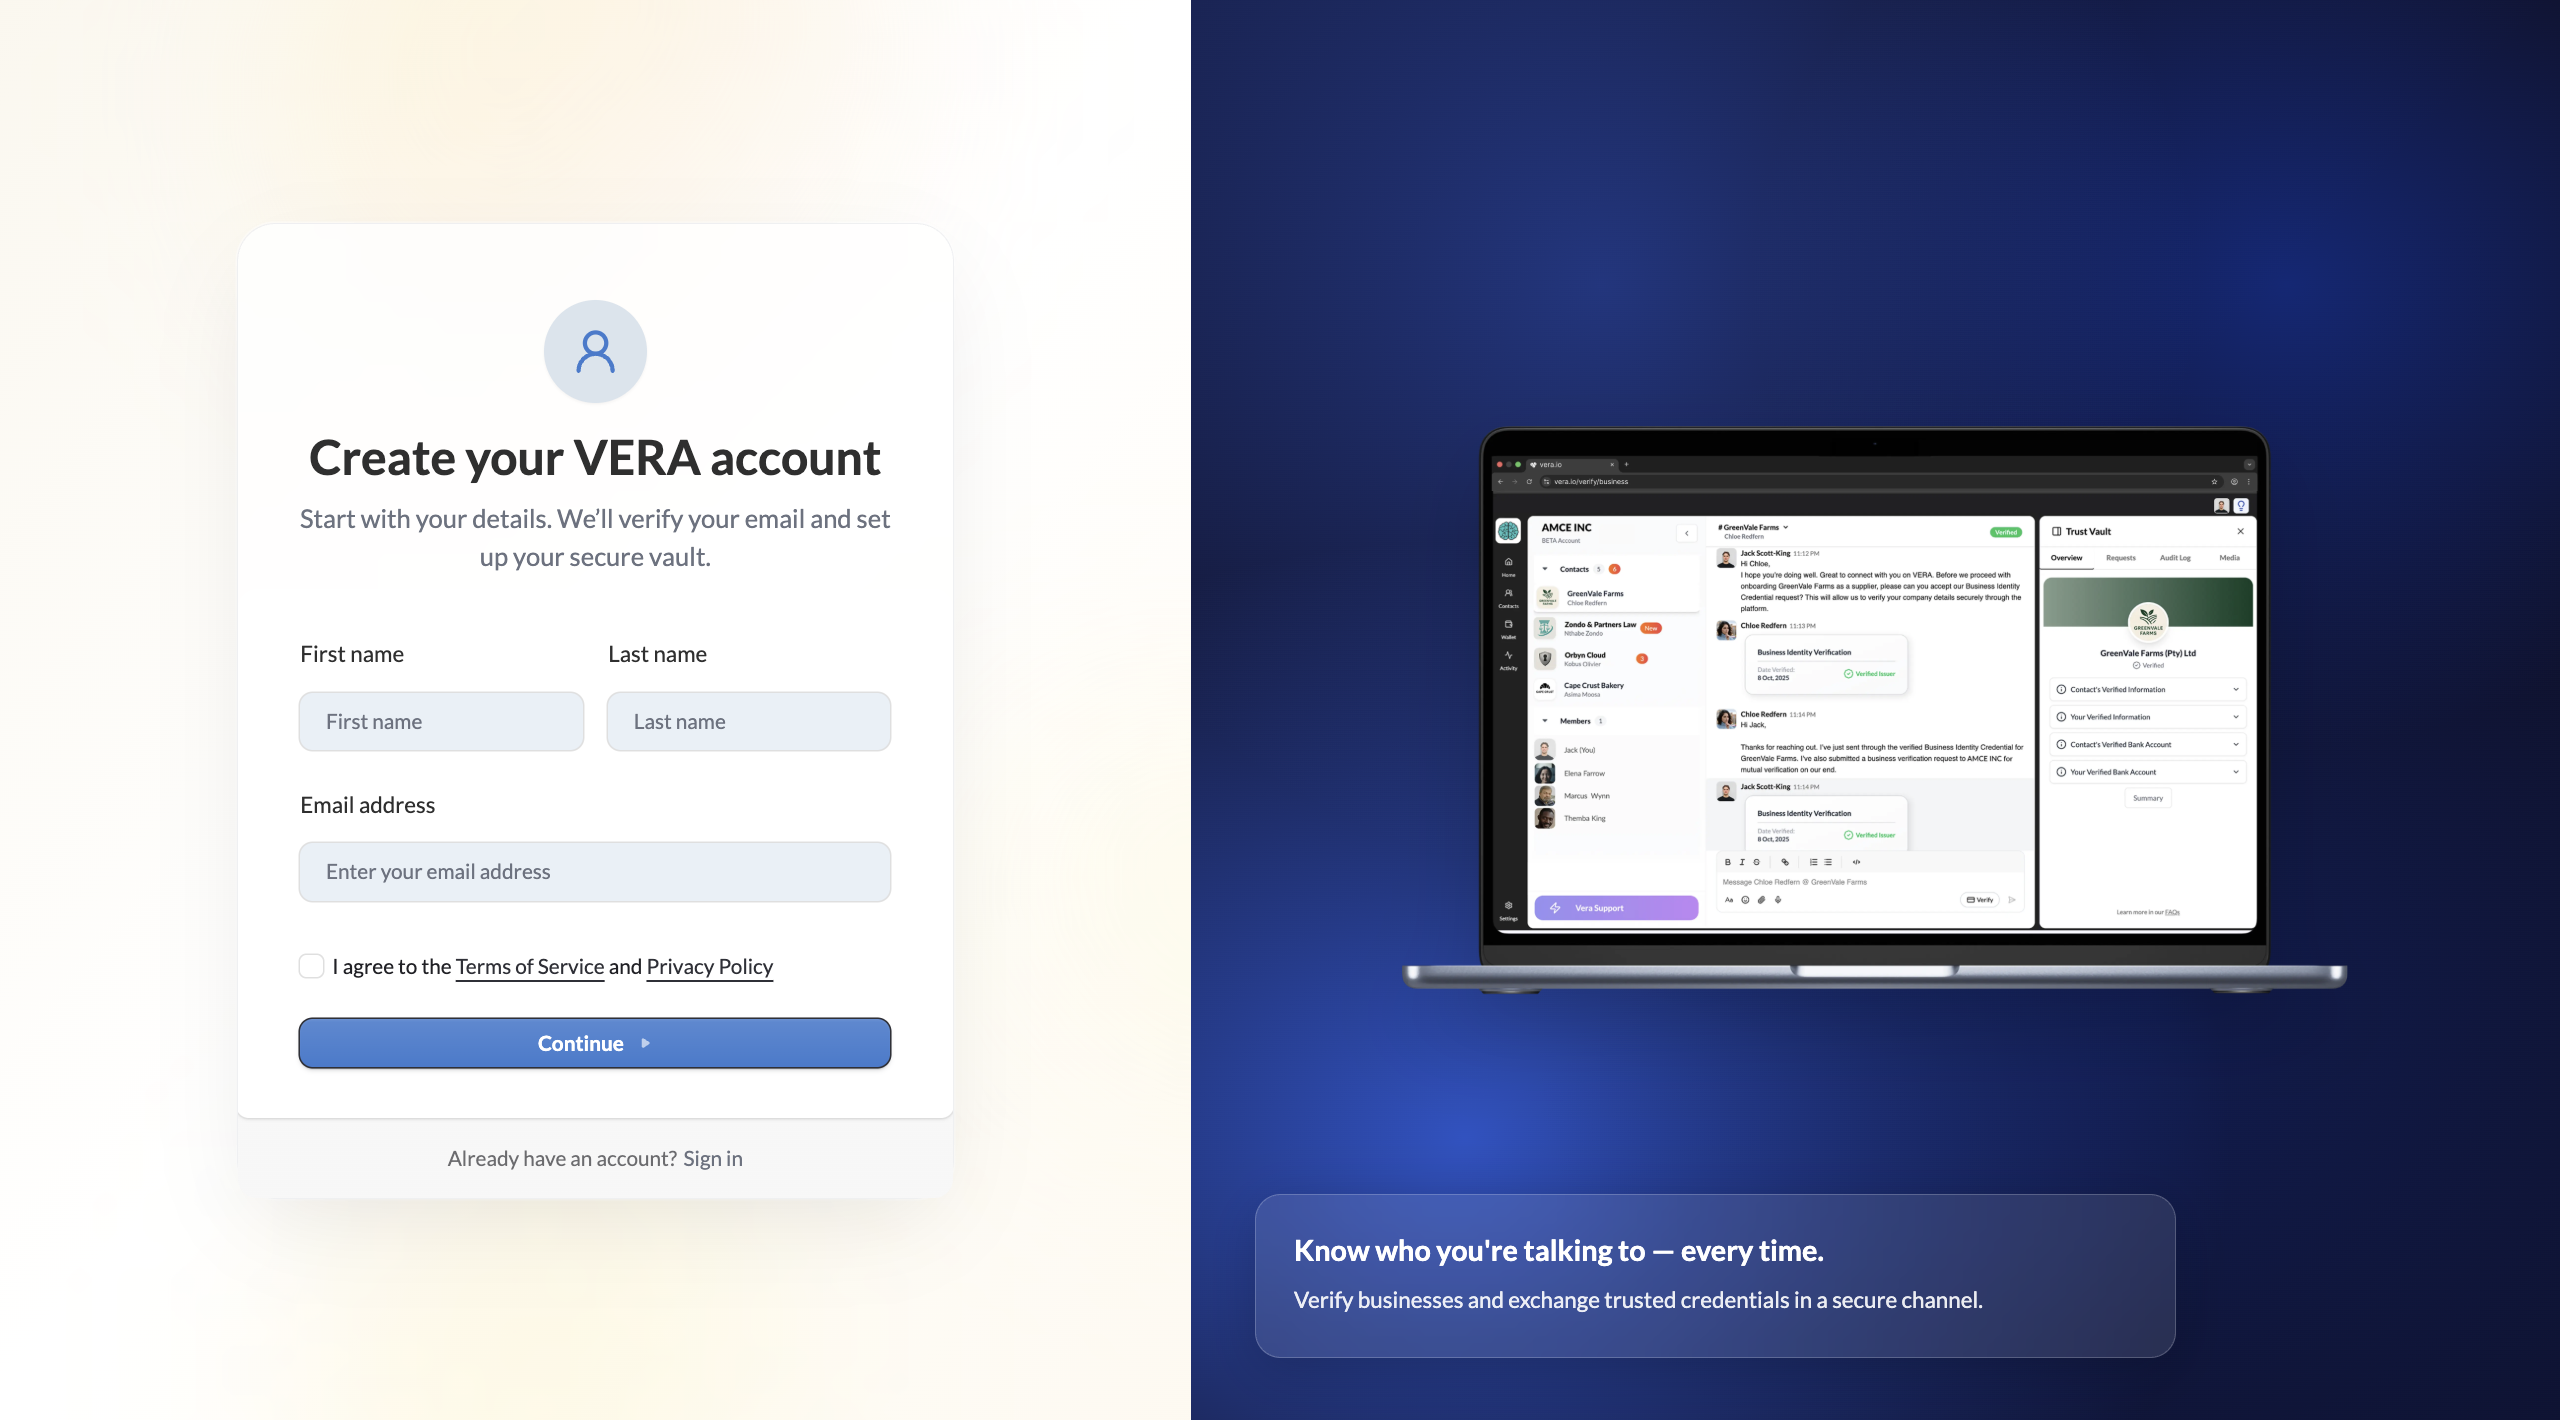
Go to VERA and sign up
Head to www.vera-id.io and click the sign up button.
Enter your name
Fill in your email, first name and last name. This is your individual identity on VERA, separate from any organisation you might create later. Agree to the Terms of Service and Privacy Policy, then click Continue. You'll receive a verification email with an OTP.
Set your vault password
Once you have entered the OTP, you'll be asked to enter a vault password. Your vault password protects your encrypted data on VERA. It acts as your login password — you'll need it to unlock your vault each session.
Create your vault password
Choose a strong, unique password. You can check the box to trust your current device, which means you won't be prompted on every login from this browser.
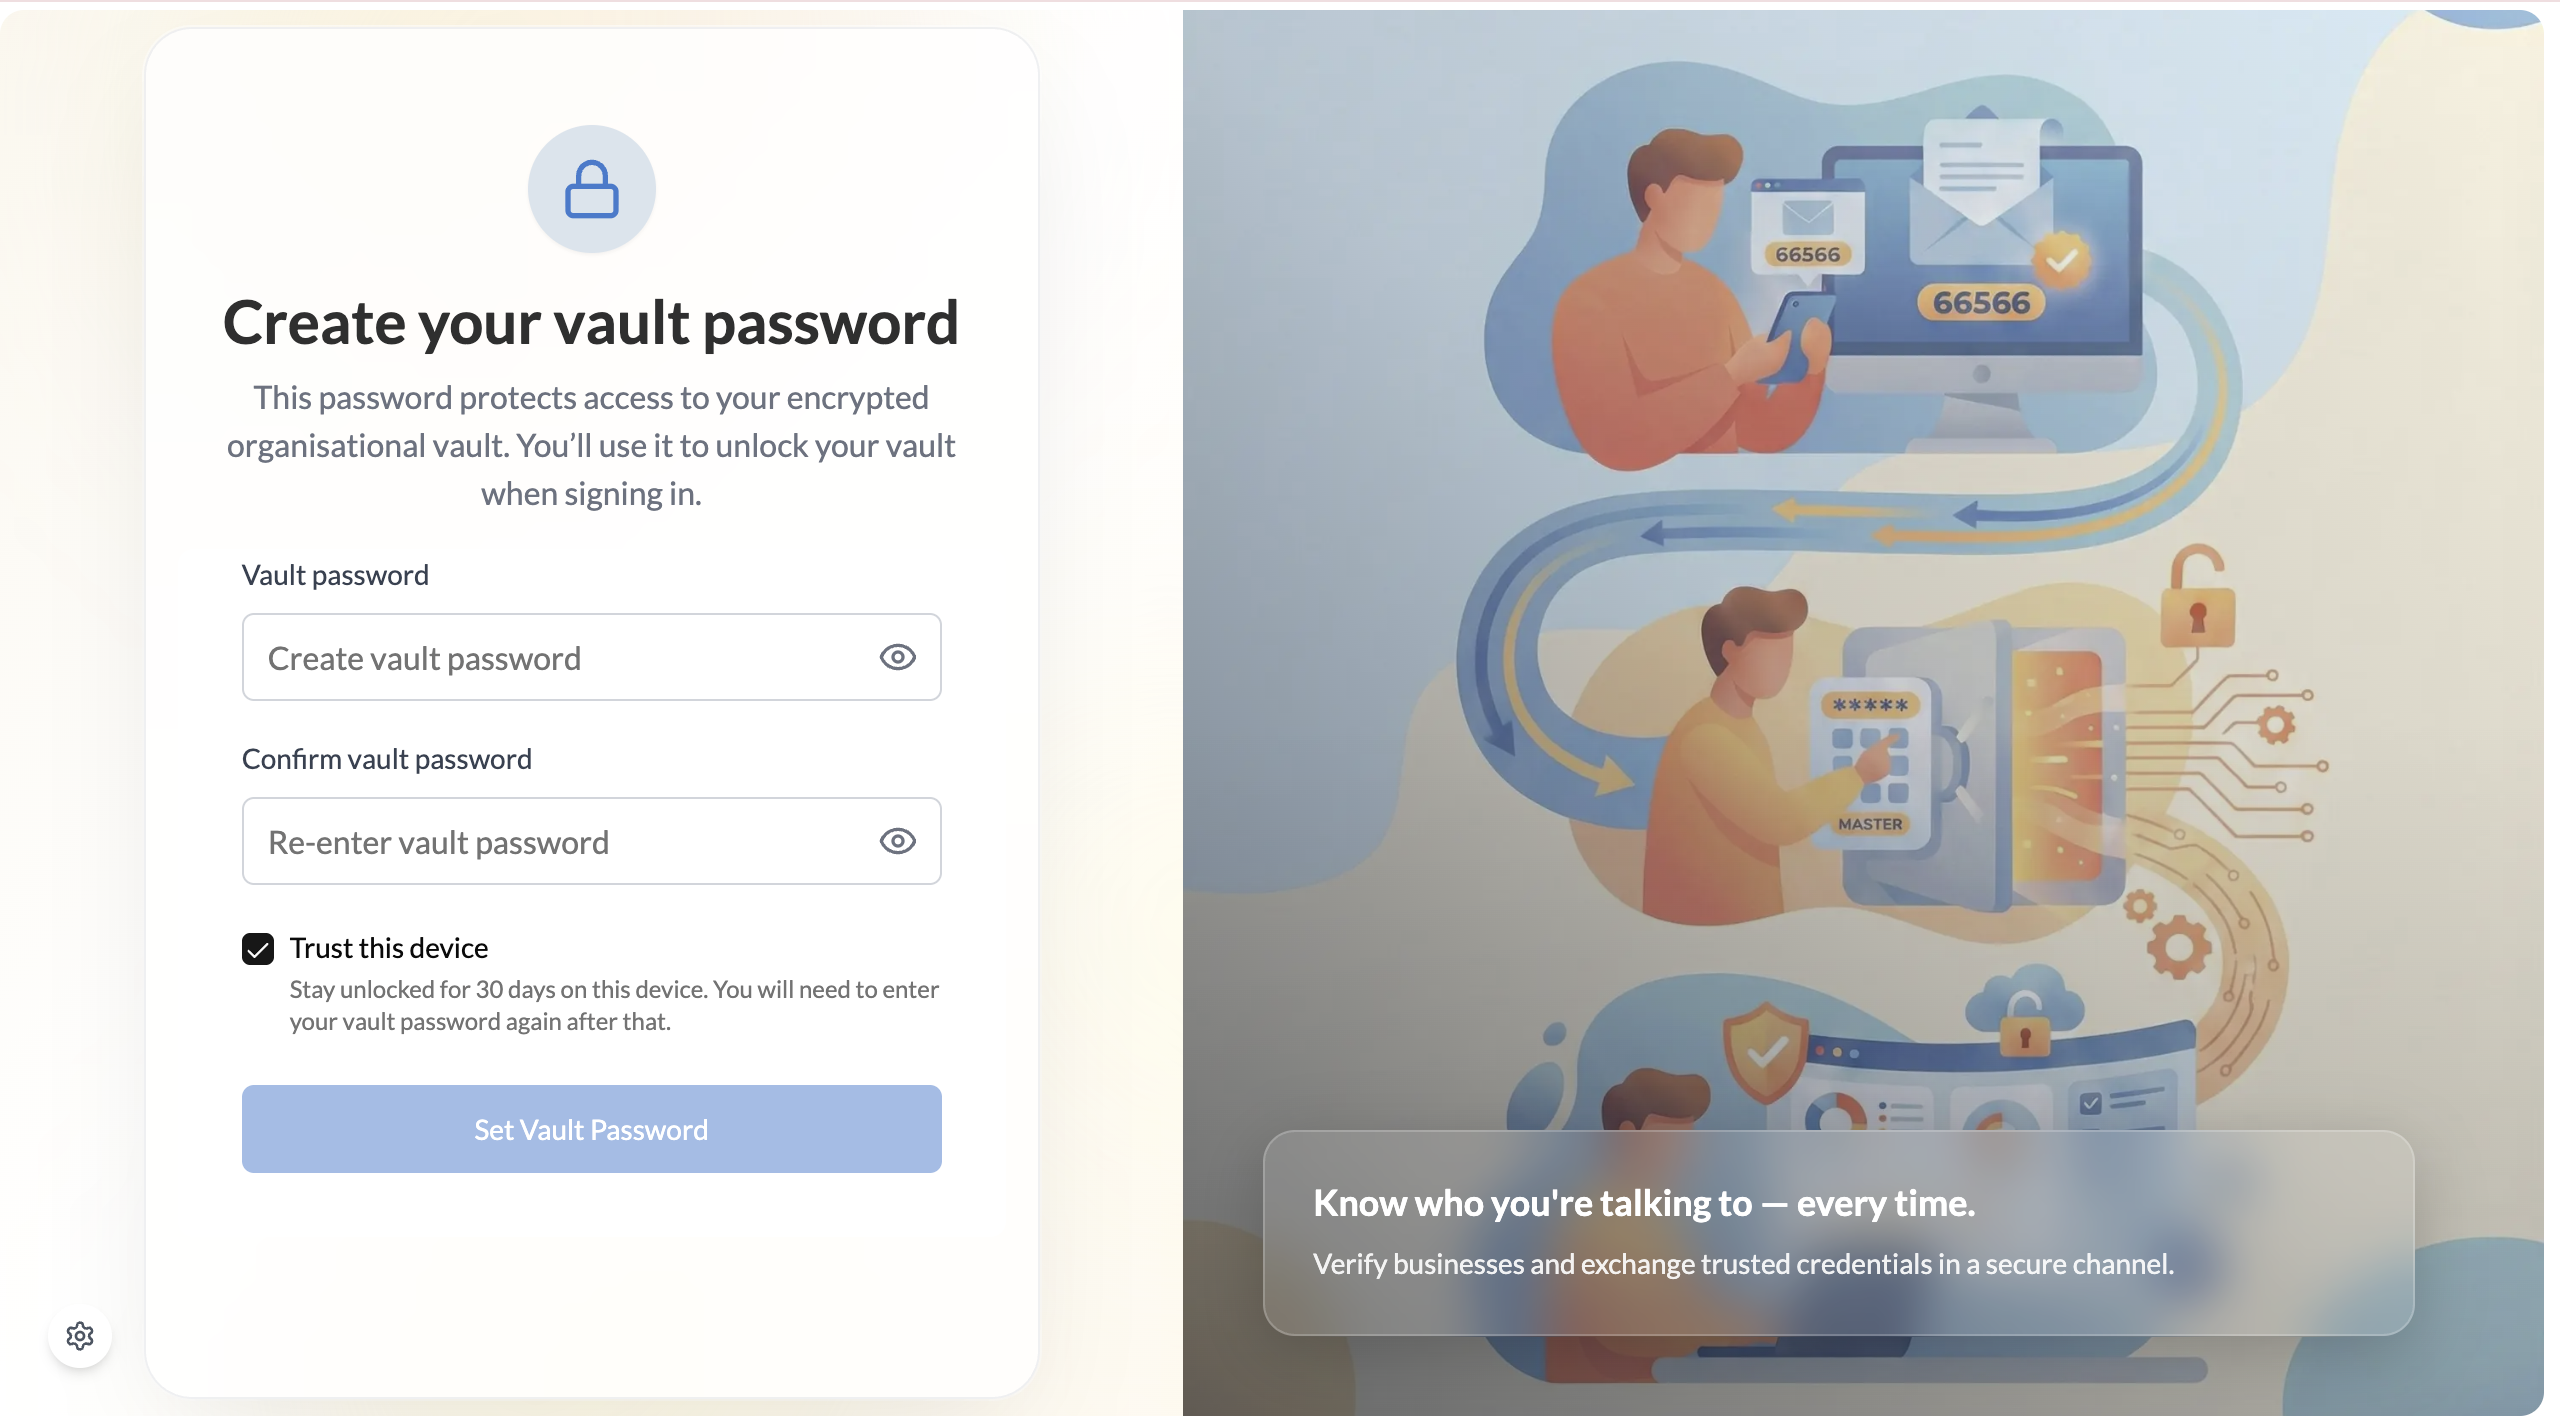
VERA cannot reset your vault password for you. If you lose both your vault password and your recovery key, your encrypted data is permanently inaccessible. Store them somewhere safe.
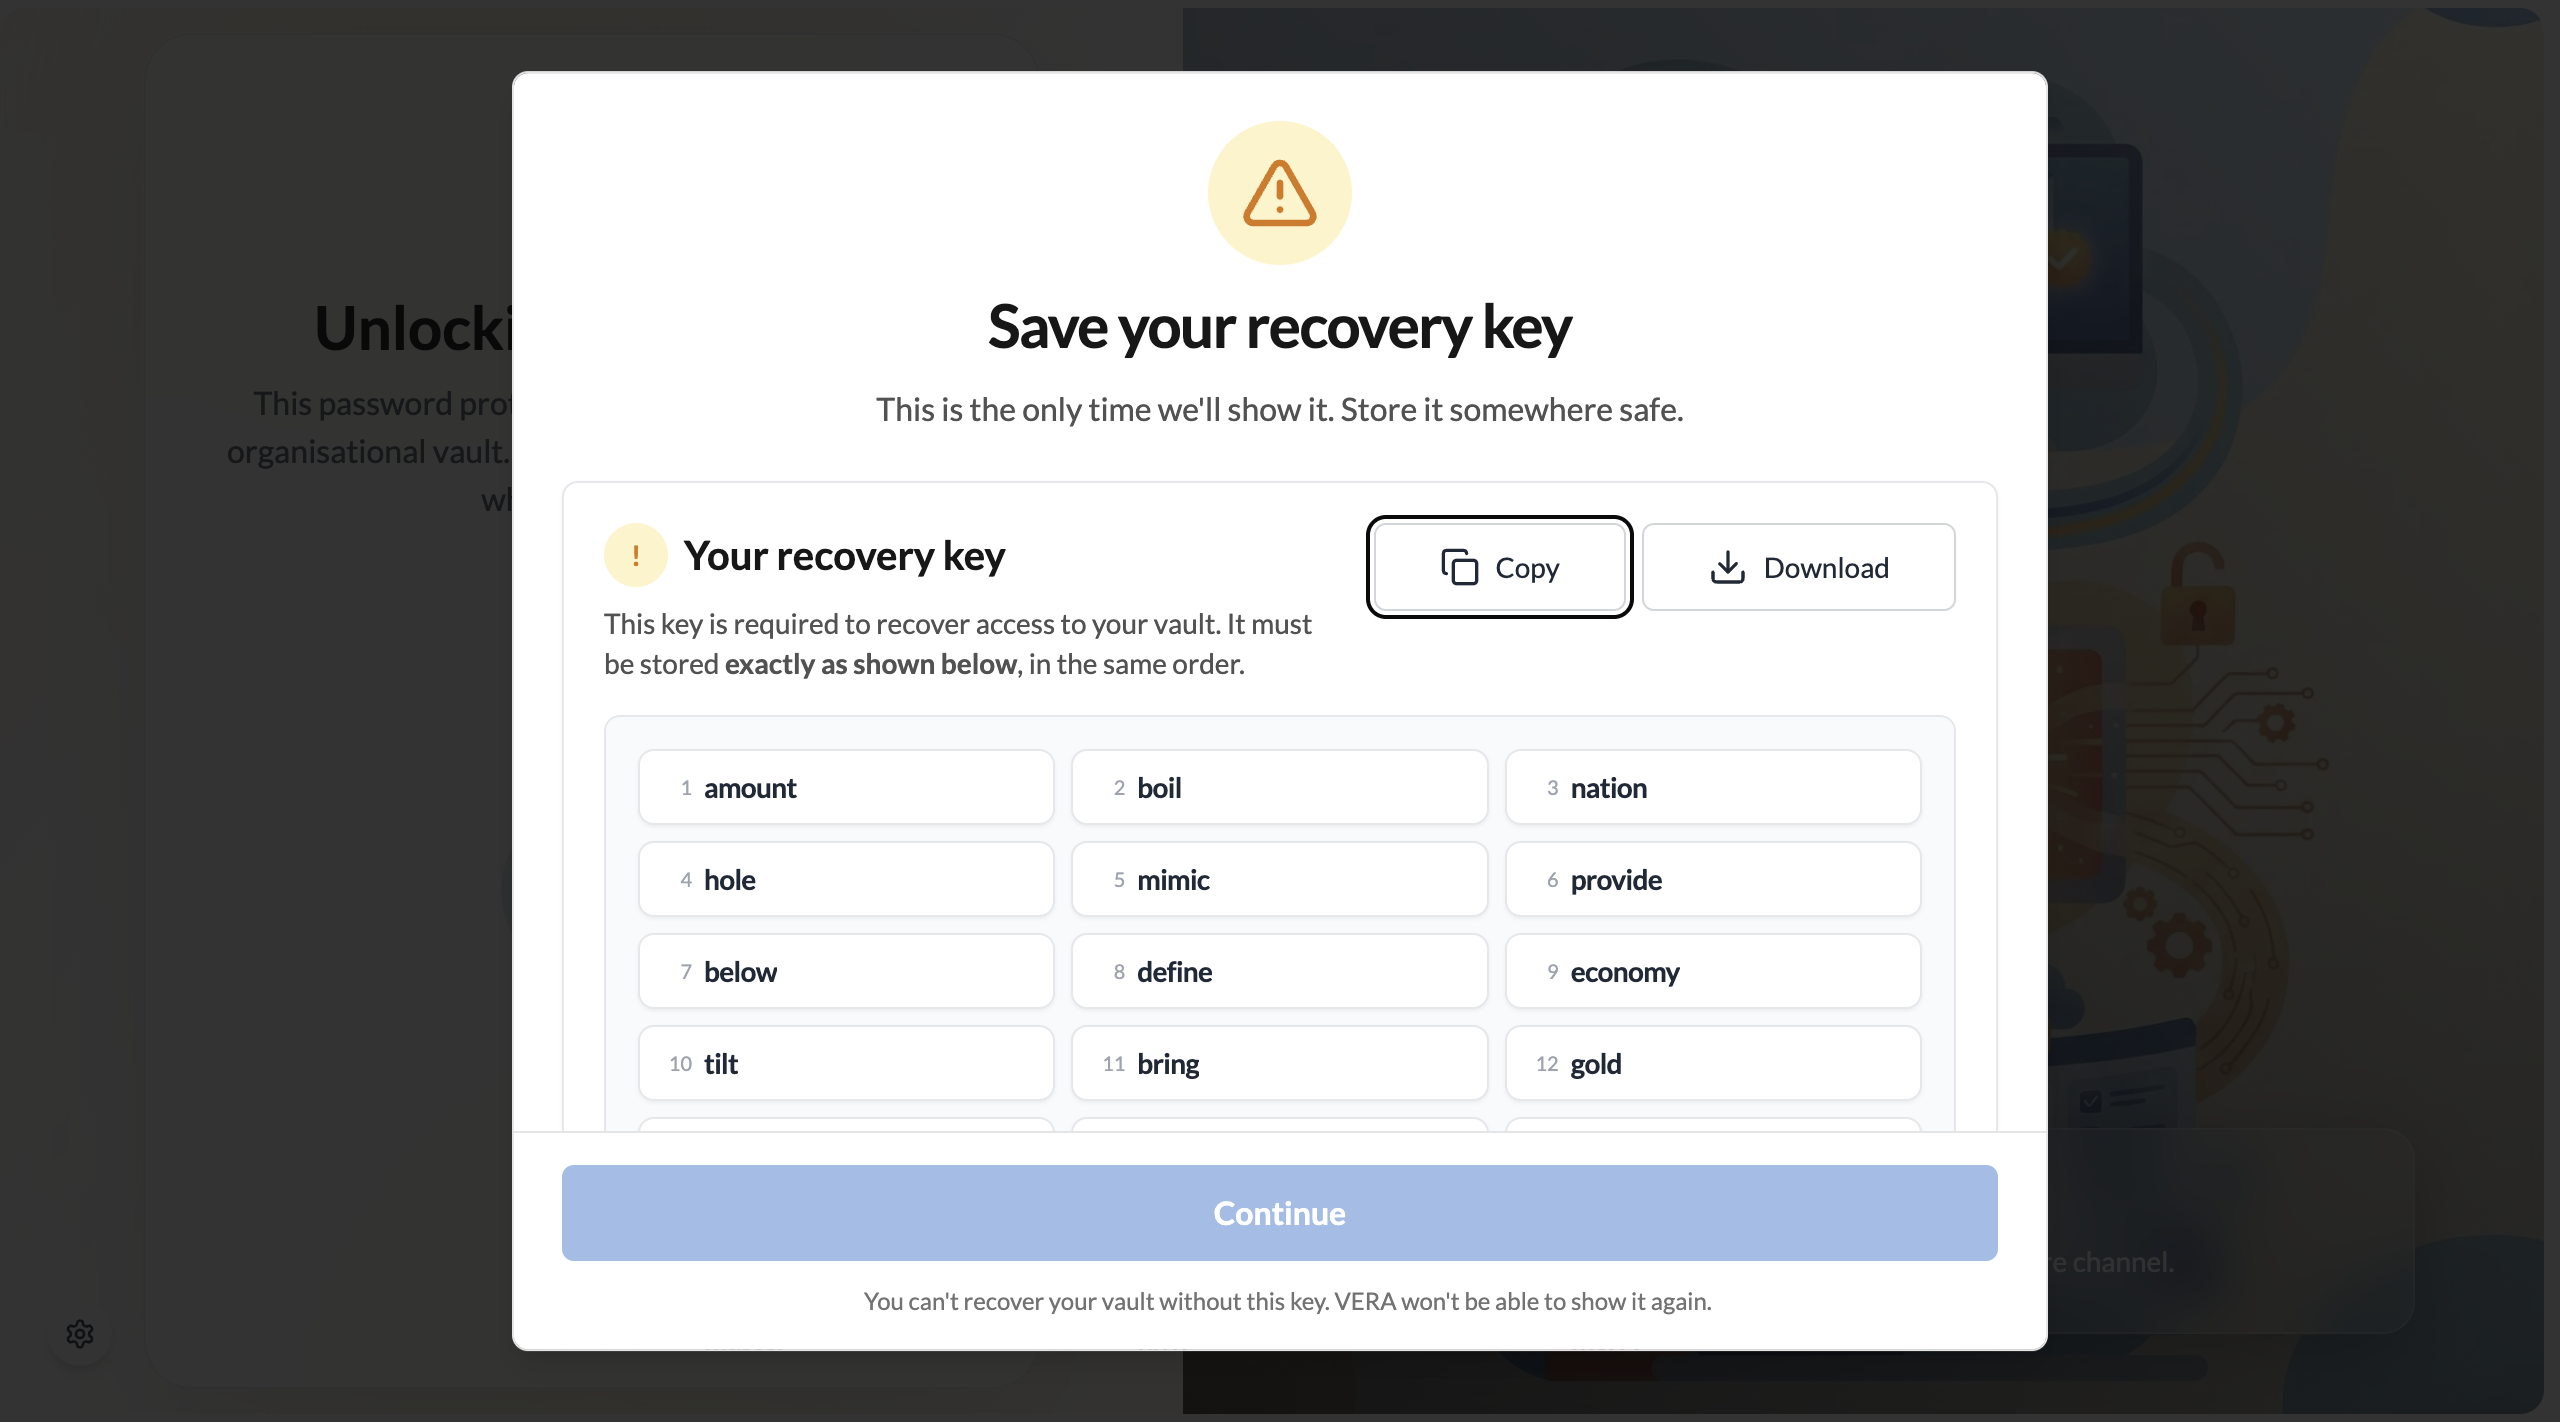
Save your recovery key
Copy or download your 12-word recovery key
VERA generates a 12-word recovery phrase unique to your account. This is your backup if you ever lose your vault password. Copy it to your password manager, or download it as a file.
Confirm you've saved the recovery key
VERA will ask you to confirm you've saved the key before proceeding. Once confirmed, you'll see an explanation of how the recovery system works.
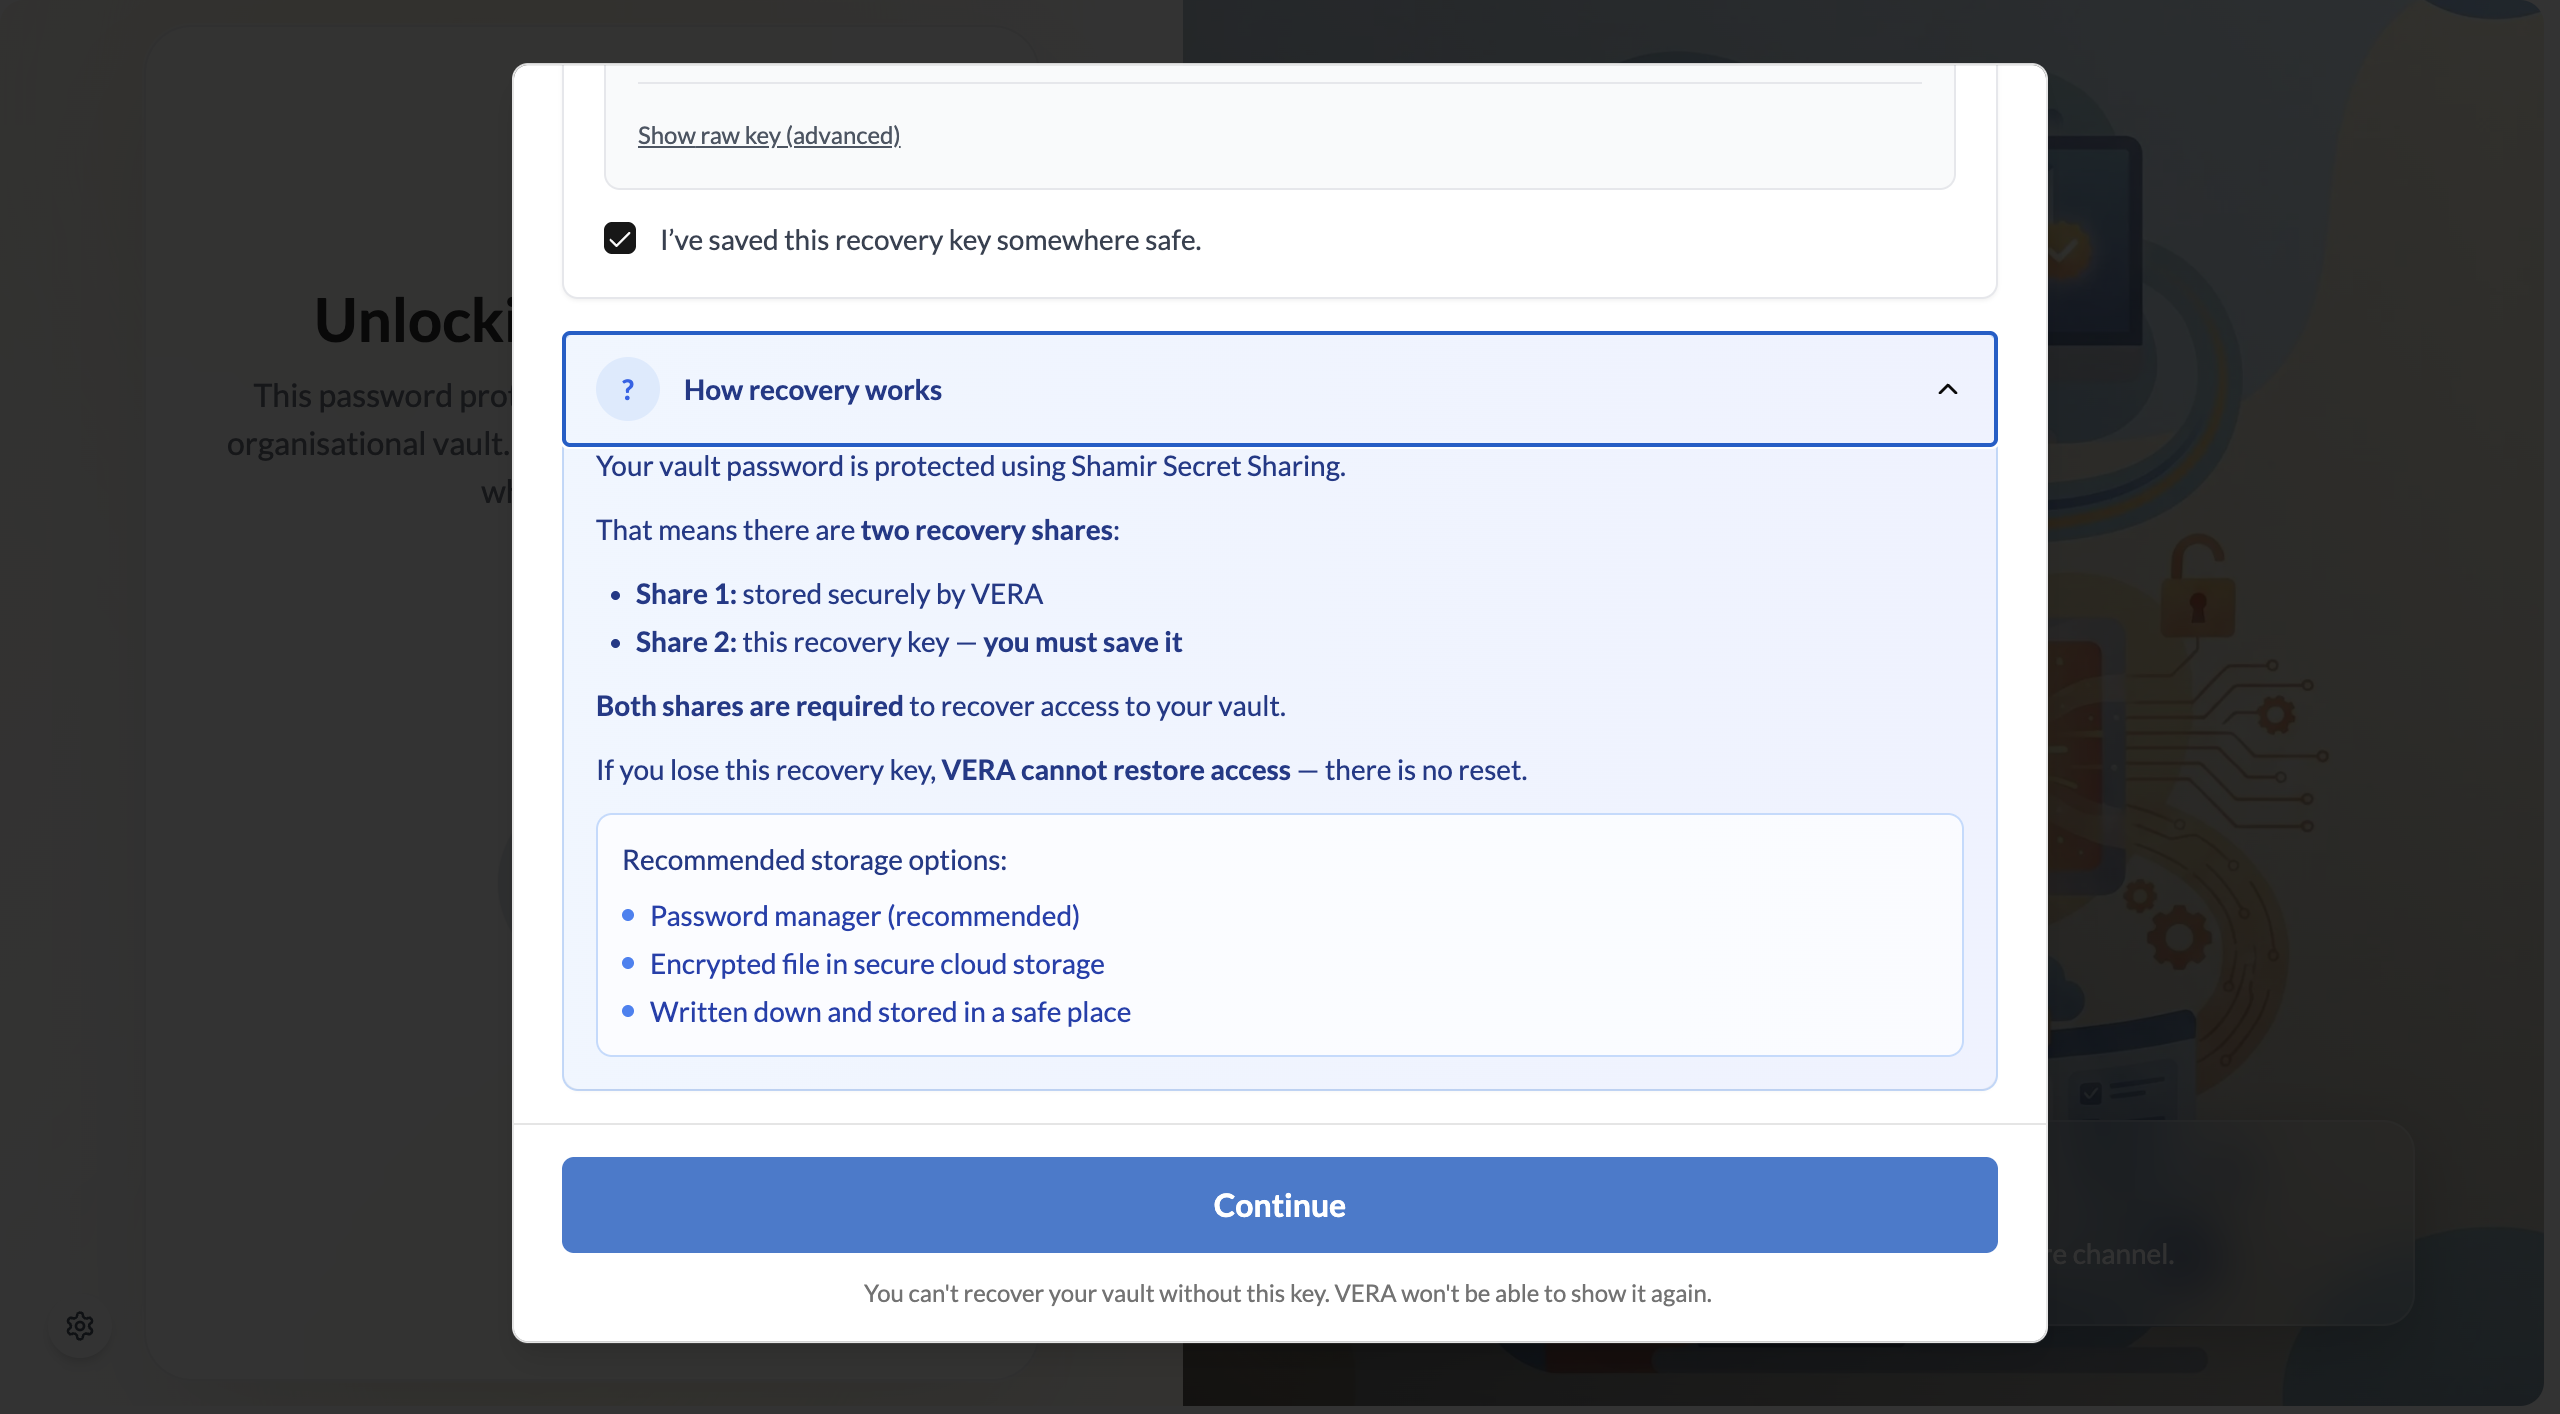
A password manager (1Password, Bitwarden, etc.) is the safest place for your recovery key. Don't screenshot it and leave it in your photos, and don't paste it into a notes app that syncs to the cloud without encryption.
Choose your workspace
Choose Personal or Organisation
After saving your recovery key, VERA asks which workspace you want to start with. Your account is already created — this step sets up your first workspace inside it.
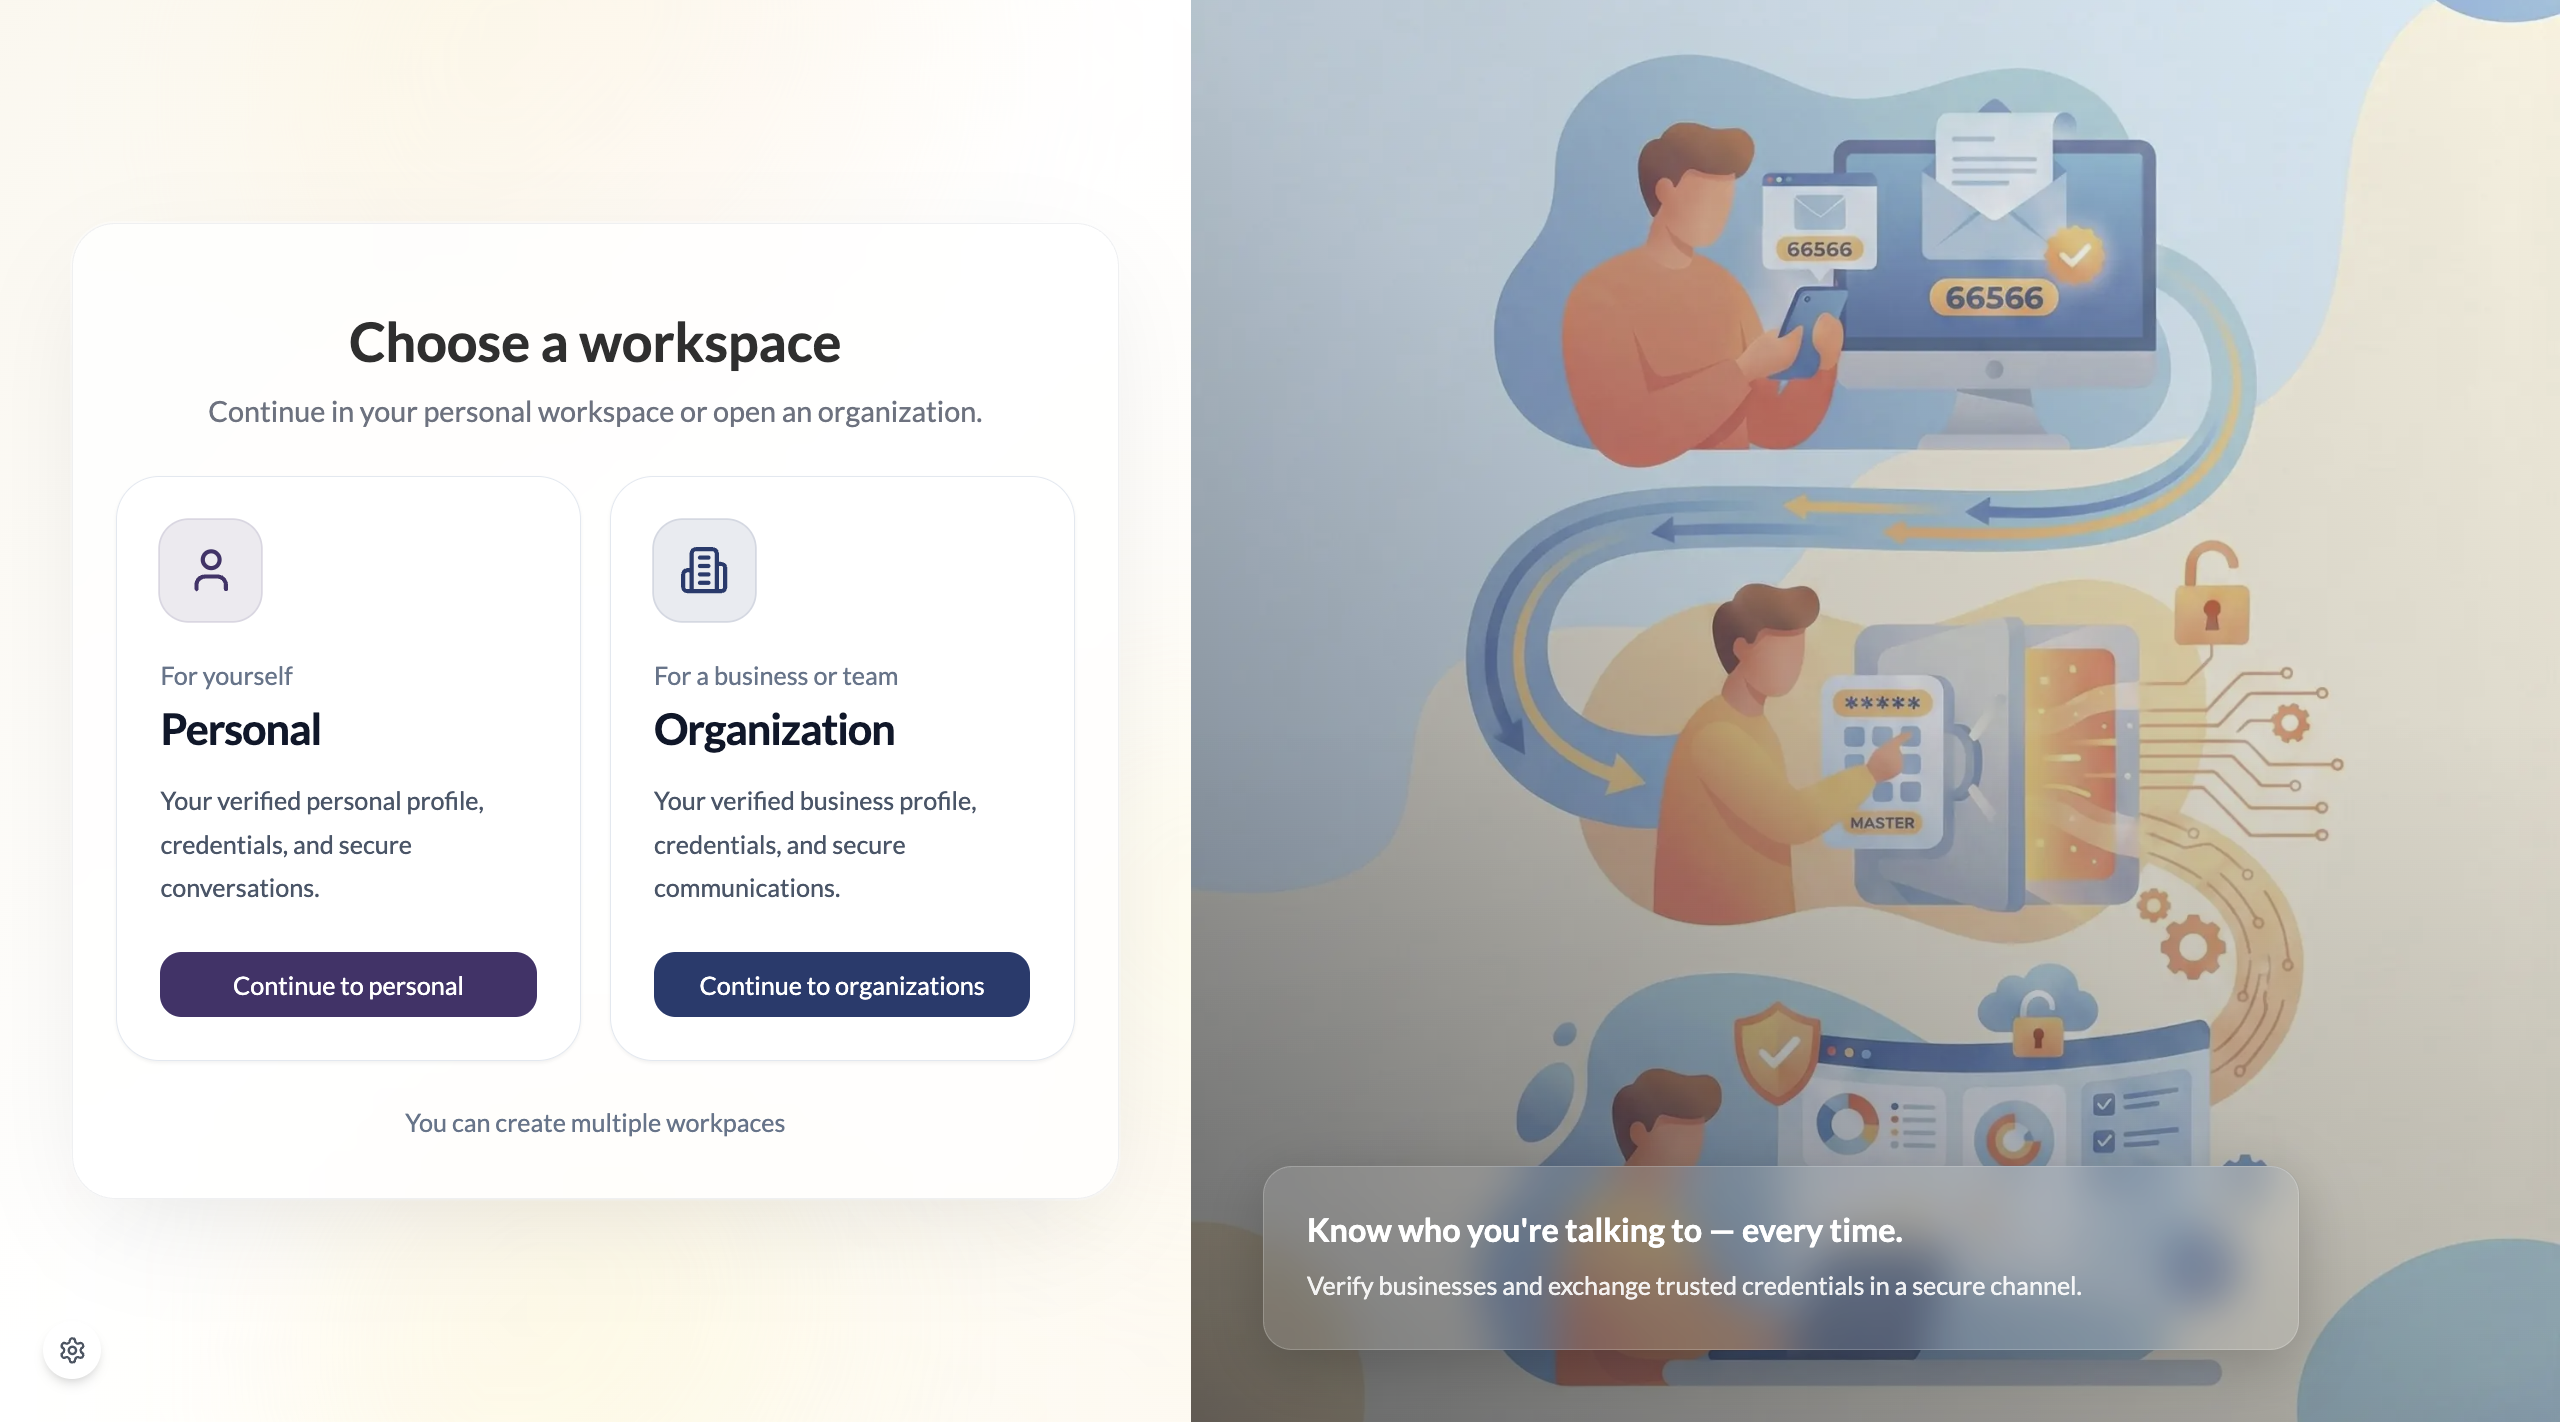
Personal sets up your personal workspace. Organisation creates an organisational workspace — and automatically creates a personal workspace for you in the background at the same time.
Not sure which to choose? See Personal vs Organisation workspace for the full comparison.
Choose your next step
Based on what you selected, continue to the guide that matches your setup:
- Starting an organisation? → Set up your organisation
- Starting with personal? → Set up your personal workspace
Not sure which to choose? Read Personal vs Organisation workspace first.