Set up your personal workspace
After choosing Personal during signup, the main thing left to do is add your profile photo. Here's how.
Add your profile photo
After choosing Personal, the main remaining setup step is adding a profile photo. This is the photo contacts see when you appear in their contacts list or share a credential.
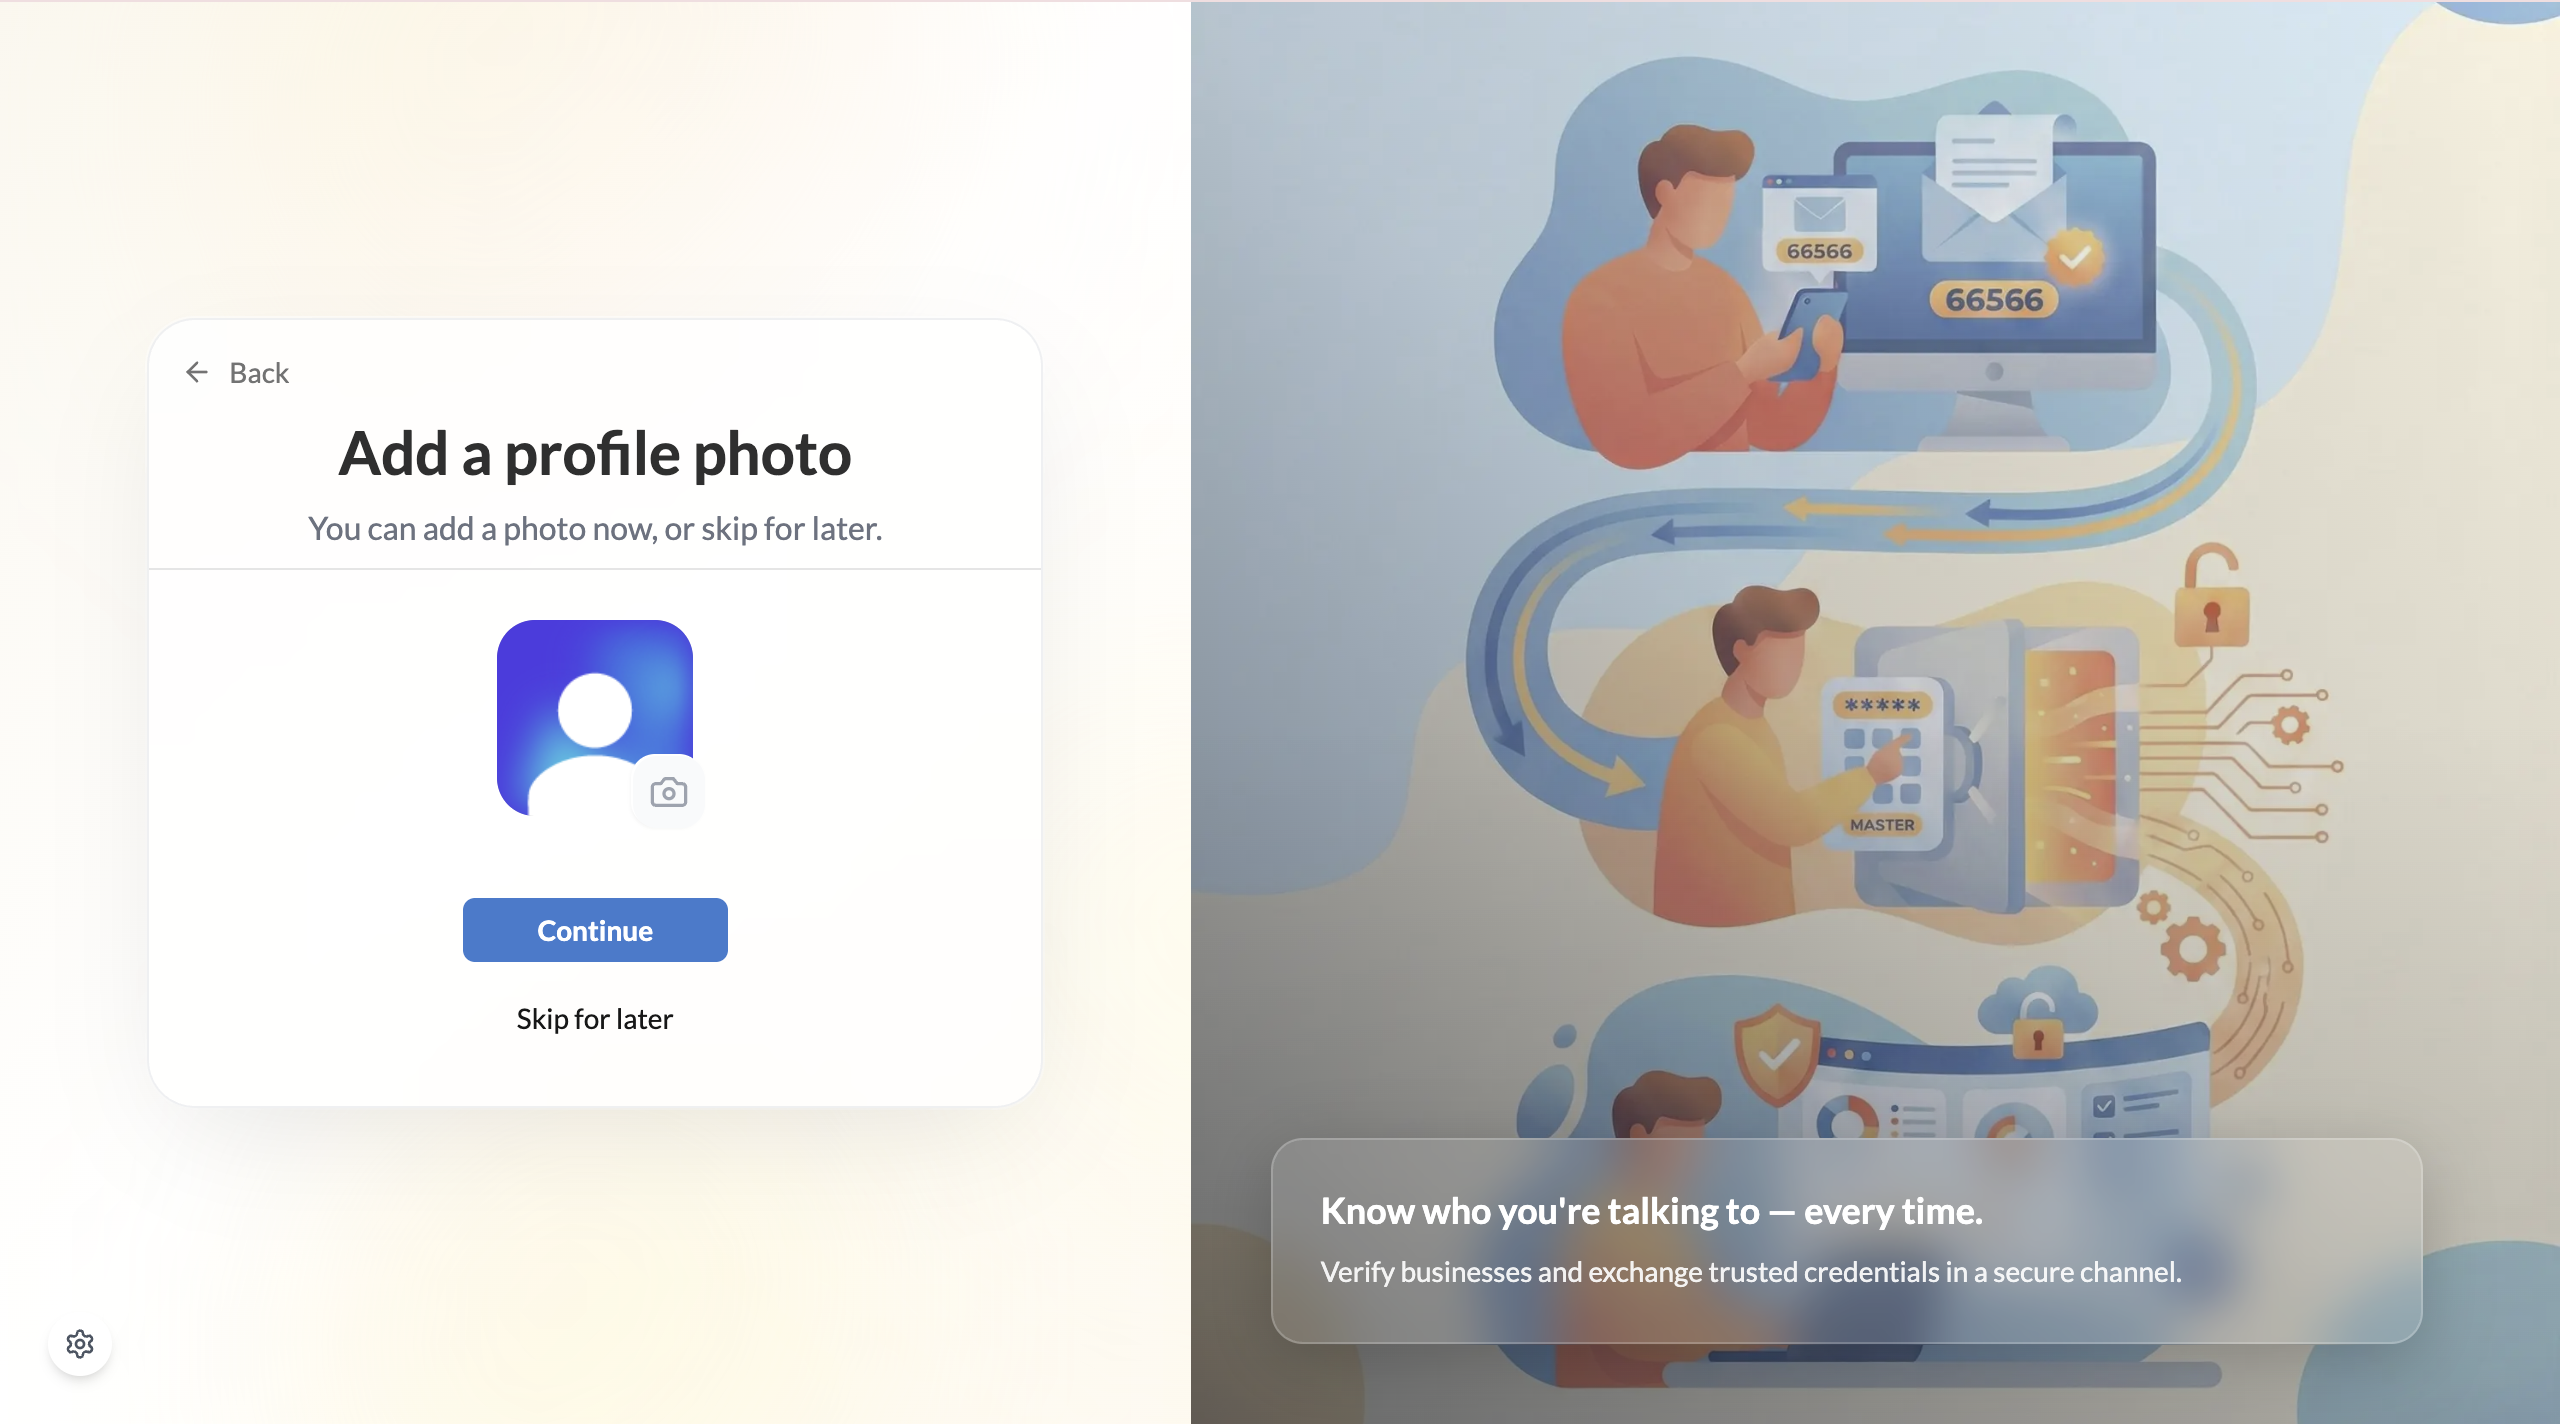
Upload your photo when prompted
VERA prompts you to add a profile photo immediately after the workspace selection. Click the upload area and select an image from your device, or click Skip to add it later.
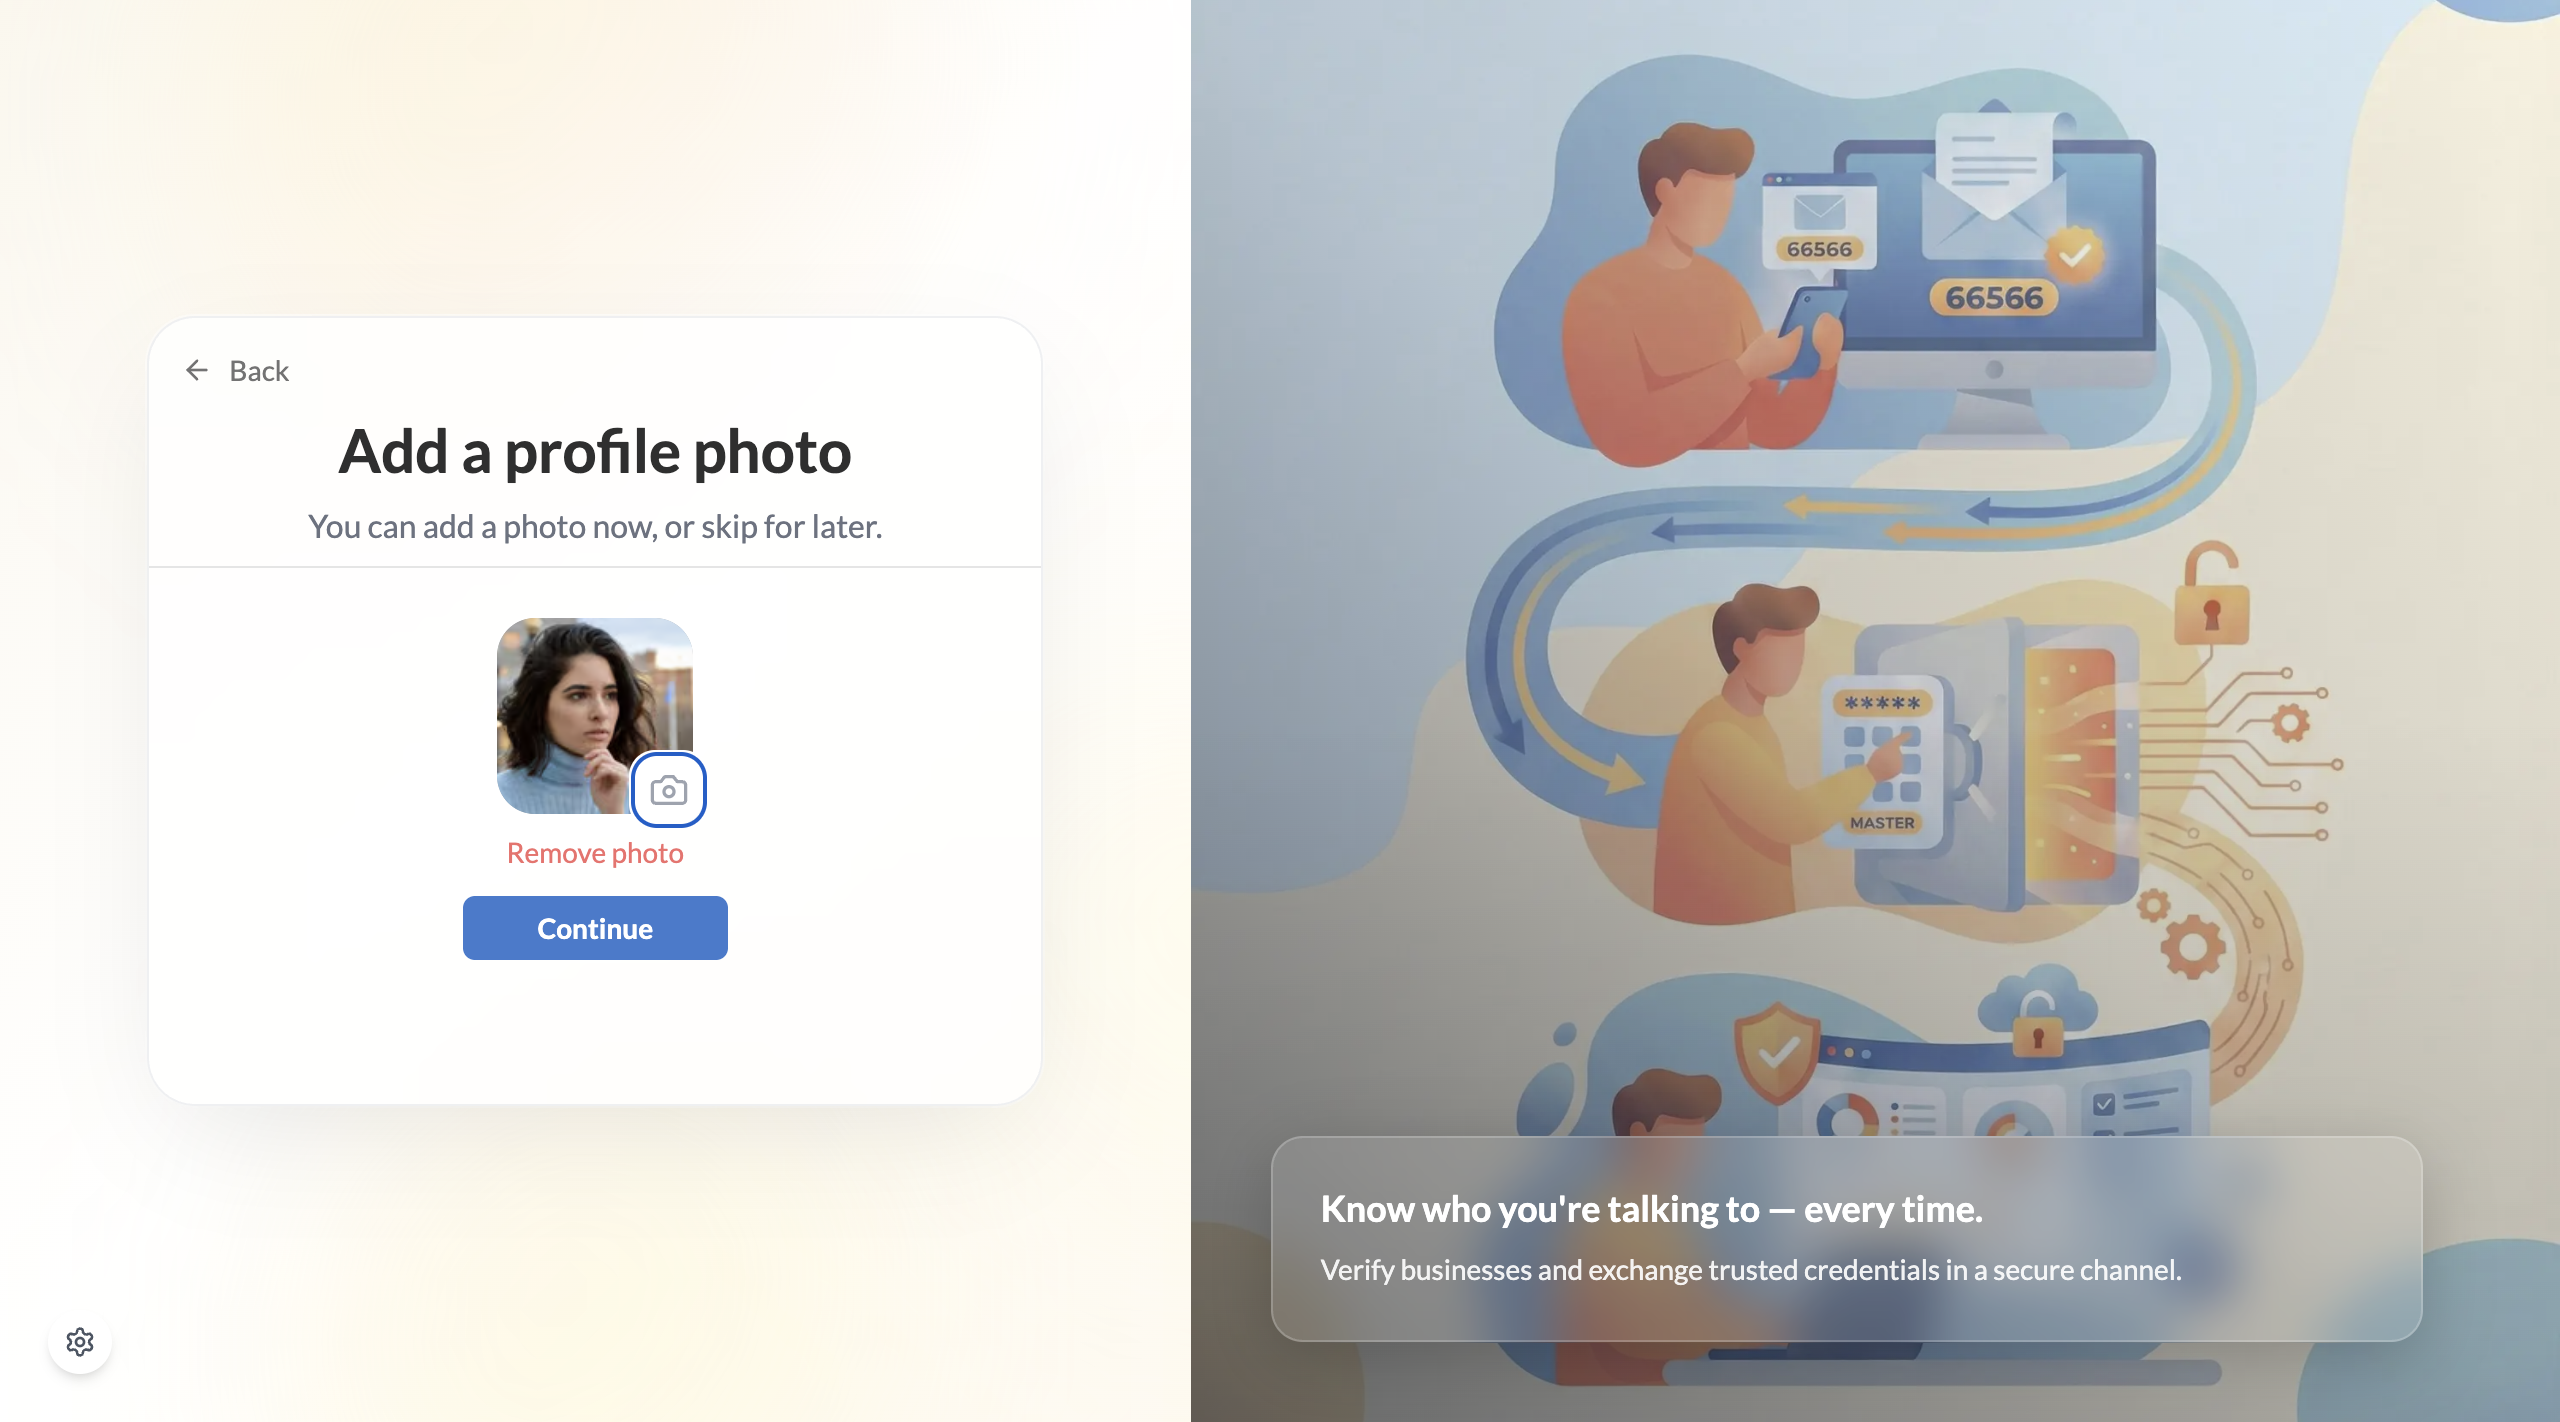
Your photo is saved to your profile
Once uploaded, your photo appears in your personal profile and is visible to any contact who connects with you.
A real photo makes credential exchanges feel more human and builds trust with contacts — especially when you're sharing identity credentials for the first time. It takes 30 seconds and is worth doing now.
You're ready to go
That's it for personal workspace setup. Your account is active and your personal workspace is ready to use. From here you can:
- Verify your identity — earn your Person ID Credential
- Invite a contact — make your first connection
- Explore your wallet — see where your credentials will live
You can create an organisation workspace at any time from the workspace switcher — you don't need to start over. Your personal workspace stays in place alongside any organisations you add.