Understanding the Trust Vault
The Trust Vault is your verification dashboard for each connection. It shows which credentials have been exchanged, their verified details, and a full audit trail of every trust interaction.
What the Trust Vault is
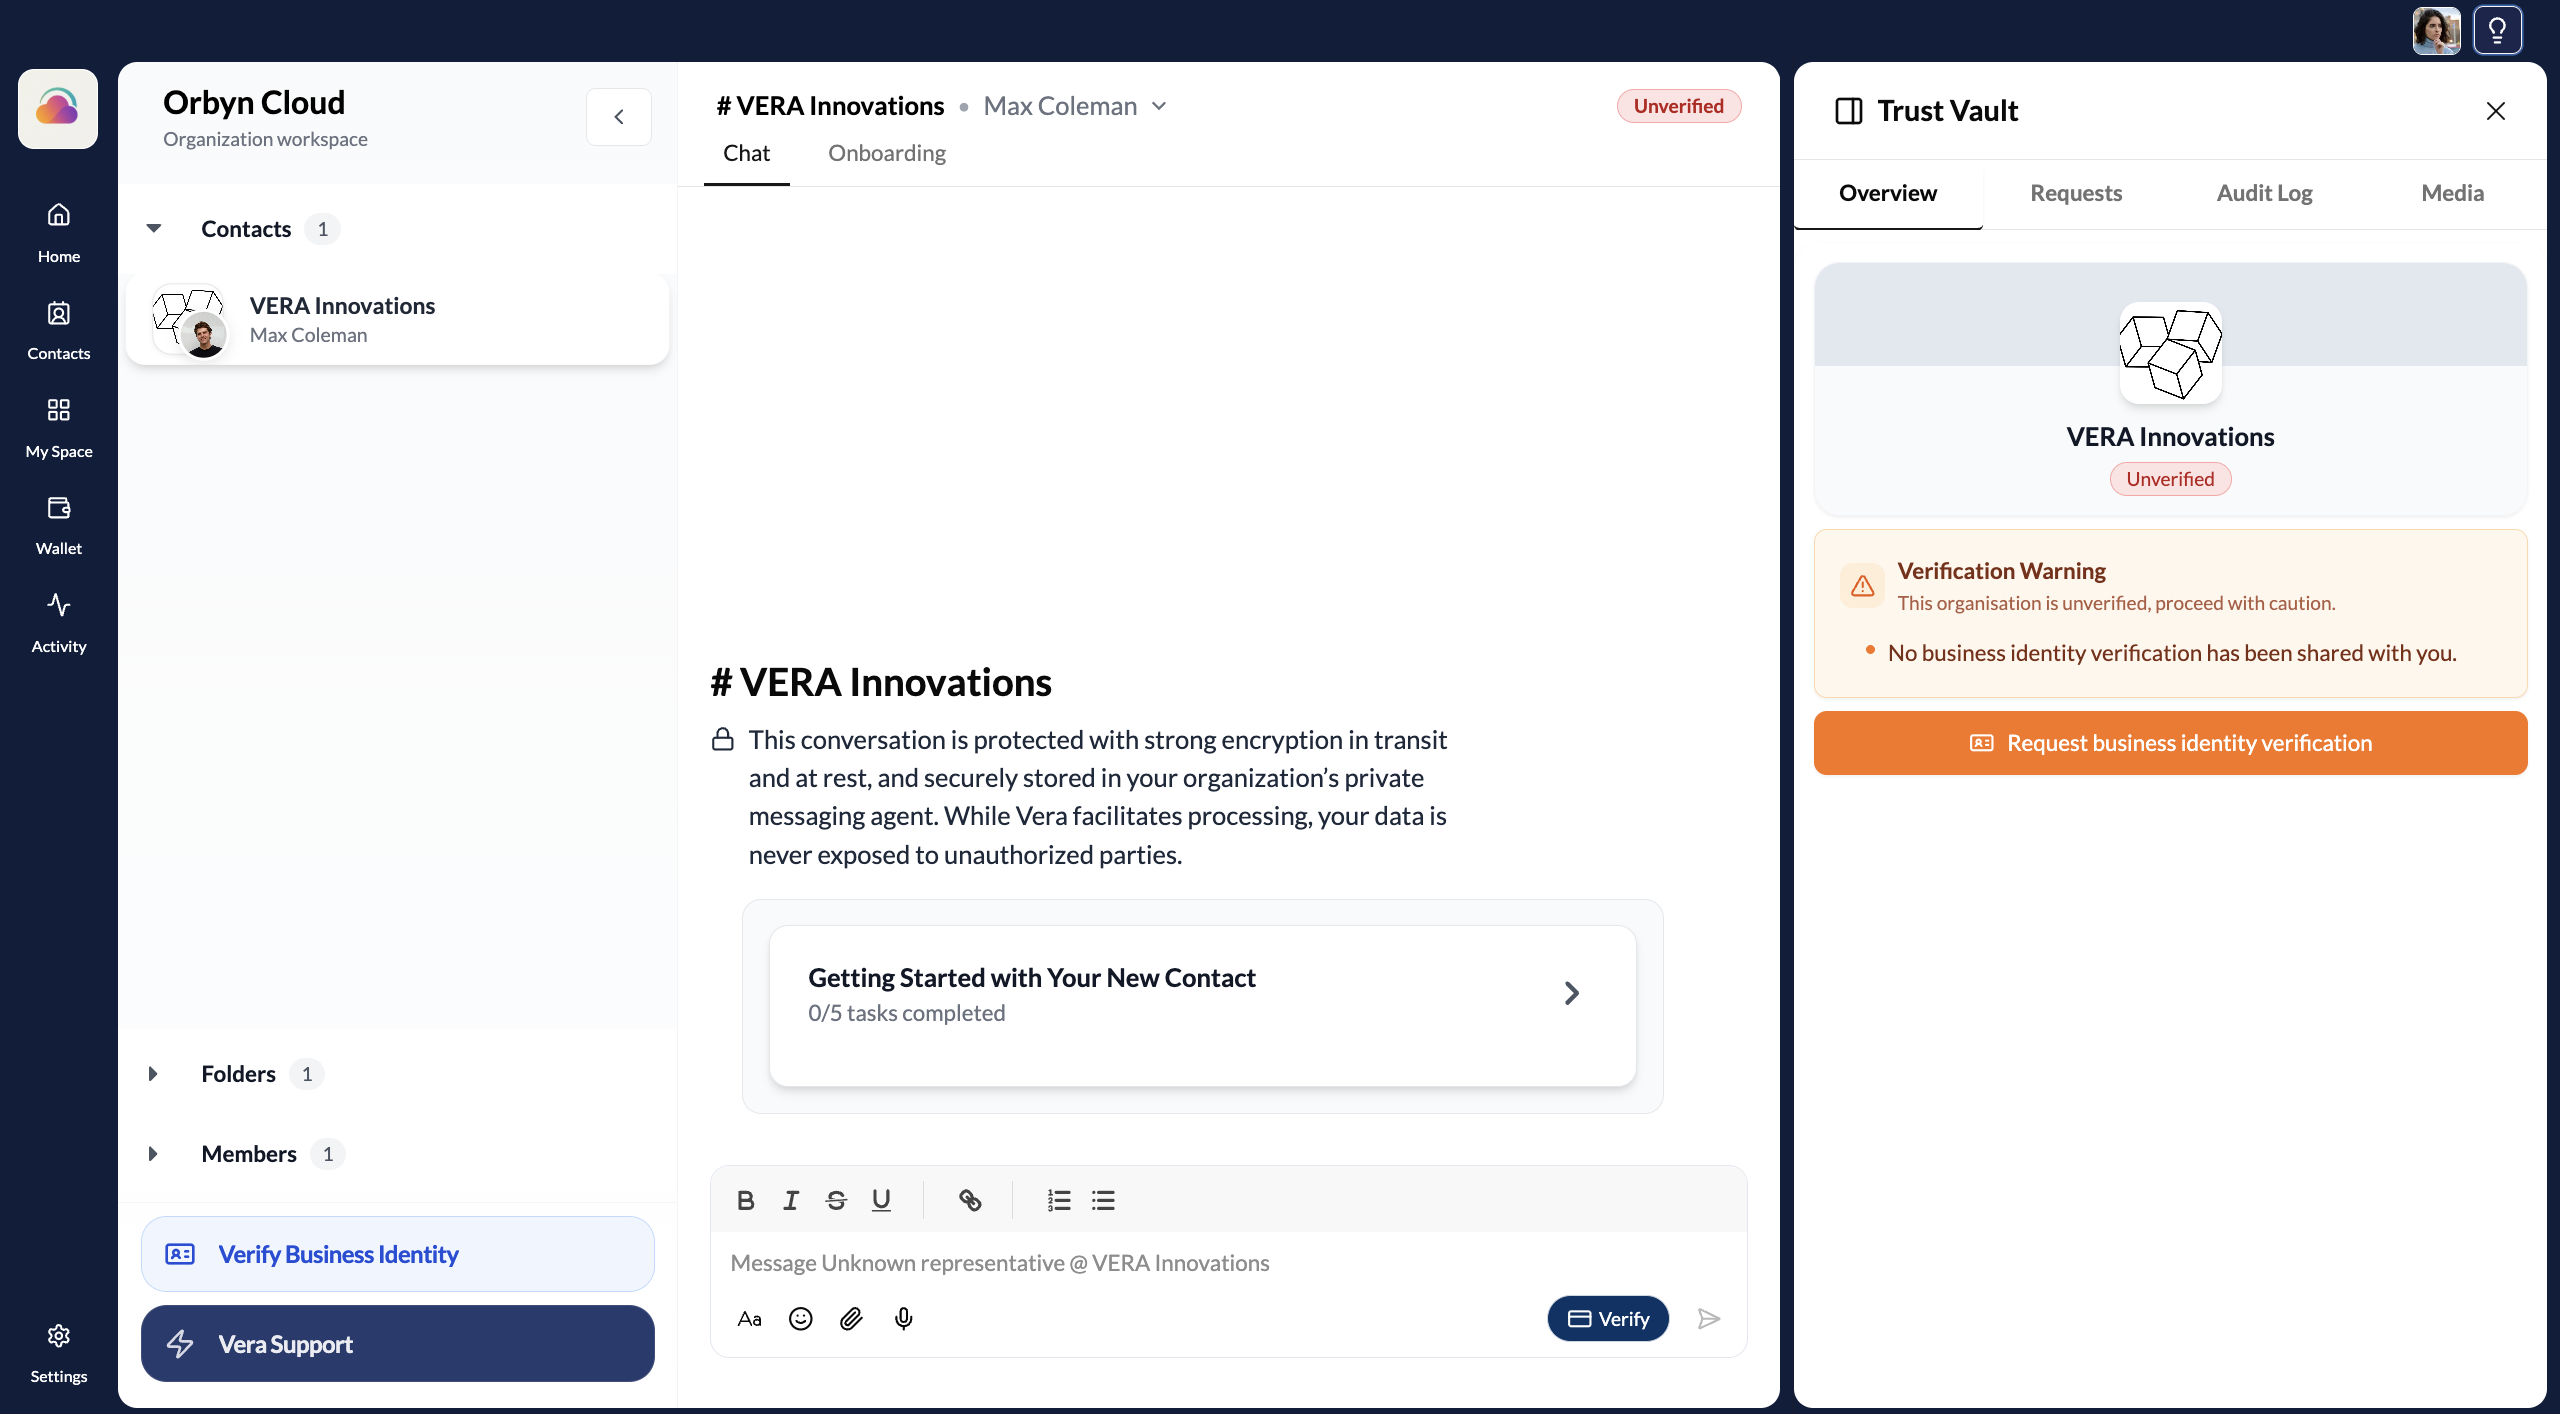
The Trust Vault is the panel on the right side of every contact conversation. Open it by clicking the Trust Vault icon in the top-right corner of any chat.
When you first connect with someone, the Trust Vault is essentially empty. It shows the contact's name, an Unverified status, and a verification warning: "No business identity verification has been shared with you." There's also a button to Request business identity verification directly from the panel.
This is the starting state for every connection. The Trust Vault only populates with verified data after credentials have been explicitly exchanged through the Verify button in the chat. See Verify your connections for the full walkthrough of how that exchange works.
What appears after verification
Once a credential has been requested, reviewed, and accepted by your contact, the Trust Vault updates. The status badge changes from Unverified to Verified with a green indicator, and the panel displays the date trust was established.
The Trust Vault then shows each verified credential as an expandable section. For a Business ID Credential, this includes every attribute that was shared: commercial name, registration number, commercial status, registration date, and more. Each attribute displays its verified value, the date it was verified at source, and a cryptographic proof reference.
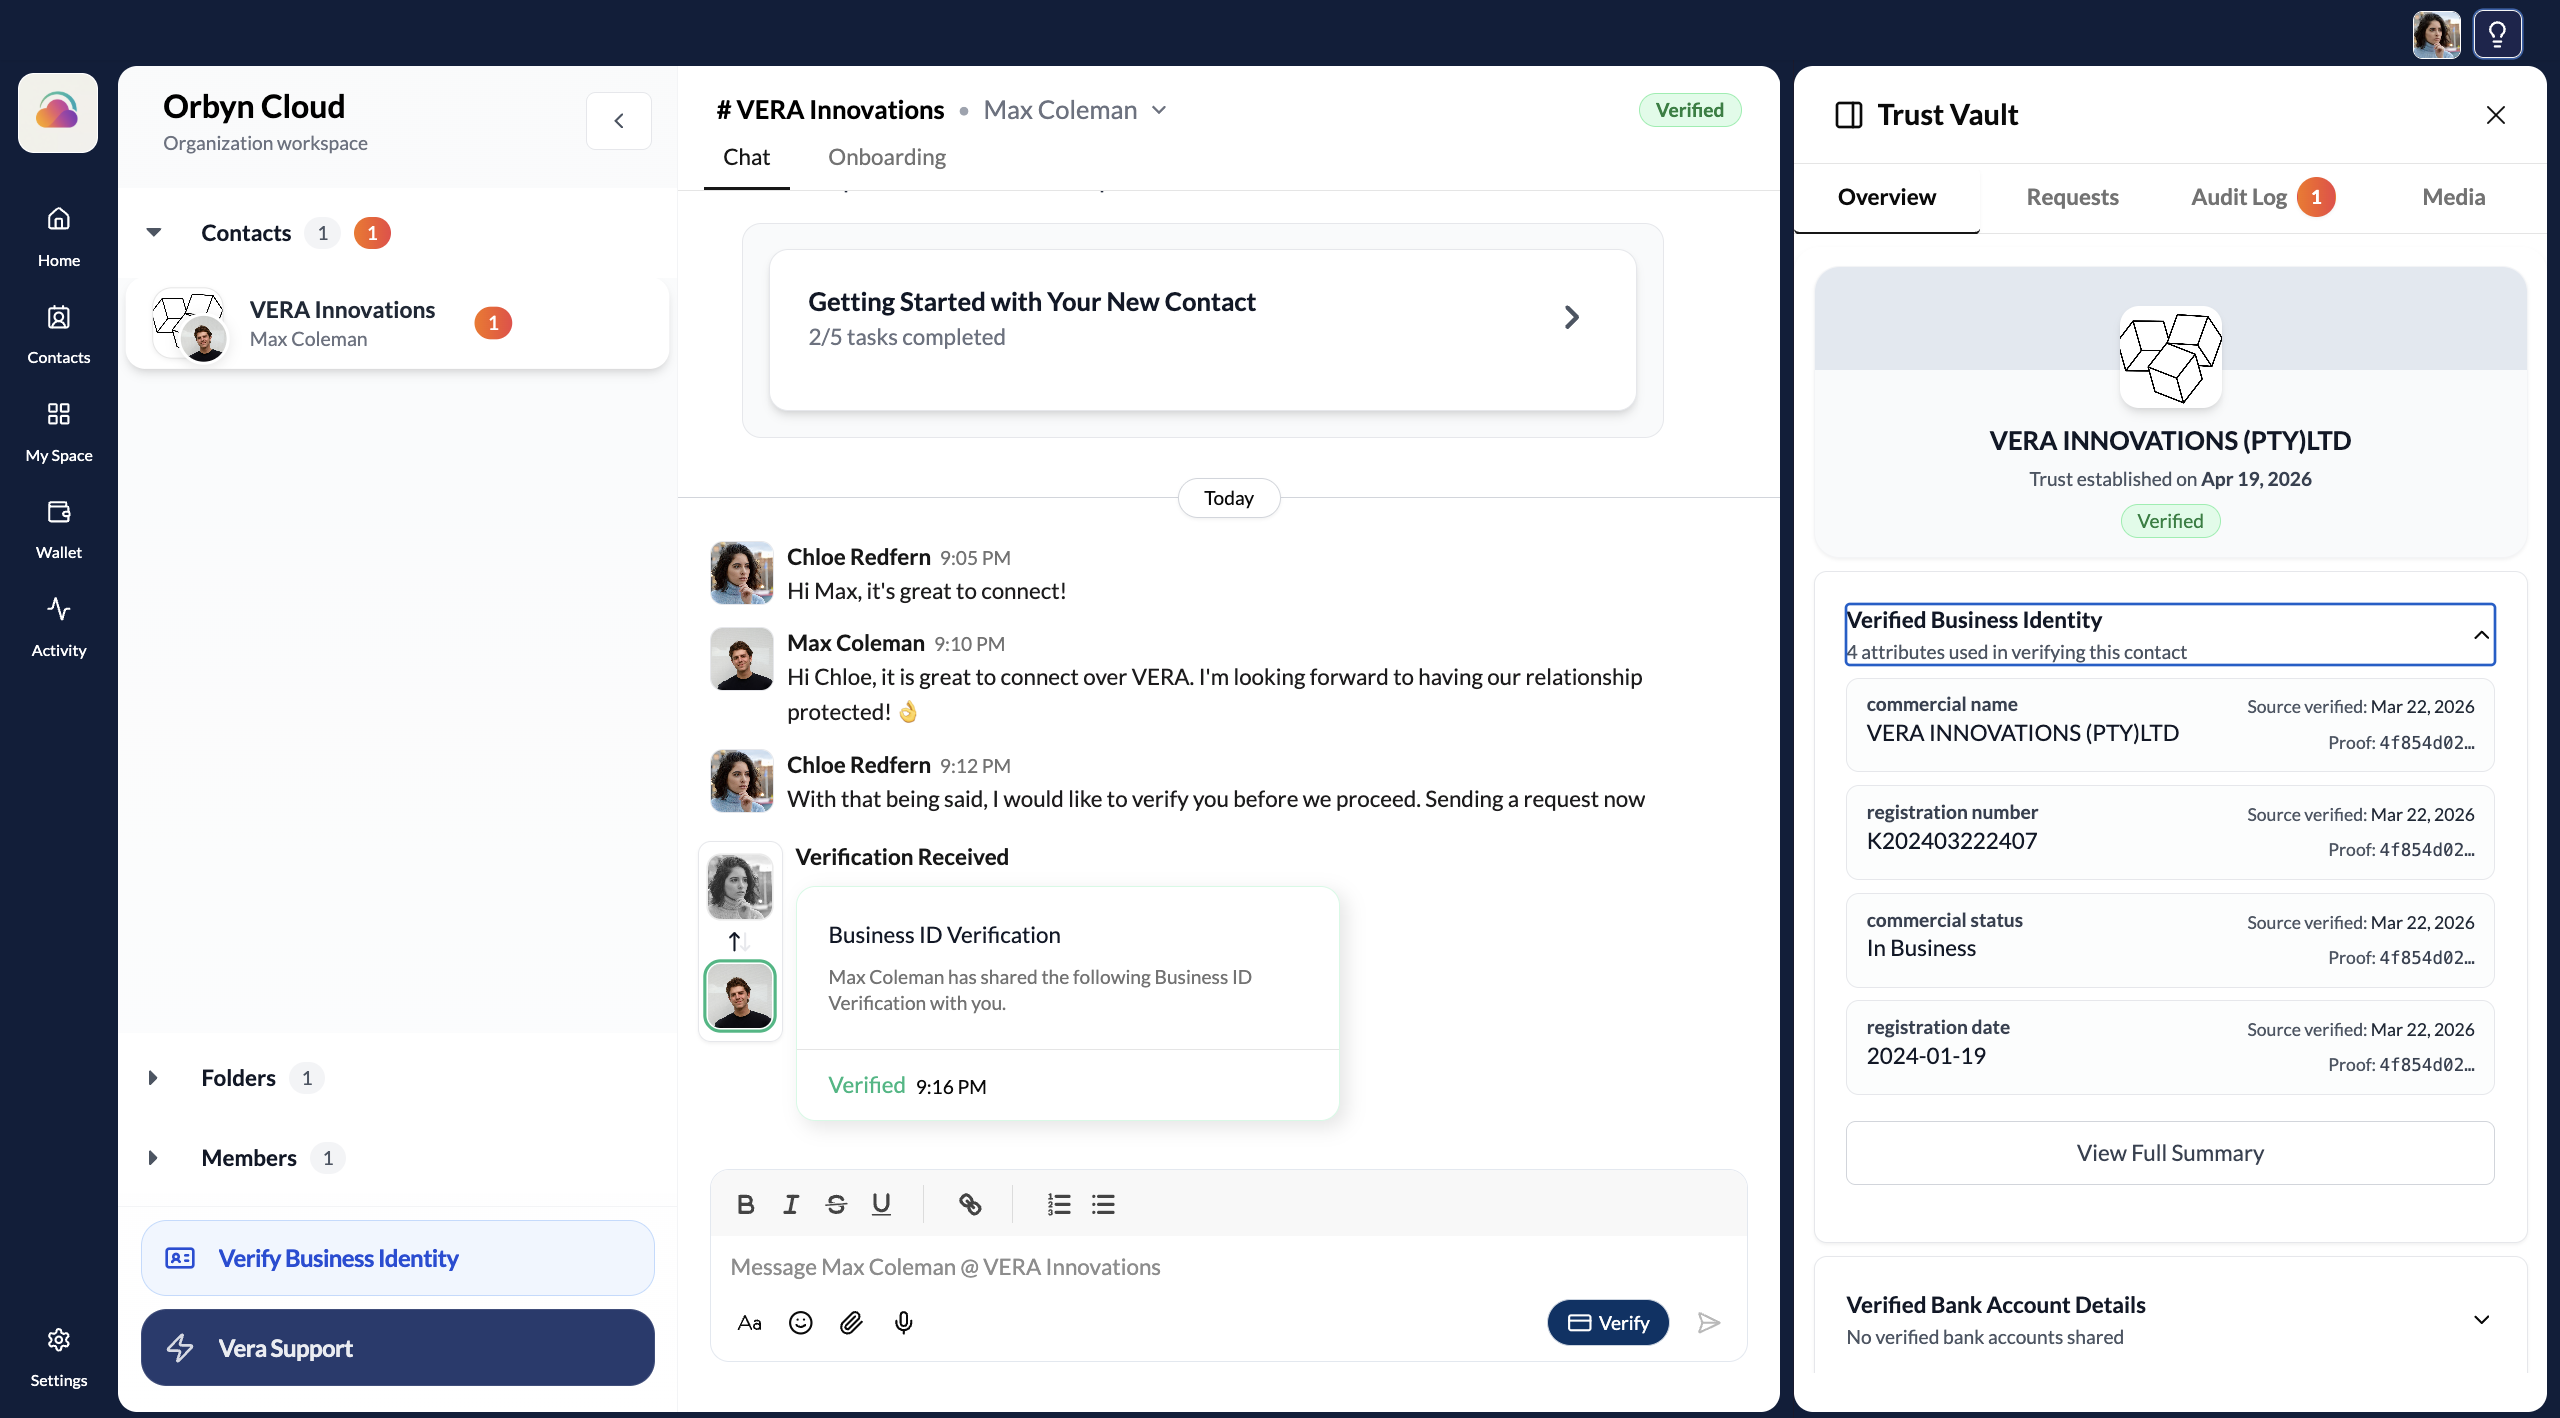
A View Full Summary link at the bottom opens the complete Verification Report with all details and the full timeline.
The four tabs
The Trust Vault has four tabs across the top:
Overview — the default view. Shows the contact's verification status, all shared credentials, and their individual attributes. This is what you'll check most often.
Requests — shows any pending verification requests between you and this contact, both inbound and outbound.
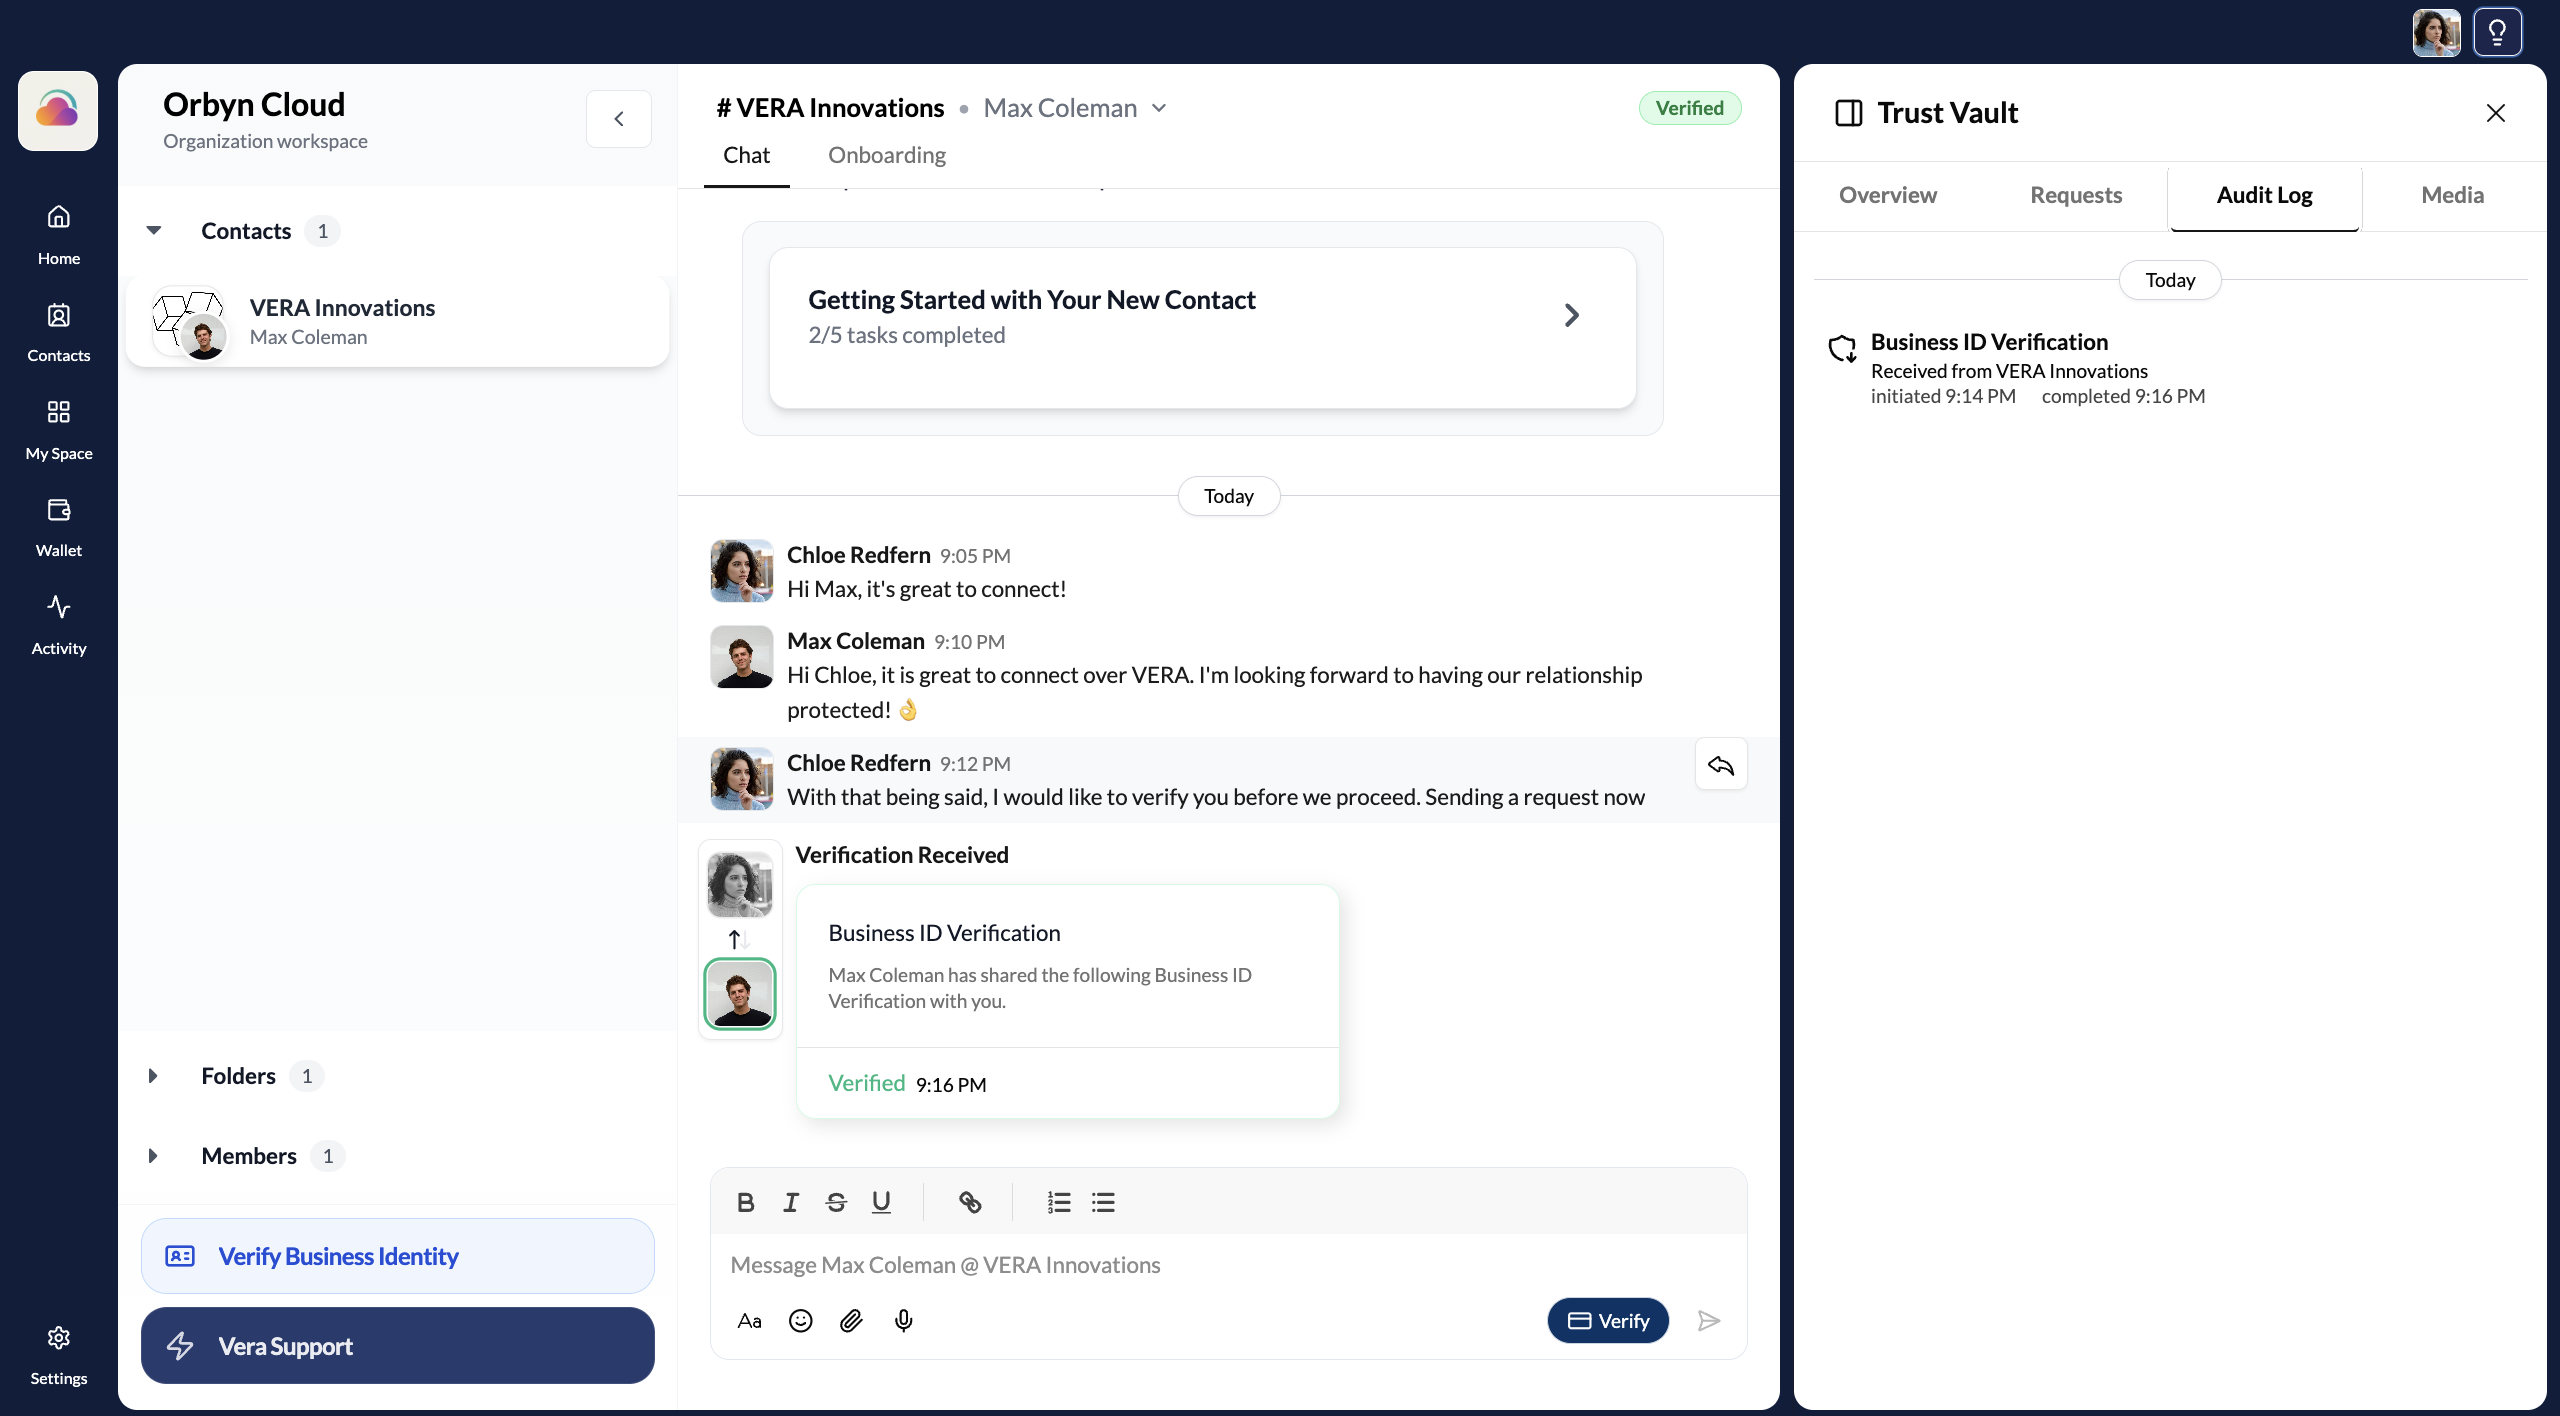
Audit Log — a chronological record of every verification event for this connection. Each entry shows the credential type, who it was received from, and exact timestamps for when it was initiated and completed. This is your permanent, tamper-proof record of trust establishment.
Media — shows files, images, and documents shared in the conversation.
Why this matters
Without VERA, verifying a business means asking them to email you documents, then manually checking those documents against public records. It's slow, error-prone, and creates no audit trail.
The Trust Vault replaces that process. Once a credential has been exchanged, you have a cryptographically signed, tamper-proof record that the business is who they claim to be — verified against official sources like CIPC. You can check it anytime, and the Audit Log shows exactly when trust was established.
Key things to remember
The Trust Vault starts empty. Connecting with someone doesn't automatically share any credentials. Every piece of verified information in the Trust Vault got there because one side requested it and the other side explicitly accepted.
Your contact controls what they share. When you request a credential, your contact sees exactly what data will be shared and can accept or decline. Nothing is shared without their explicit consent.
Verification is per-connection. Each contact has their own Trust Vault. Verifying with one contact doesn't share anything with your other connections.
VERA Support is verified too. When you connect with VERA Support, their Trust Vault shows VERA's own verified credentials — so you can confirm you're talking to the real VERA team and not an impersonator.
You can also request verification directly from the Trust Vault panel by clicking "Request business identity verification" — you don't have to go through the Verify button in the chat.